Sunday, October 3, 2010

Free Kid's Craft Idea Everyday

When checking my email this morning I came across an email update from Free Kid's Crafts. I can't believe I haven't shared this site with you guys yet! Everyday in my email I recieve a new kid's craft that goes along with the season or holiday that is currently approaching. The projects are generally very inexpesive and use materials that I have on hand. It's the perfect way to keep little hands busy while you do a project of your own.

This morning's craft came as this tissue paper pumpkin:


To subscribe to the newsletter and get a free craft idea emailed to you everday just fill in your name and email address under the Subscribe tab on the left hand side of the page.
They make it kind of fun because you can't see the crafts for the coming days but you can access the craft archives by clicking a previous date on the calendar an left hand side of the page (under the subscribe tab).

Check out Friday's Craft ~ an October Coloring Calendar

 
Let your little one color this to uses as a chore chart or a count down to trick or treating on Halloween by placing stickers on each day until Halloween! It's a simple yet fun way to get them excited about the holiday.


Facebook Graphics Myspace Happy Halloween Comments Mermaids
Free Photos Angels Fairies Mermaids Gothic Photos Glitter Graphics
http://www.free-foto-animation-digital-images.blogspot.com/

Saturday, October 2, 2010

Rain, Rain Go Away... Guess I'll Repurpose A Sweater Today!

Today was a pj kind of a day; dark, dreary, and quite cold. Ahhh.... fall is finally here in Michigan. Summer has officially retired for the year, along with the bathing suits, flip flops, and tank tops. Fall rain has pushed us indoors for the day making this the perfect afternoon for a warm and cozy sewing project. Before I decided on this sewing project, I was cleaning out my closet getting ready for a Purple Heart pick up next week. As I was going through all of my old fall and winter apparel, I came across a stack of old sweaters. One caught my eye in particular. I had bought for my husband during the holiday's last year and shortly after it ended up in the dryer... ooops! Out came this little itty bitty striped sweater perfectly felted! I thought, " looks like I just got a new sweater!", but alas, it was too short  for me. I had saved it because I thought I would try a sweater repurpose one day. And hey, look who dare i say had a successful run with repurposing an old sweater into a new hat and scarf for my 7 year old!


So I started with a "felted" sweater that was turned inside out (right sides together) , a sewing machine, a pair of scissors, and an idea of size measurements that would fit my 7 year old. You could also use another hat with a similar shape as a guide when cutting just keep in mind that you will need a 1/4" seam allowance. I cut a piece of paper as more of a guide than a pattern that was a half circle with a length 11" and a mid height of 7.5 in.  Notice that the paper has an odd shape that I had to perfect in a second go around:) The use of a compass, a tool I clearly don't own, would be helpful here! If you aline the pattern piece witht he bottom of the sweater that there is no need for hemming the hat. You will have a nicely finished brim.

So I cut out the hat and sewed around the rounded edge using a 1/4" seam allowance. Then i simply trimmed and and turned the hat right sides out.


This was my second attempt at the hat so I had to cut it out of the middle of the sweater. Therefore, it needed to be hemmed. I did this by simply turning the hat inside out and foldingo over the bottom edge 1/4" and making an even stitch all the way around.


Then when turned right side out you have a clean edge like so:


The hat seemed a little plain for my little fashionista so I decide to whip up some flowers out of the extra sweater material. I cut several circles out and threaded a needle.
Like so:


To make the petals; fold one circle on half.

And then in half again. While pinching the petal, secure witha stitch at the bottom point.

I joined at three of these petals together by stitching each on to the other at the bottom point until they resembled a full looking flower like this one.

 next I stitched it to the bottom of one side of the hat for a sweet look. You could add as many or as few that you like. I think it looks super sweet on her!


When I was done, I still had the arms that just seemed wrong to throw out. I could have made more flowers for headbands and purses but I decided to try a deconstructed looking scarf.
I started by cutting the arms off below the arm pit.


then I took my rotary cutter and evened out the width. I wasn't too fussy about getting the width exact the whole length. I planned to trim it up after I was done sewing it together.


Then, I cut up the sides of the sleeves making four separate pieces like below.


Next, I matched two pieces together at a time with right sides together and stitched across the short side using a 1/4" seam allowance. Keep doing this until all pieces have been joined together.


Last, I trimmed the seams.
I made two more flowers and stitched one to each end of the scarf.


And then I called my little model out for the photo shoot! I am very happy with the outcome and she was happy to have a new scarf set! Hope you try it! Any questions? Just leave em in the comments!!


Happy Crafting!

E is for Embellishment: Tips, Tricks, Tutorials & More

Part of our sewing series is going to be E is for embellishment.  I was thinking about doing elastic, but that is so much less exciting than embellishments. 

When it comes to sewing there are MANY types of embellishments.  I would recommend that you look at my A is for Applique post and free applique tutorial as a starting point.
Flowers

Also, we have a free tutorial on layered felt flowers that are a great way to embellish sewing projects.  There are so many great flowers you can make.  If you don't want to make flowers, try buying a premade flower and adding it as an embellishment.
  I added ribbon roses and bows to the front of this Halloween costume to give it that over the top look. 

Check out our fabric flowers tutorial round up for lots of free tips and tricks on making fabric flowers.


Ribbons & Bows
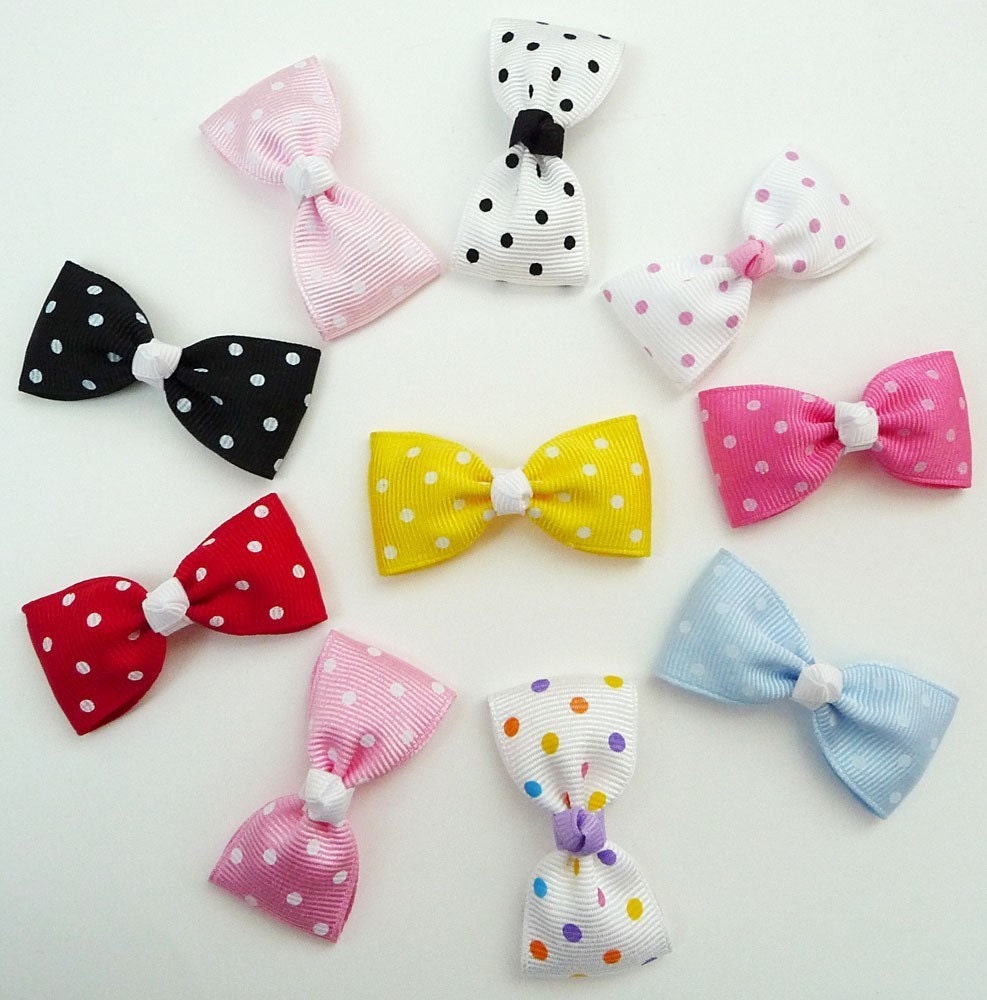
Some of my other favorite embellishments are ribbons and bows.  A simple little bow can make a huge difference on a project.

Our tip to making bows - seal the ends with a lighter.  You just barely pass over the end and the ribbon will heat seal to prevent fraying.   

I added a simple bow to both of these projects just to make them slightly more feminine. 

Check out our tutorial on hair bow holders for bow making tips and my free mini tutorial on making corker ribbon. 

Appliques
Our A is for Applique tutorial roundup featured our very own mini applique workshop and lots of great ideas for using appliques. 

BTW, Lisa will be launching a companion applique line to compliment our sewing patterns in the next week or so.  We are really excited to be able to offer some great applique designs that anyone can use to make wonderful gifts for the Christmas Season. 


Check out this adorable pair of applique baby booties.  I am going to be making the pattern in larger sizes this week for children's slippers.  Mostly because every time Kamille sees the sample booties she starts to demand a pair for herself.  I'm not going to lie, I would wear a pair of these around the house in the winter.  The larger pattern will have no skid bottoms sewn on. 

Really there are so many embellishments from buttons, to trims, to appliques that it is hard to cover everything in one post.  I will leave you with our newest etsy treasury full of really great handmade and vintage sewing embellishments that are very affordable and available on etsy.  I personally would rather see my funds going to other crafters than to giant corporations where I can help it. 


'E is for Embellishment' by c1h8r9is

I wanted to create a showcase for my blog to promote craft supplies on etsy. I think that there are many people who don't know that you can buy extremely unique supplies on etsy at really affordable prices. www.boutiqueit.blogspot.com.

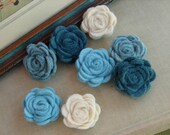
Mini Wool Felt Aqua...

$5.00
Stamped Muslin Ribb...

$5.00
New- sweet vintage ...

$6.85
30 Handmade Crochet...

$7.25
Farm Fresh BAKERS T...

$3.25
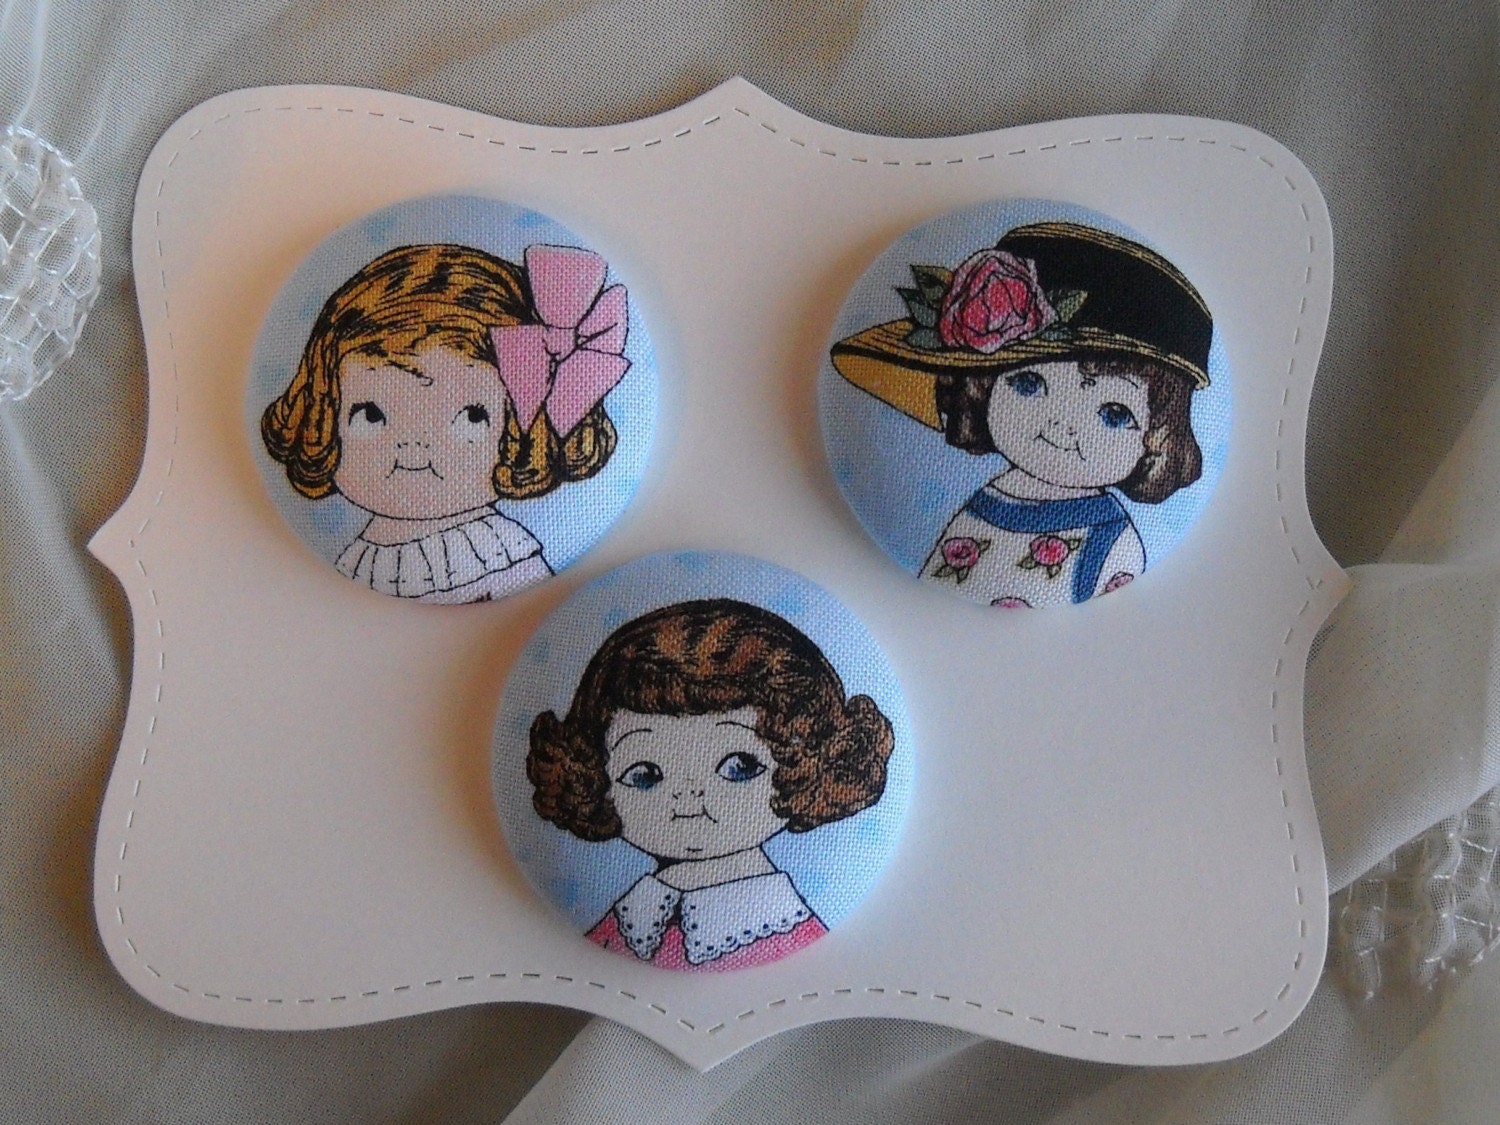
Robots and Owls BUT...

$4.50
PINK AND BROWN FLOW...

$3.50
Moda Wee Play 42 Fa...

$128.00
Handmade organza, s...

$9.99
RECLAIMED FABRIC 6 ...

$6.00
New Handmade Polyme...

$4.00
B3G4TH FREE NEW-Sch...

$4.00
10 pcs of 25mmX50mm...

$5.00
Pink Chiffon Roses ...

$10.00
20 Handmade 2 Inch ...

$5.25
BEAUTIFUL TRIM RIBB...

$0.50

Happy Crafting!

Thursday, September 30, 2010

Pumpkin Patch Popcorn Recipe

This is a little recipe I started making a few years ago for my niece's preschool.  All of the preschools are peanut free now so it's sort of hard to find things to make.

The recipe is

1 cup butter
2 cups packed brown sugar
1 tsp salt
1/2 cup light corn syrup
1 tsp baking soda
8 cups of popped popcorn (2 microwave bags or air popped popcorn)
assorted candy

Directions
Preheat the oven to 200 degrees.  Put popcorn in a greased 13"x9" pan and put it in the oven. 


In a heavy bottom sauce pan mix butter, sugar, salt, and corn syup. 

Over medium heat, bring to a boil.  Boil at a rolling boil for 5 minutes. 
 Boil for 5 minutes.  If you have a light pan, you are really going to need to stir so that it will not burn.  In a heavy pan, you can stir occassionally.  Turn off the heat and add the baking soda.  It foams up (photo on right).

Take your popcorn out of the over.  Pour your caramel onto the popcorn.  Stir until the popcorn is totally coated.  Keep it in the oven for 1 hour stirring even 15 minutes.  Remove from oven and add your sprinkles, candy corn, mini marshmallows, m&ms, etc. 


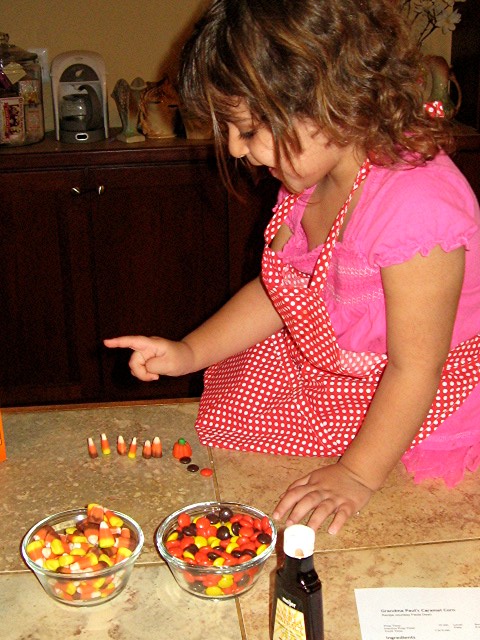
Kamille likes helping - she was counting the candy.  Big surprise!


Happy Crafting!

Wednesday, September 29, 2010

D is For Darts

When sewing garments and accessories darts are an essential technique to master in order to create a great fit/shape. Darts can be straight or curved depending on desired effect. A straight dart will give you an easier, looser fit while a curved dart will be more form fitting.

===========================================================================

Check out this tutorial on one of my personal favorite sites, Sew Mama Sew. This blog is amazing! Full of great tips, tricks, and tutorials. I have to admit I like to check it out every day! It goes over the importance of darts in the fit of a garment with and easy to follow picture tutorial and instructions. The triangle areas seen in the photo below represent the actuall dart placement on the garment pieces, in this case a dress. Darts will be used in this instance to take in the fabric where each dart is placed to create a formed fit.

==============================================================================


eHow has a great, easy to follow tutorial for sewing darts into any fabric project.


===========================================================================

Joanna over at Stardust Shoes has a great tutorial showing you how to take in your pants using butt darts.


===========================================================================

Check out this fun and elegant pleated bag tutorial from Lisa Lam (which is funny because that's my name too!!) at U Handbag. With a change of fabric, this would be perfect for a wedding or holiday party. In this instance, the darts give the bag a fun shape and detail.


============================================================================
Threads Magazine has a great video collection. Included in this collection are two videos that would be useful for marking darts and sewing darts in your fabric projects. This collection is a super valuable tool for novice and intermediate sewers.


=============================================================================
Happy Crafting!

Working with Cork Fabric

So, I am not an expert in this - based on using it for one project.  However, I did a lot of research before buying it and watched quite a f...