I have to admit that there are so many things that I loved and will miss about ebay, mostly in the ease of listing and creating similar listings, the ability to list so many photos in the listings, and the sophistication of the search engine.
But, I finally decided to do some serious research on how to promote our etsy shop. So, I decided to actually look at each of the applications available through etsy. http://developer.etsy.com/applications is where you will find the apps. The easy way to get there is to go to the bottom left of "your etsy" and click "applications".
Automatically Renew Listings
With etsy you really are searching by default of newly listed. So, unless you decide to make the most or least expensive items, you have to make sure that you list often.
This is a real pain in the rump unless you use the awesome tool called clockbot from statsy.org.

This tool will allow you to schedule listing renewals. I cannot tell you how great this is. We have already seen huge benefits from this is just a couple of days. Instead of going onto etsy twice a day and renewing 5 items, Lisa is spacing the items out for renewal every hour and it is really boosting sales. http://statsy.org/clockbot.php will take you directly to the tool. Statsy also has a tool that will email you if you are featured on the front page of etsy, tell you who your biggest fans are, and track your listing views (you can see how many times each item is viewed and hearted).
Create a Sale
Previously, to create a sale you had to either change the prices manually, create a bogo, or give free shipping. Now, with this awesome NEW app. you can actually put items on sales for fixed periods of time.

Email Marketing

Etsy teamed up with mailchimp to create a free promotional emails for your store. Lisa and I actually used this to create an email promotional flier that we send out with every sale that links to our blog, twitter, facebook, and newest, hottest items in our etsy shop. I can tell you that this has increased our blog traffic.
Copy Listings

Etsyhacks has some great tools. Specifically, there is a tool that helps you copy content from one listing into a new listing. This is nice if you sell lots of similar items. How many descriptions can you really write about a paper bag album? Really?
Just for Fun
http://www.craftcult.com/ has a fun app, the heartomatic. It shows you who likes you and what they like. Which is a great way to determine what listings are going to get renewed by clockbot. We pick listings that are getting lots of traffic and lots of hearts to draw people into the shop.
Other Resources
Facebook and twitter are both ways to promote your shop. For facebook you can install etsy mini on your facebook page (which is a mini etsy shop that shows your items.) You can also make a page that all of your friends and customers can like. Maybe Lisa can do a post on this and show you our boutique page on facebook. I didn't do any of that, so I truly don't know how to, but I do know that it drives traffic to our shop and to our blog.
Twitpic is another fun app from twitter that lets you tweet a photo. I like to take pics of our new products from my cell phone when they are finished and tweet about them.
http://www.cutoutandkeep.net/ is a great way to showcase your crafty skills. You can list projects you have made, put together tutorials, and enter crafting contests. I also love looking at the hot 20 on this site to get a feel for what it new and excting in the crafting community. People like your projects and can share them on facebook and twitter.
Treasuries
Make treasuries on etsy and share them on your blog. With every treasury we make we end up with sales and new fans of our etsy shop and our blog. Lisa had the brilliant idea to let people know via convo that we featured them in an treasury and on our blog. It is a great way to help other sellers, make interesting blog content, and bring people into your shop.
Feature the treasuries on your blog with http://www.whalesharkwebsites.com/tools/treasury.php. It's that app I am using below to feature this treasury of etsy newbies on our blog.
'Pop Their Etsy Cherry' by c1h8r9is
Yes, I know that my title is a little on the vulgar side, but it's also fitting because these are all sellers just waiting, hoping, lusting after that first sale. Since I just did a blog post about using the great tools on etsy to increase shop sales, I wanted to give a helping hand to some newbies. This treasury is posted on our blog www.boutiqueit.blogspot.com as well.
 The Element of Wate... The Element of Wate... $16.00 | 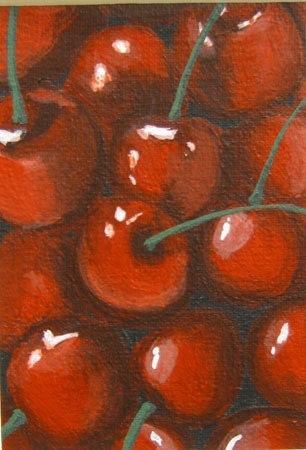 Cherries ACEO Frame... Cherries ACEO Frame... $35.00 | 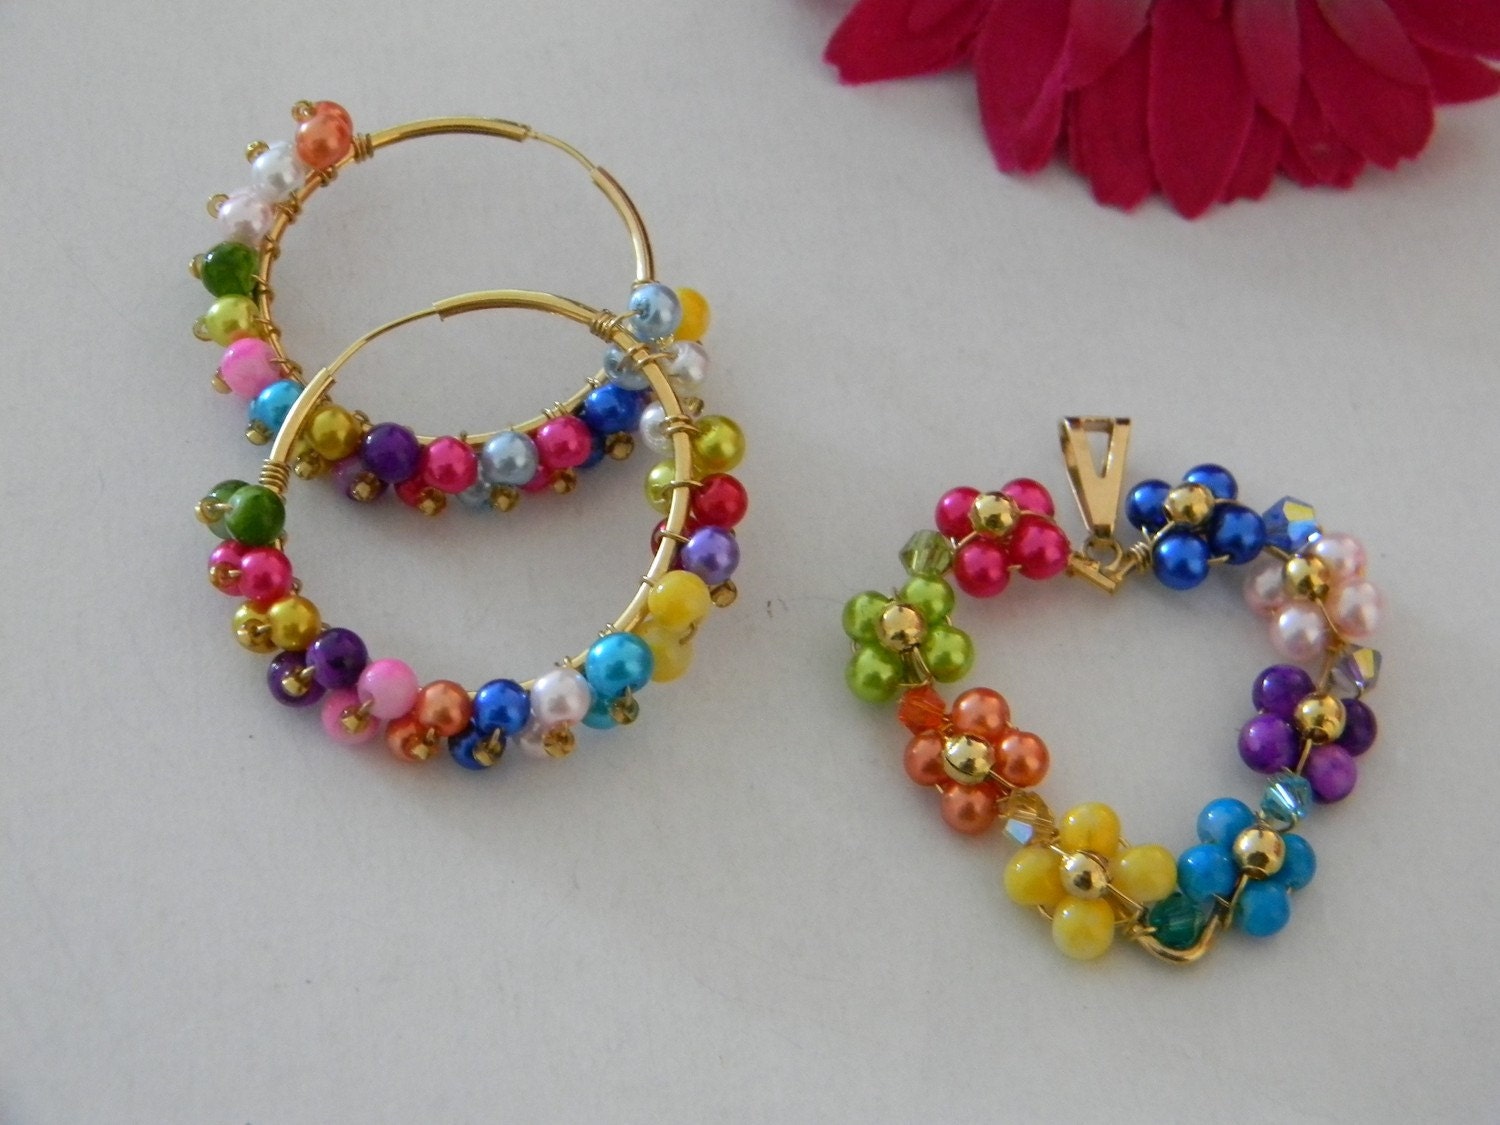 Multicolor pendant ... Multicolor pendant ... $30.00 | 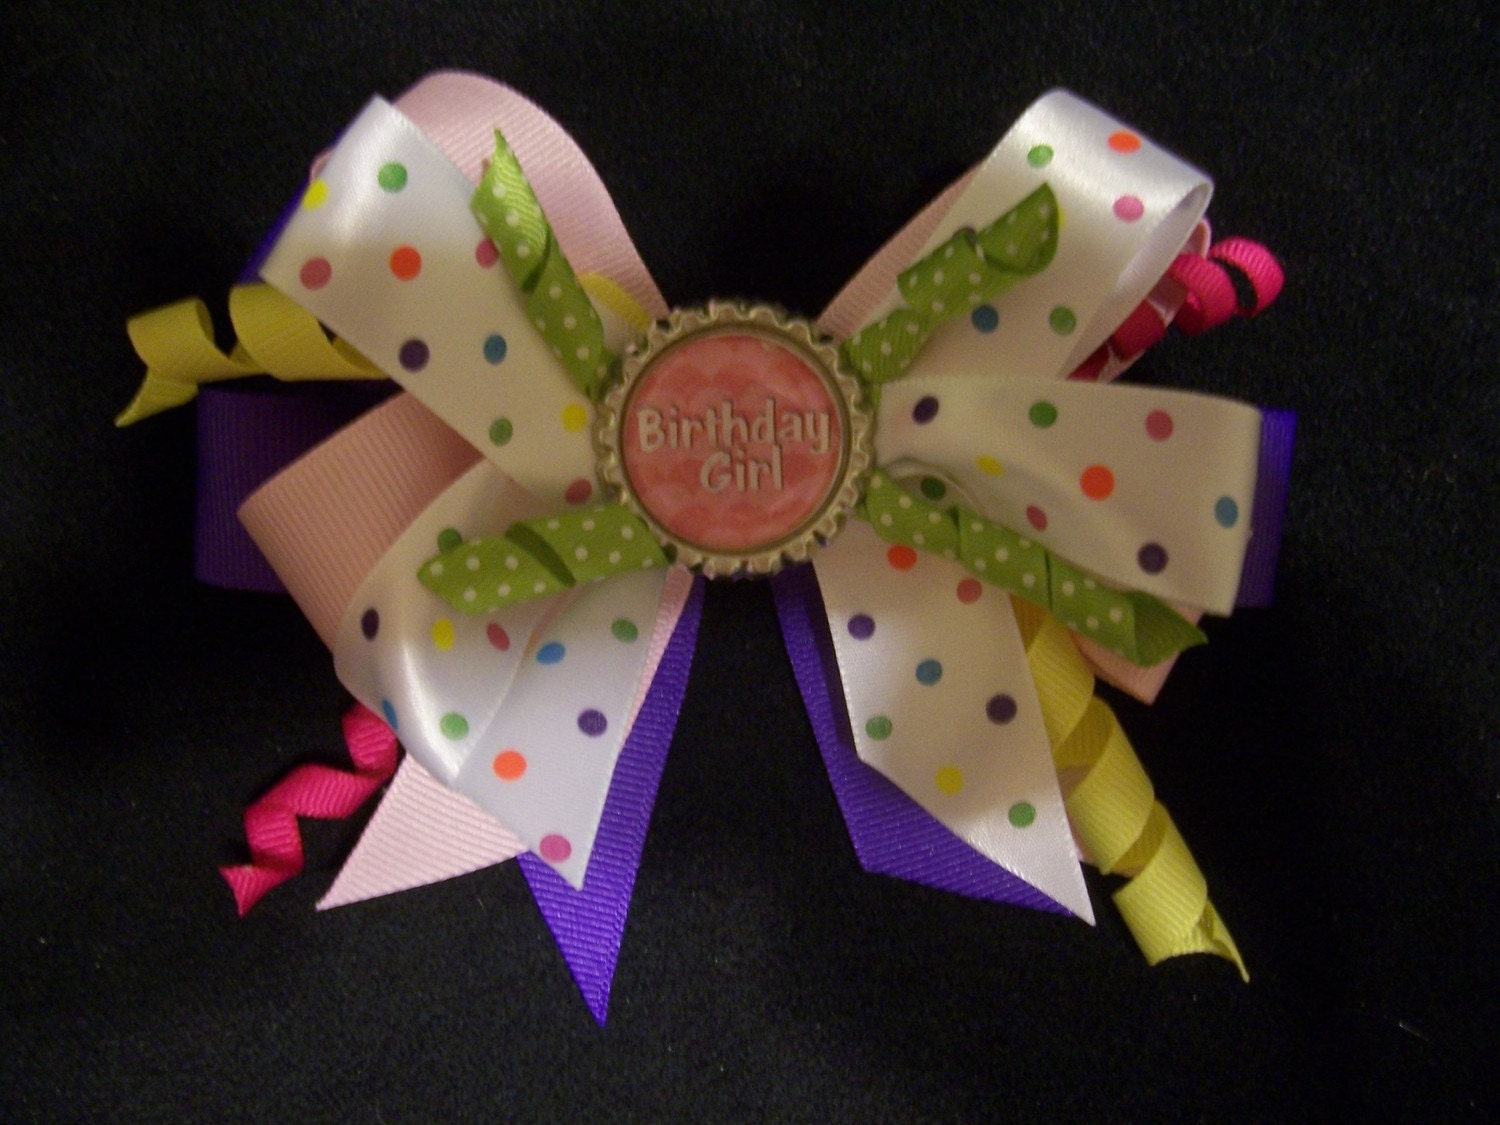 BIRTHDAY GIRL BOW BIRTHDAY GIRL BOW $7.00 |
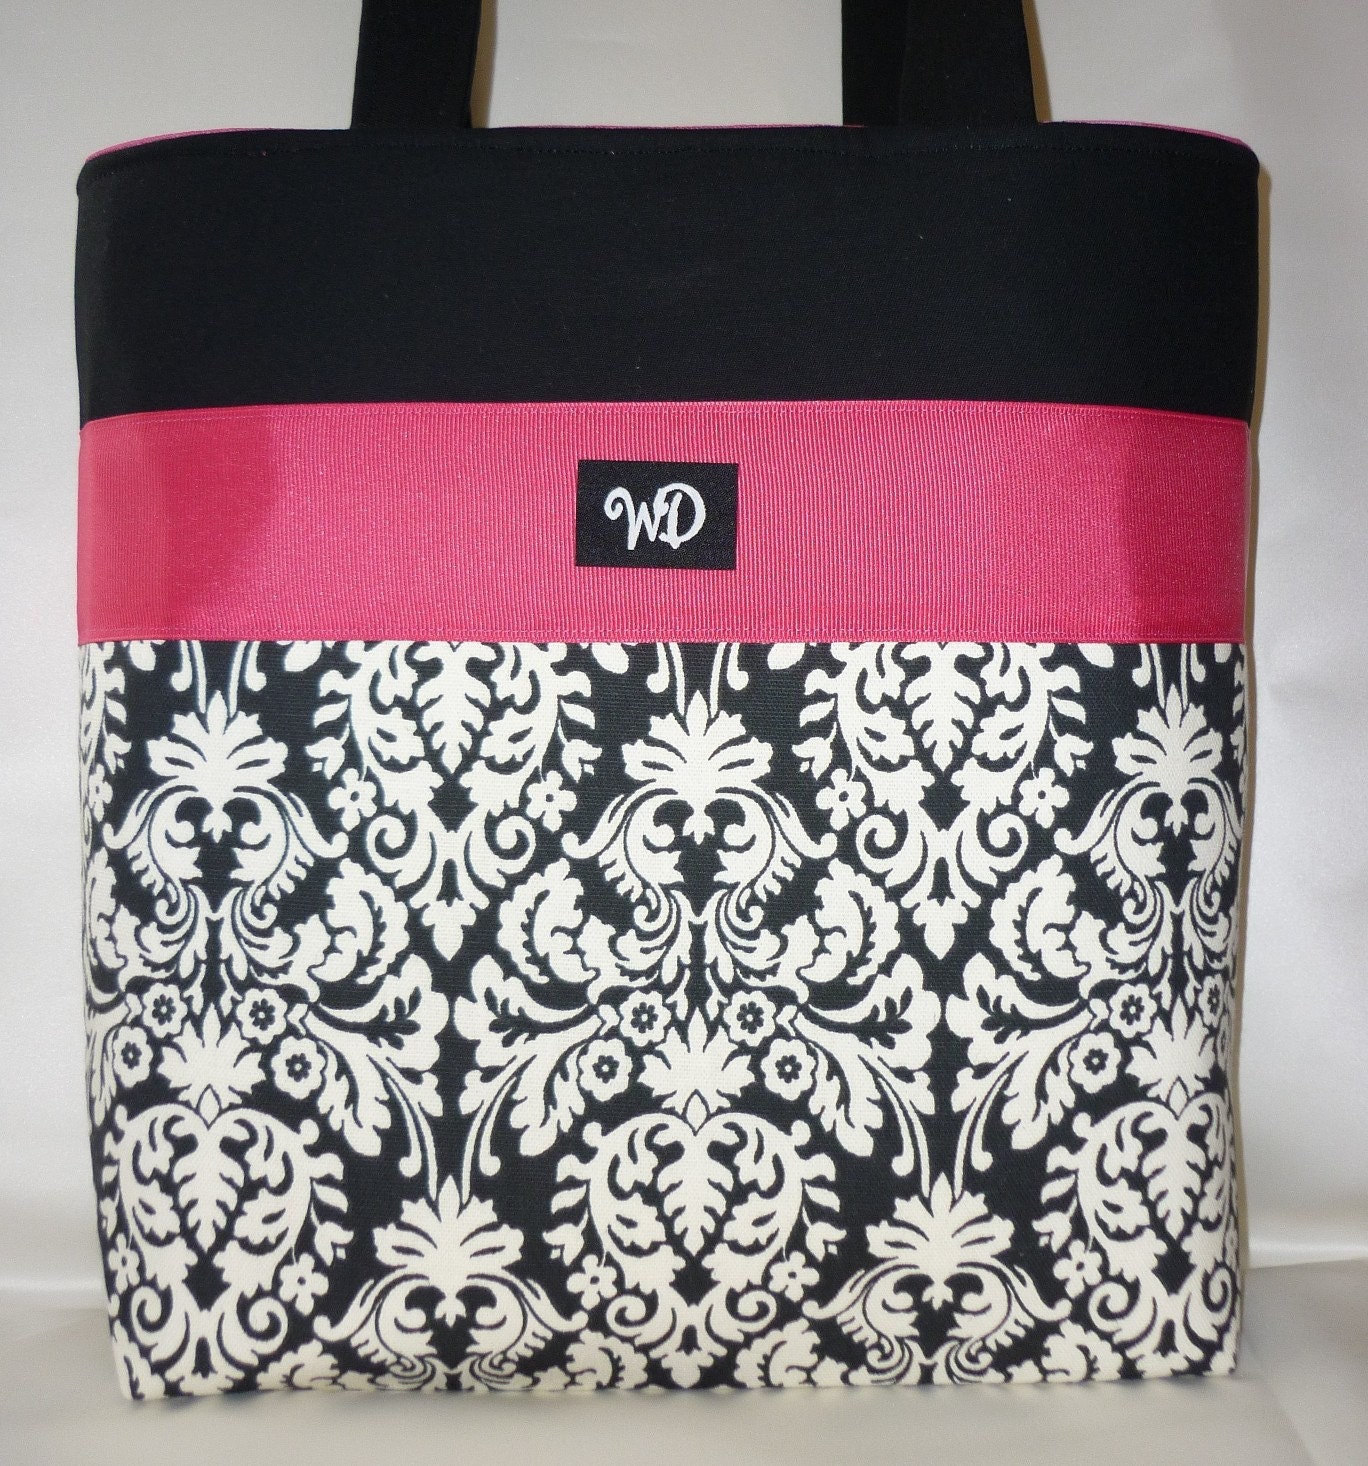 Kerrin Damask Kerrin Damask $79.00 | 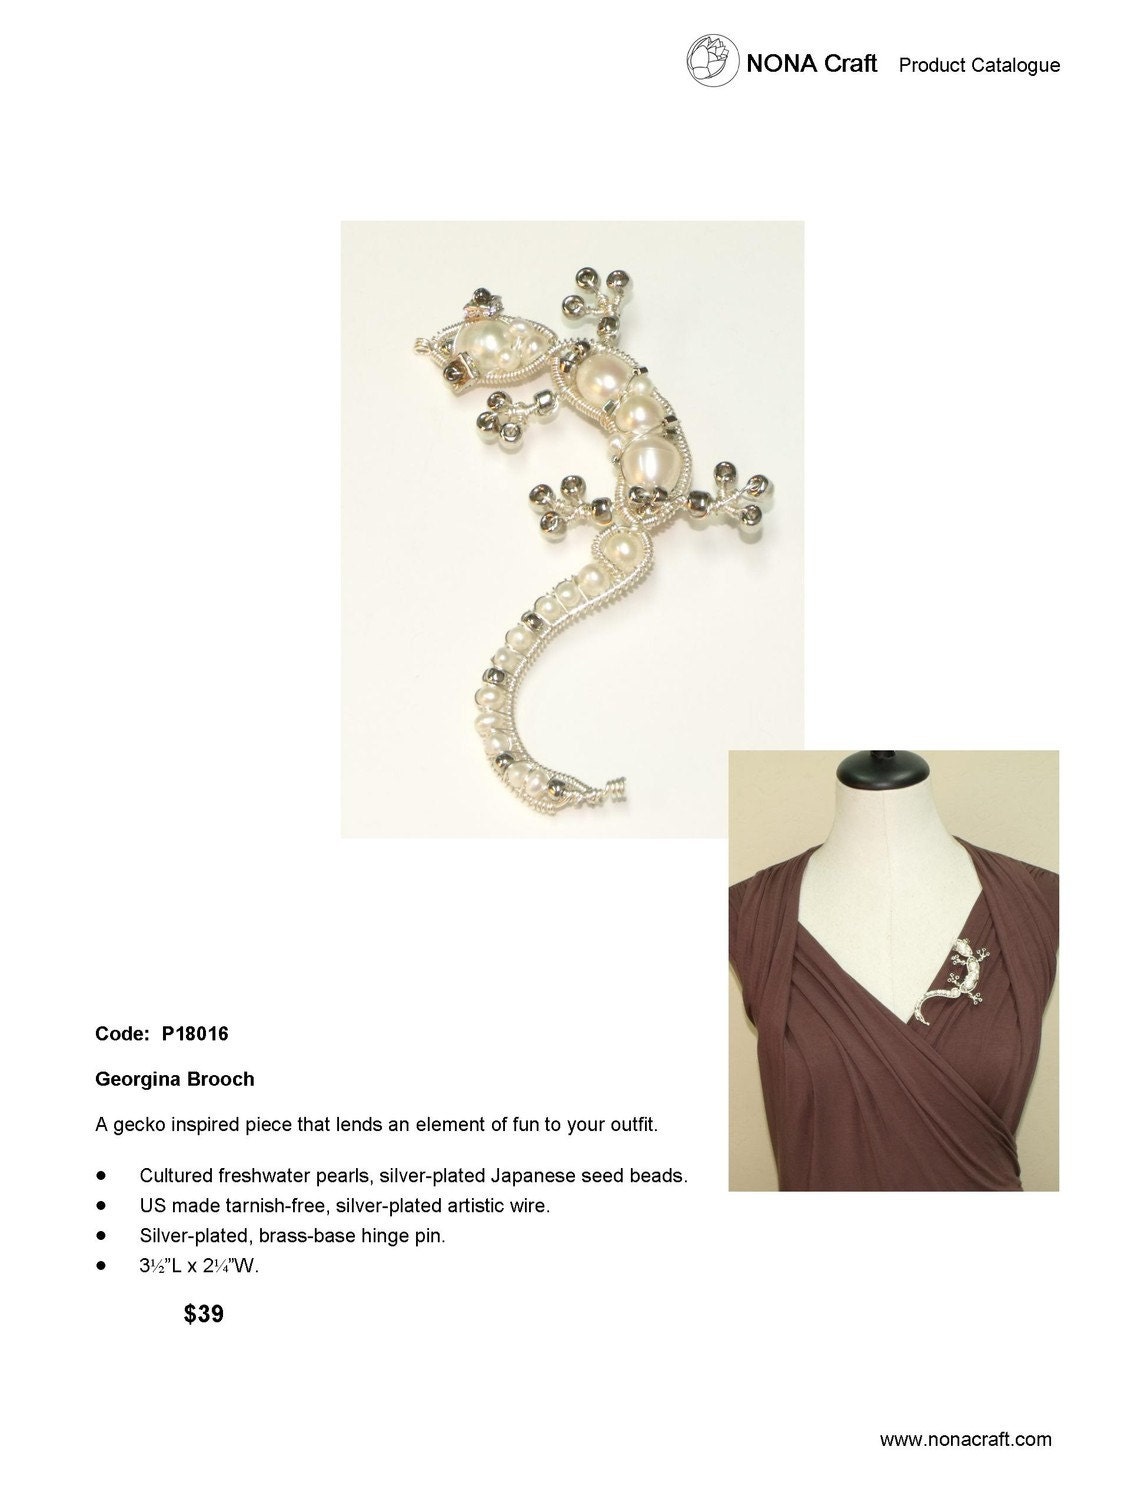 Georgina Brooch Georgina Brooch $39.00 | 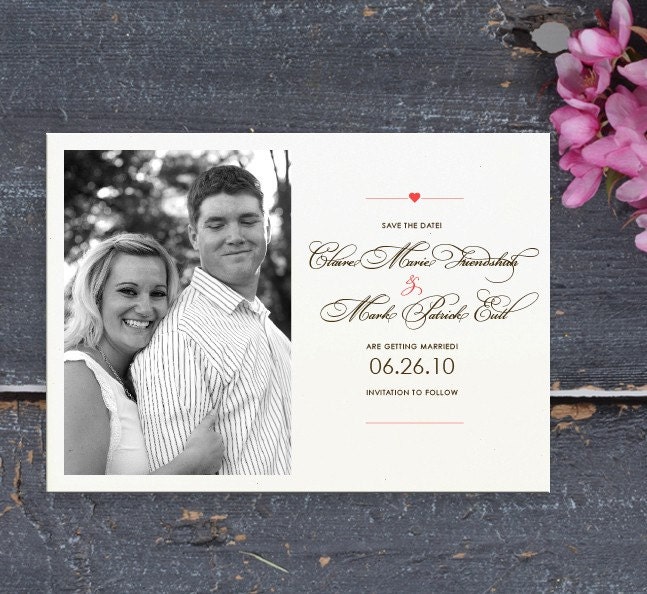 Jean - Save the Dat... Jean - Save the Dat... $20.00 |  Metal Laundry Cloth... Metal Laundry Cloth... $14.95 |
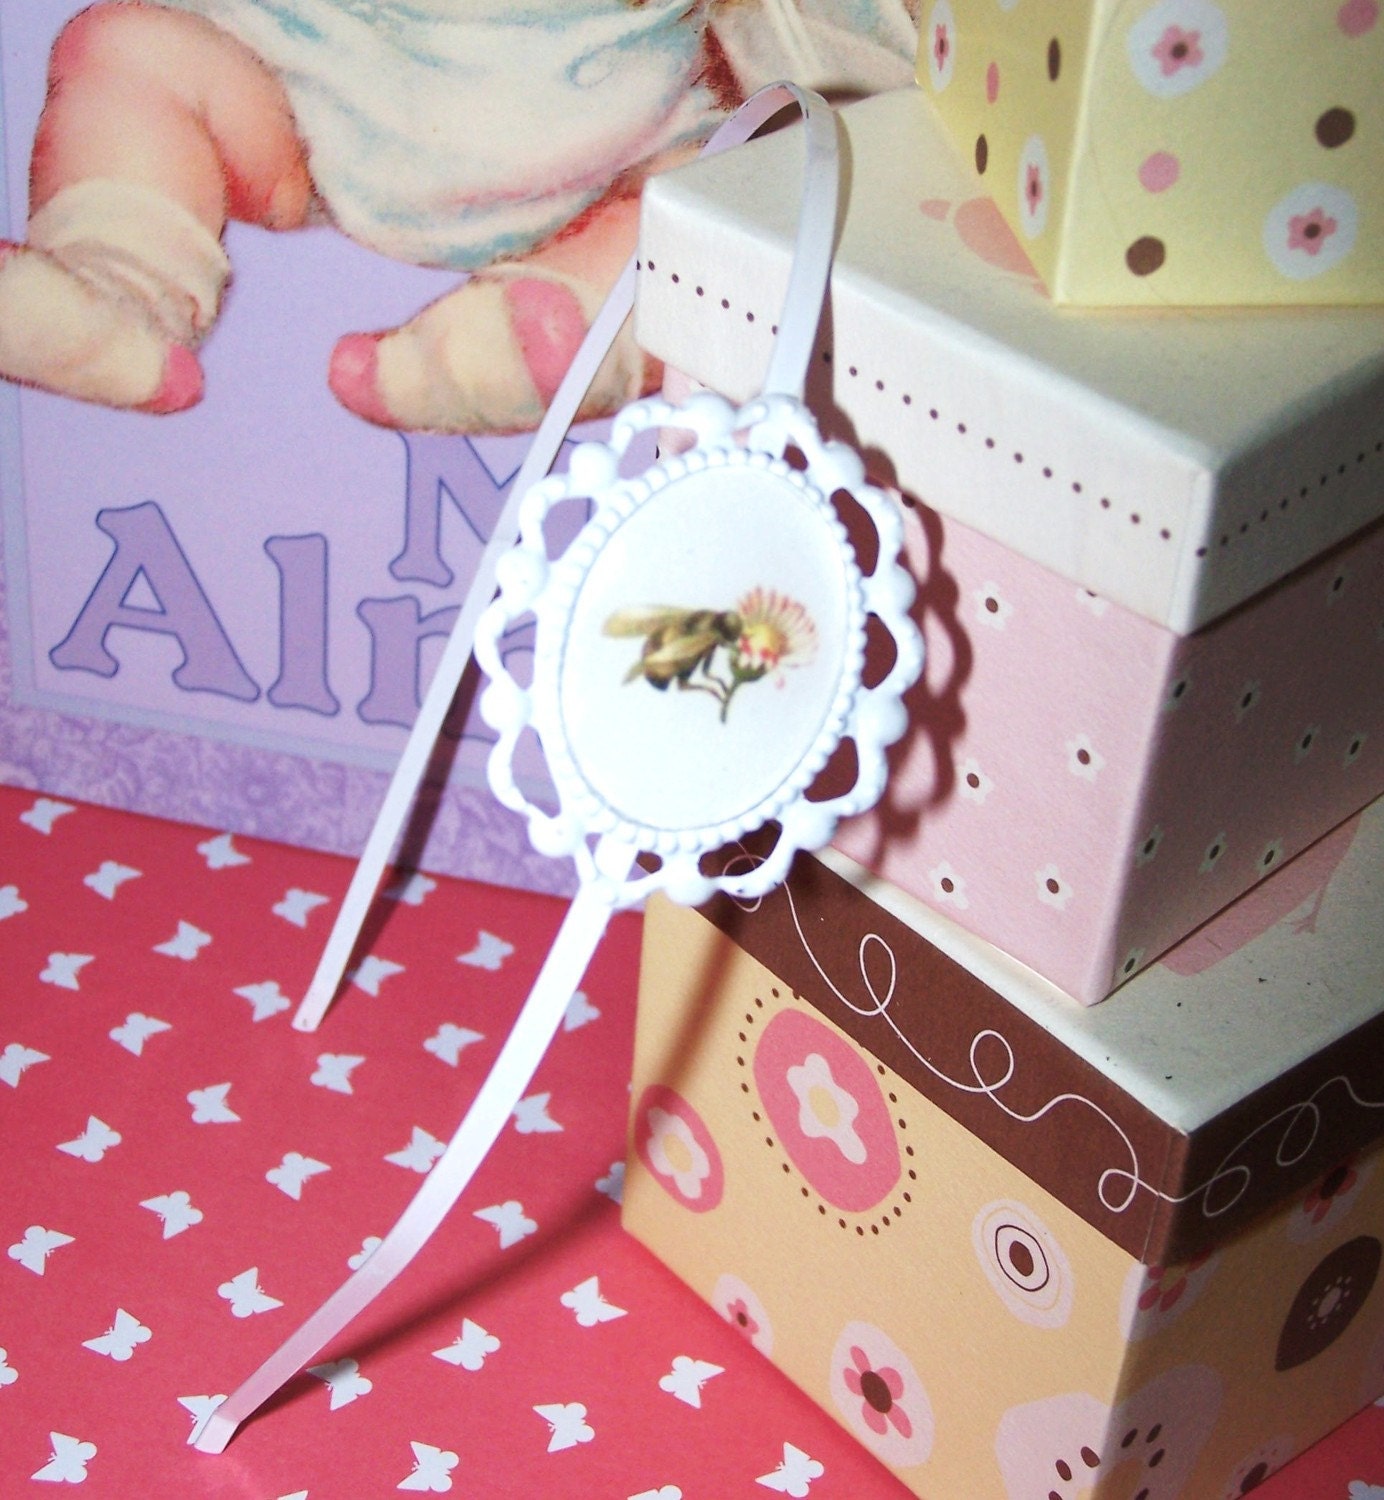 Vintage Inspired Be... Vintage Inspired Be... $12.00 | 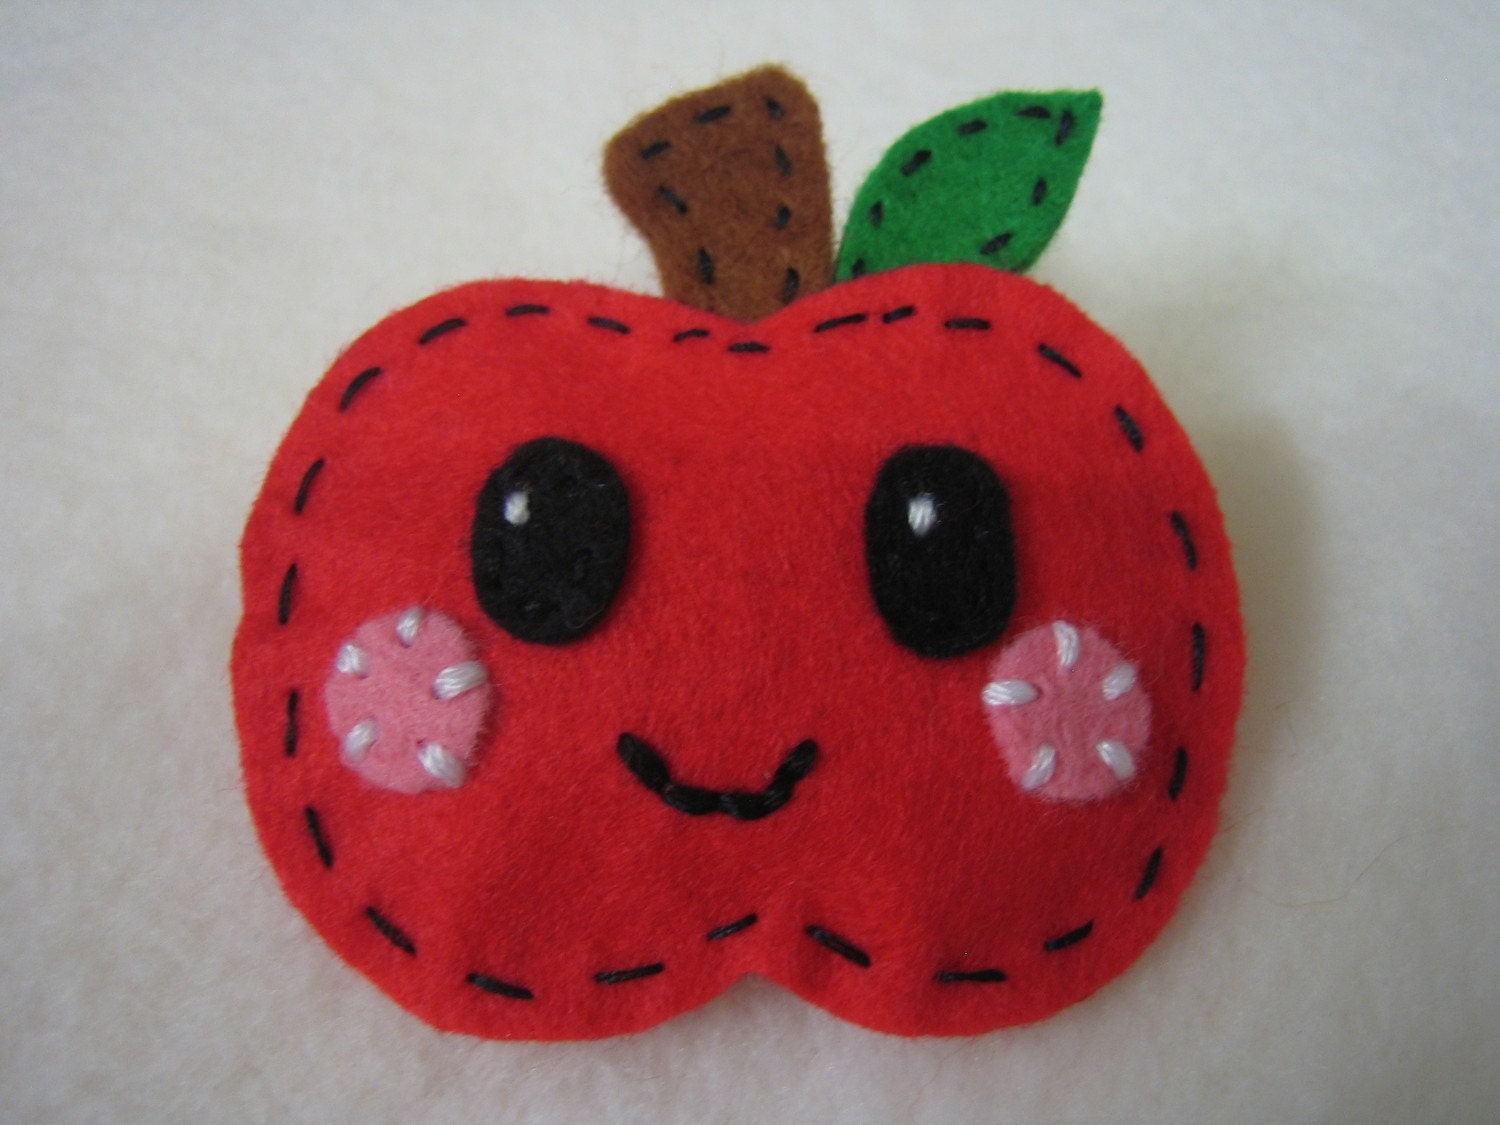 Cute wool felt red ... Cute wool felt red ... $10.00 | 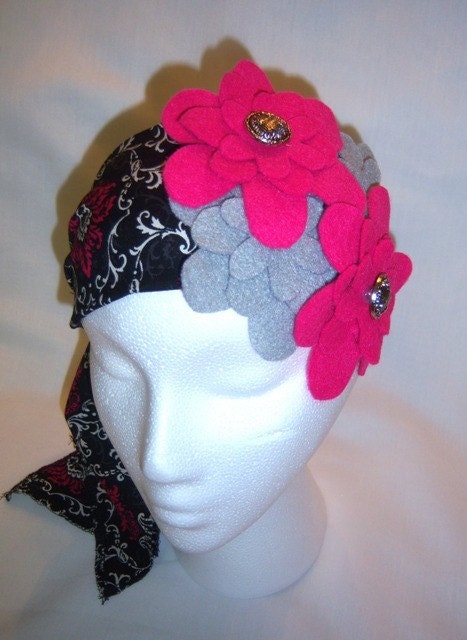 Pinky Promise Pinky Promise $15.00 |  10 dollars OFF. Bab... 10 dollars OFF. Bab... $25.00 |
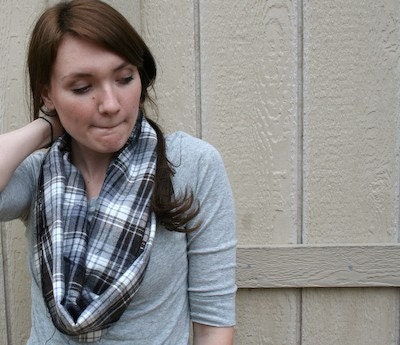 Mad about Plaid Mad about Plaid $23.00 | 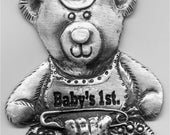 90-16 Pewter Baby ... 90-16 Pewter Baby ... $10.00 | 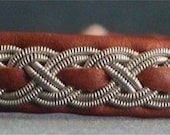 Scandinavian Pewter... Scandinavian Pewter... $65.00 |  $ |
Generated using Treasury HTML code generator by Whale Shark Websites.


