Labels

Showing posts with label cosplay. Show all posts

Sunday, February 12, 2017

Cricut Cut EVA Foam Armor Inset

Cutting out scale maille and armor pieces is so easy with the cricut.  I'm actually using my cricut cake because I loaned my personal cricut to my sis, but the machines work the same.  A couple of things to note:  Deep cut housing and blade.  This machine was originally made to cut paper, so to cut thicker stuff like eva foam sheet, I bought the deep cut house blade.  This lets you put thicker items through the cricut like foam, felt, cork, etc.  

I use a program called Sure Cuts a Lot (SCAL) because both of my machines are older and they don't work with the design space.  Anyway, it's also so much easy to use.  I really recommend it.  You can get version 2, which I use, for $8.00 on etsy.  I think you need the newest version for the newer machine, or just use design space.  
Next, I design the cut files in inkspace.  If you are just cutting something from clip art, you can actually import the jpeg right into SCAL.  I'll make another post on this.  These files are available on craftsy.  For the etched and cut armor, I use 2 separate files.  First I open the SVG for the diamond cut and I cut the scale maille (blade depth 6, pressure max, speed max).  This cuts the design.  The scale maille is still held together by a little bit, but they peel apart.     
Next, I import the etching pattern and line it up with the cutting pattern.  I change the blade depth to 4 so that the etching pattern doesn't cut all the way through.  

 Finally, I have this.  The scales are all etched and cut.  Normally I paint these while they are still in a sheet because I like spray paint and this keeps them from flying all over. 


Then, I peel them apart.  Here you can see a shingle style scale maille.  This style has no etching.  I cut about 50 scales in 5 minutes.  Plus, you can walk away from the machine while it cuts.  

 After I have the scales cut and painted and distressed/aged with black, I finish the edges with marker.  This is very quick and cleaner than paint.  The edges will barely be visible once you set these into the fabric.

I tack the scales down onto my stretch knit pants fabric with a tiny dot of hot glue.  I don't want to use much glue because I'm going to stitch this down.  I want movement.  Glue can make things stiff.  It's just to keep them in place.  

 Down I use a decorative stitch with metallic thread.  One hint, metallic thread is expensive.  I don't use it in the bobbin.  For gold, I put yellow thread in my bobbin and for silver I use grey in the bobbin.  For these pants, I actually just used the blind hem stitch on my machine because I like the way it looks.  See how I;m stitching half on the scale and half on the fabric.  I go around the outside of the while design and then work my way back through the rows.
Here you can see that I've completed one row and moved on to the next.  The stitches look like gold mesh.  
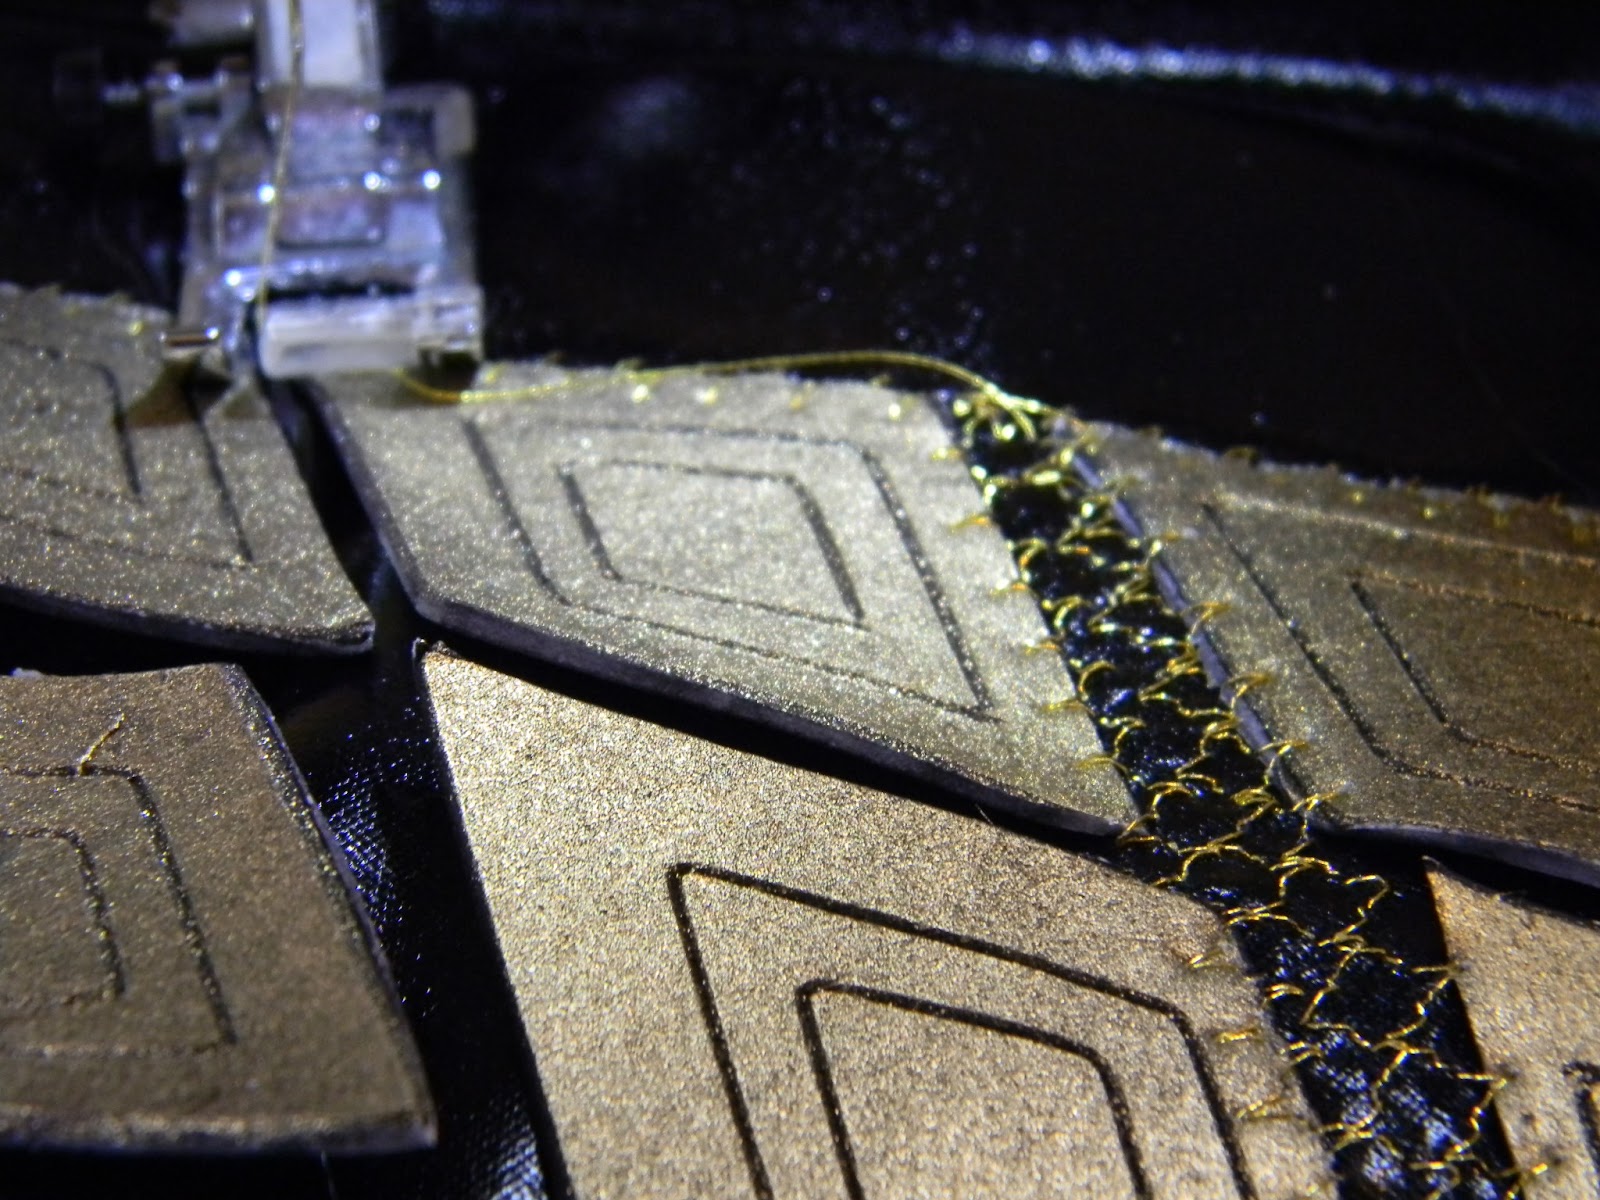
 Here I have finished all the rows.  I filled back in through the rows to make the "mesh" heavier.
 Here you can see the finished panel inset into the pants for Lady Loki.  These pants are skin tight, but this technique allows the pants to totally move.


Sunday, June 26, 2016

Free Cosplay Ears Tutorial and Sewing Pattern PDF Download Cat and Fox Ears


Head on over to my craftsy page to download this free sewing pattern and tutorial for clip on animal ears to use for birthday parties, costumes, and cosplays.


Visit IndiPatterns's Craftsy Pattern Store »

Monday, May 30, 2016

Steampunk cosplay Airship captain and pirate costume

I've always loved sewing and especially Halloween costumes. I also love making costumes for the Renaissance Festival. Then came the steampunk festivals. Now I'm super into Comic Cons. I've been working my keister off on all sorts of new cosplay costumes and accessories for my Etsy shop and just for fun. This is my newest set. My daughter's an Airship captain and my niece is an Airship pirate. They were so happy.

I really love how these turned out. And I did both outfits for under $20. I did have a lot of stuff in my stash. I am a big seamstress. The dress and pirate outfit are made out of one tablecloth I got for four bucks at Salvation Army. I bought the white suede for the gun belt. I had all the red left over from the Captain Hook Halloween costume. It was dollar a yard fabric from Wal-Mart anyway. The pirate bodice is an old tie from Salvation Army and a vintage napkin and the tablecloth. The hats are just made from felt. I've got a bunch of many hats in my Etsy shop The Fox and the Lilly. I really love how they turned out. I almost went crazy doing the embroidery. It just takes so long even with the machine. I did love the compasses and the hot air balloon embroidery on the dress. I didn't get a good photo of it but the little jacket in the pirate costume is embroidered with skulls and roses. That's really fitting since Rose is my niece's middle name. It took a few hours to antique all the guns and knives for the costumes. They could still use a little work. The pirate belt needs some adjusting but it's off to a good start.
#sewingfun #sewcreative #sewing #costumewip #foam #cosplaywip #sewinglife #indipatterns #cosplay  #airship #costume making #costumes #sewingmachine #sewalong #cosplayers #imadethis #sewsewsew #handmade #wip #handmadewithlove #sew #steampunk #isew
#idiy #iwantto #making #seamstresslife #cosplay #sewaholic #sewaddicted #costumemaking


Monday, September 14, 2015

Steampunk Cosplay Time Traveling Clockwork Fairy

I took a little break from pattern making to indulge my more creative side with a little Steampunk sewing for the renfest Steampunk invasion.


Working with Cork Fabric

So, I am not an expert in this - based on using it for one project.  However, I did a lot of research before buying it and watched quite a f...