Showing posts with label how to. Show all posts

Saturday, October 23, 2010

Hamburger Cake DIY Tutorial

Clearly, I am no pastry chef, but this cake actually is really easy to make and quick and was well loved by my 18-year-old brother for his birthday. 

To start, I used boxed mixes.  What can I say, I was totally exhausted yesterday.  The "bun" is 1 box of yellow cake baked into 2 8" round pans.  The secret is to fill one pan (for the top bun) more than you fill the other pan.  That gives the top a more rounded look.  The burger is a brownie mix baked into a 9" round.  I did a 9" round so that it would hand over the bun a little. 

Once the cakes are baked and cooled, then you want to frost the bottom cake.  I actually used premade frosting (which I NEVER use - but I forgot to get powdered sugar so I had no choice).  To get the bun color, I mixed a little orange and a tiny bit of green.  Then, I frosted the sides and top of the bottom bun.  Then, I layered on the burger and frosted the brownie with chocolate frosting.  I frosted it in a very lumpy way to make it look more like meat. 


For the lettuce, tomato, and onions I made marshmallow fondant.

For the marshmallow fondant the recipe is 1 package marshmallows, 1 bag of powdered sugar, and 3-4 tbsp water.  Microwave the marshmallows and water for about 2 minutes (until they puff up and start to melt).  (ps you only need a 1/2 batch for this - but kids love this stuff, so I make a full batch and let Kamille go crazy playing with it.  I keeps her busy while I make the cake.)


Then, I put the marshmallows and most of the bag of sugar into a greased bowl in my stand mixer with the bread dough hook on it.  You can hand knead this stuff, but it is a sticky mess and takes a long time.  If you have a stand mixer, use it. 

Word to the wise, cover your mixer with a kitchen towel before you turn it on to avoid having a spray of sugar all over your kitchen, 

Knead the mixture in the stand mixer until it forms a soft, elastic dough.  It should not be sticky to the touch.  You may need to add more sugar or more water depending on humidity and the marshmallows you use. 

When the fondant is kneaded and no longer sticky, you should have a really pliable dough, almost like gum paste.  One little thing I learned is that unlike fondant, you should not roll this out on a powdered surface.  Grease your cutting board (plastic or glass) or your counter top and roll it out on a greased surface.  This will give you the most pliability without drying out the fondant.  I used a circle cutter to make some tomatoes and onions.  Then, I painted the tomatoes red (it is easier than dying the fondant) and I also made lettuce.  I rolled it out very thin and then stretched the ends to make a wavy leaf.  Someone - I'm not going to name names, has my fondant tools so I had to get creative in making these leaves. 

After you get your lettuce, tomato, and onions on the burger, you want to put on the top bun.  Then you frost it.  I piped brown piping gel onto the top bun and rubbed it around to give the bun a baked look.  Then, I piped on seeds in white with the small round writing tip.  Then, the final step is to pipe on ketchup and mustard with colored frosting.  This can help cover up gaps and cracks too. 


All in all it was a pretty fun birthday cake.  I think that the whole project probably costs about $12.00 (given that you have food coloring).  Fondant is $3.00 to make, Cake Mix $1.50, Brownie Mix $2.00, 2 cans of frosting $4.00 - eggs, oil, etc.  That is cheaper than a cake from Costco.  This was giant and could easily serve 30 people.  It's 3 layers so you only need a thin slice.  You could even go big mac style and add 2 more layers for a huge cake. 

Tuesday, October 12, 2010

Promoting Your Etsy Shop

Lisa & I are so new to selling on etsy that we have been really focused on finding new ways to promote our shop and to ge the word out about it. 

I have to admit that there are so many things that I loved and will miss about ebay, mostly in the ease of listing and creating similar listings, the ability to list so many photos in the listings, and the sophistication of the search engine.

But, I finally decided to do some serious research on how to promote our etsy shop.  So, I decided to actually look at each of the applications available through etsy.  http://developer.etsy.com/applications is where you will find the apps.  The easy way to get there is to go to the bottom left of "your etsy" and click "applications".

Automatically Renew Listings 

With etsy you really are searching by default of newly listed.  So, unless you decide to make the most or least expensive items, you have to make sure that you list often. 

This is a real pain in the rump unless you use the awesome tool called clockbot from statsy.org. 


This tool will allow you to schedule listing renewals.  I cannot tell you how great this is.  We have already seen huge benefits from this is just a couple of days.  Instead of going onto etsy twice a day and renewing 5 items, Lisa is spacing the items out for renewal every hour and it is really boosting sales.  http://statsy.org/clockbot.php will take you directly to the tool.  Statsy also has a tool that will email you if you are featured on the front page of etsy, tell you who your biggest fans are, and track your listing views (you can see how many times each item is viewed and hearted).

Create a Sale
Previously, to create a sale you had to either change the prices manually, create a bogo, or give free shipping.  Now, with this awesome NEW app. you can actually put items on sales for fixed periods of time.

Etsy on sale is AWESOME.  I mean it.  Now shops can actually run sales.  Our shop is having a sale right now that I posted on facebook, our blog, and twitter.  I love this new app.  Finally, etsy fans are coming up with some serious apps to help out sellers.

Email Marketing

 
Etsy teamed up with mailchimp to create a free promotional emails for your store.  Lisa and I actually used this to create an email promotional flier that we send out with every sale that links to our blog, twitter, facebook, and newest, hottest items in our etsy shop.  I can tell you that this has increased our blog traffic. 
Copy Listings

Etsyhacks has some great tools.   Specifically, there is a tool that helps you copy content from one listing into a new listing.  This is nice if you sell lots of similar items.  How many descriptions can you really write about a paper bag album?  Really? 


Just for Fun
http://www.craftcult.com/ has a fun app, the heartomatic.  It shows you who likes you and what they like.  Which is a great way to determine what listings are going to get renewed by clockbot.  We pick listings that are getting lots of traffic and lots of hearts to draw people into the shop. 

Other Resources
Facebook and twitter are both ways to promote your shop.  For facebook you can install etsy mini on your facebook page (which is a mini etsy shop that shows your items.)  You can also make a page that all of your friends and customers can like.  Maybe Lisa can do a post on this and show you our boutique page on facebook.  I didn't do any of that, so I truly don't know how to, but I do know that it drives traffic to our shop and to our blog. 

Twitpic is another fun app from twitter that lets you tweet a photo.  I like to take pics of our new products from my cell phone when they are finished and tweet about them. 

http://www.cutoutandkeep.net/ is a great way to showcase your crafty skills.  You can list projects you have made, put together tutorials, and enter crafting contests.  I also love looking at the hot 20 on this site to get a feel for what it new and excting in the crafting community.  People like your projects and can share them on facebook and twitter. 

Treasuries

Make treasuries on etsy and share them on your blog.  With every treasury we make we end up with sales and new fans of our etsy shop and our blog.  Lisa had the brilliant idea to let people know via convo that we featured them in an treasury and on our blog.  It is a great way to help other sellers, make interesting blog content, and bring people into your shop. 

Feature the treasuries on your blog with http://www.whalesharkwebsites.com/tools/treasury.php.  It's that app I am using below to feature this treasury of etsy newbies on our blog.


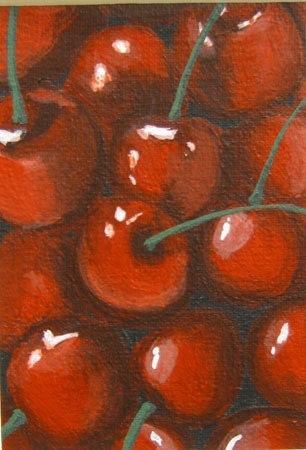
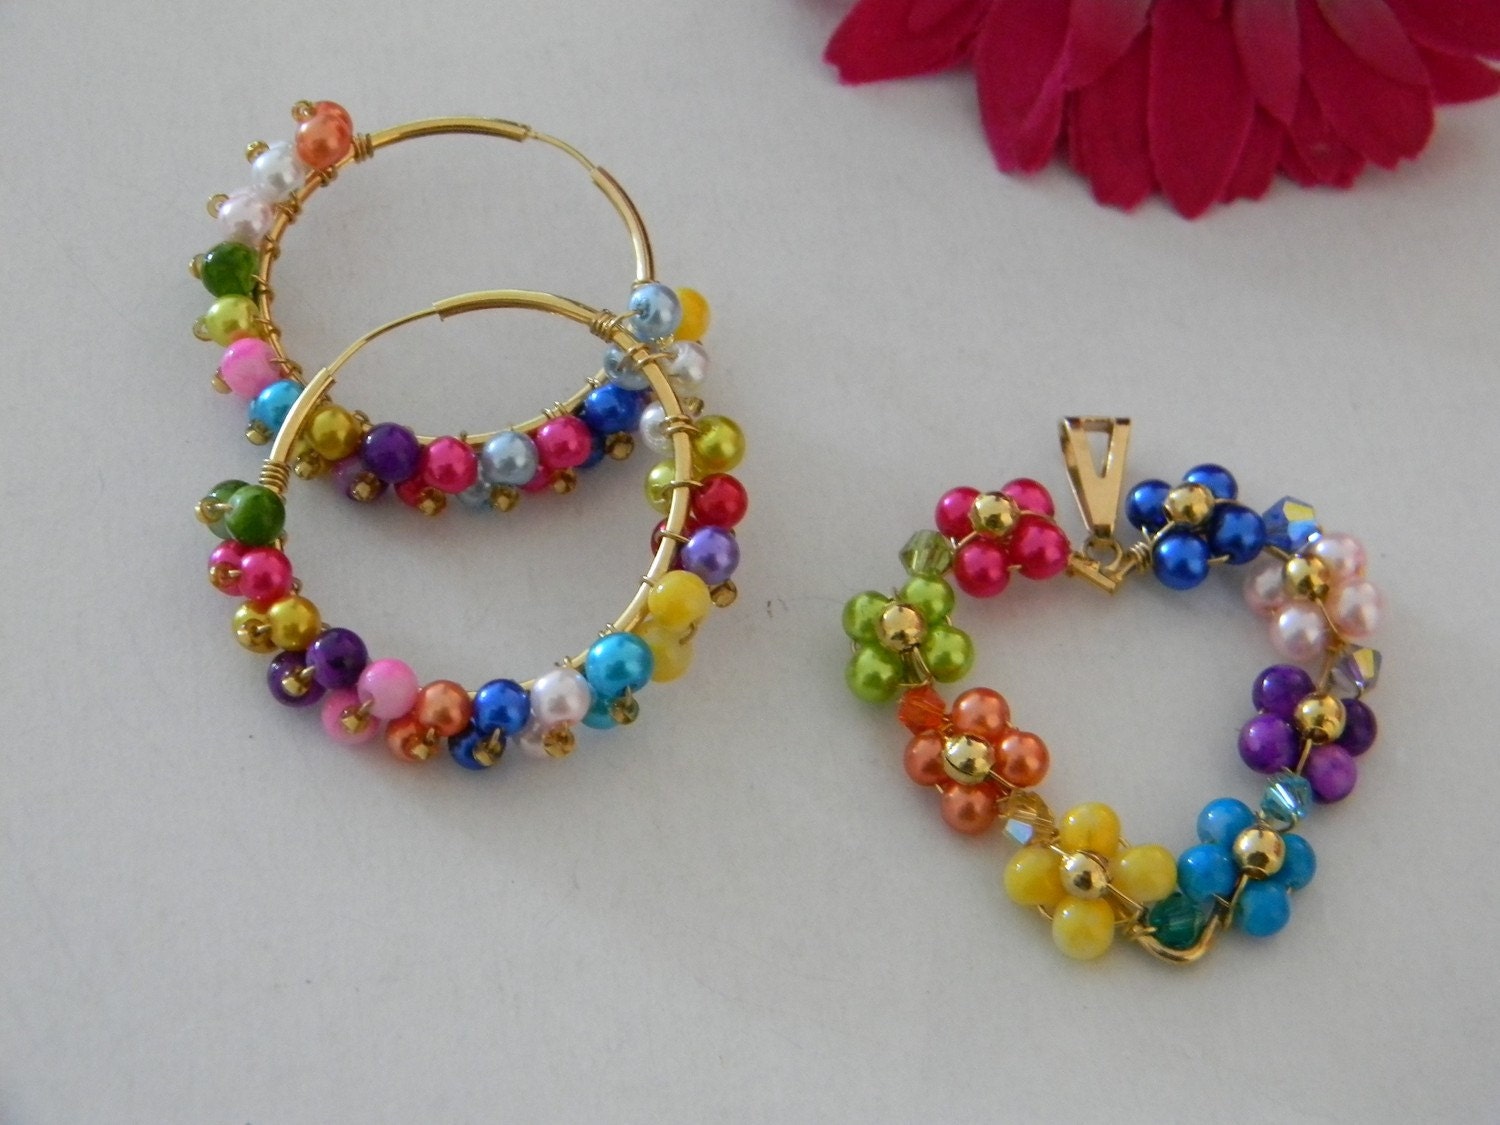
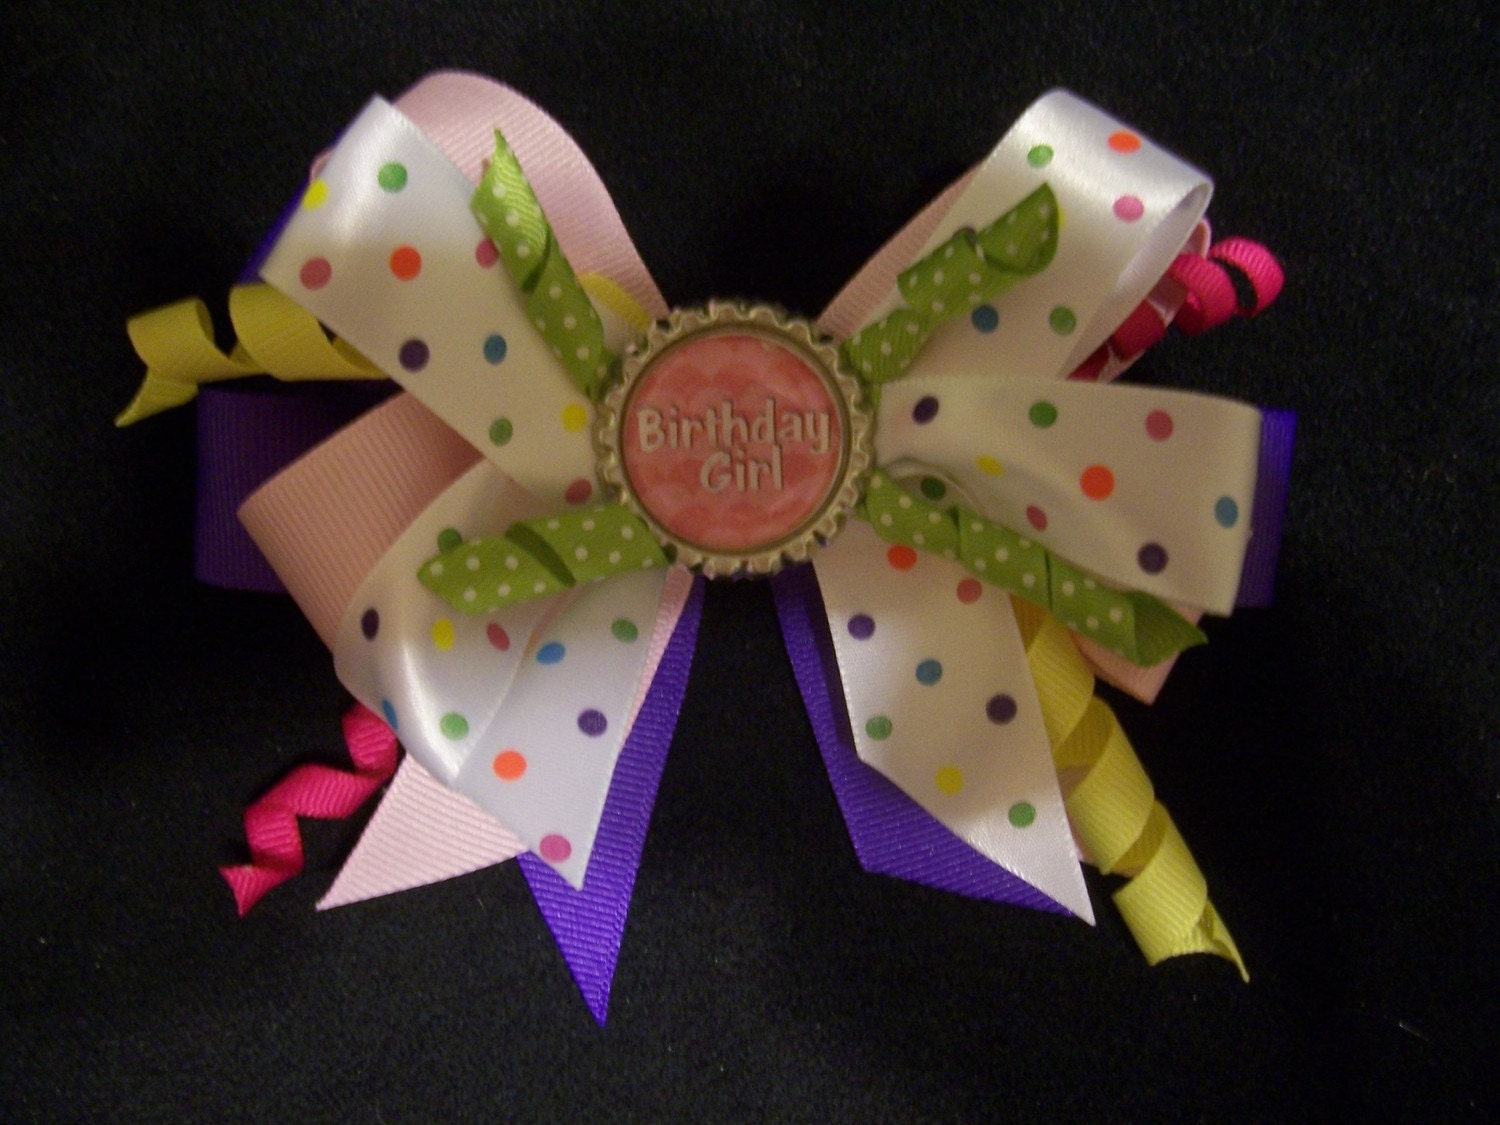
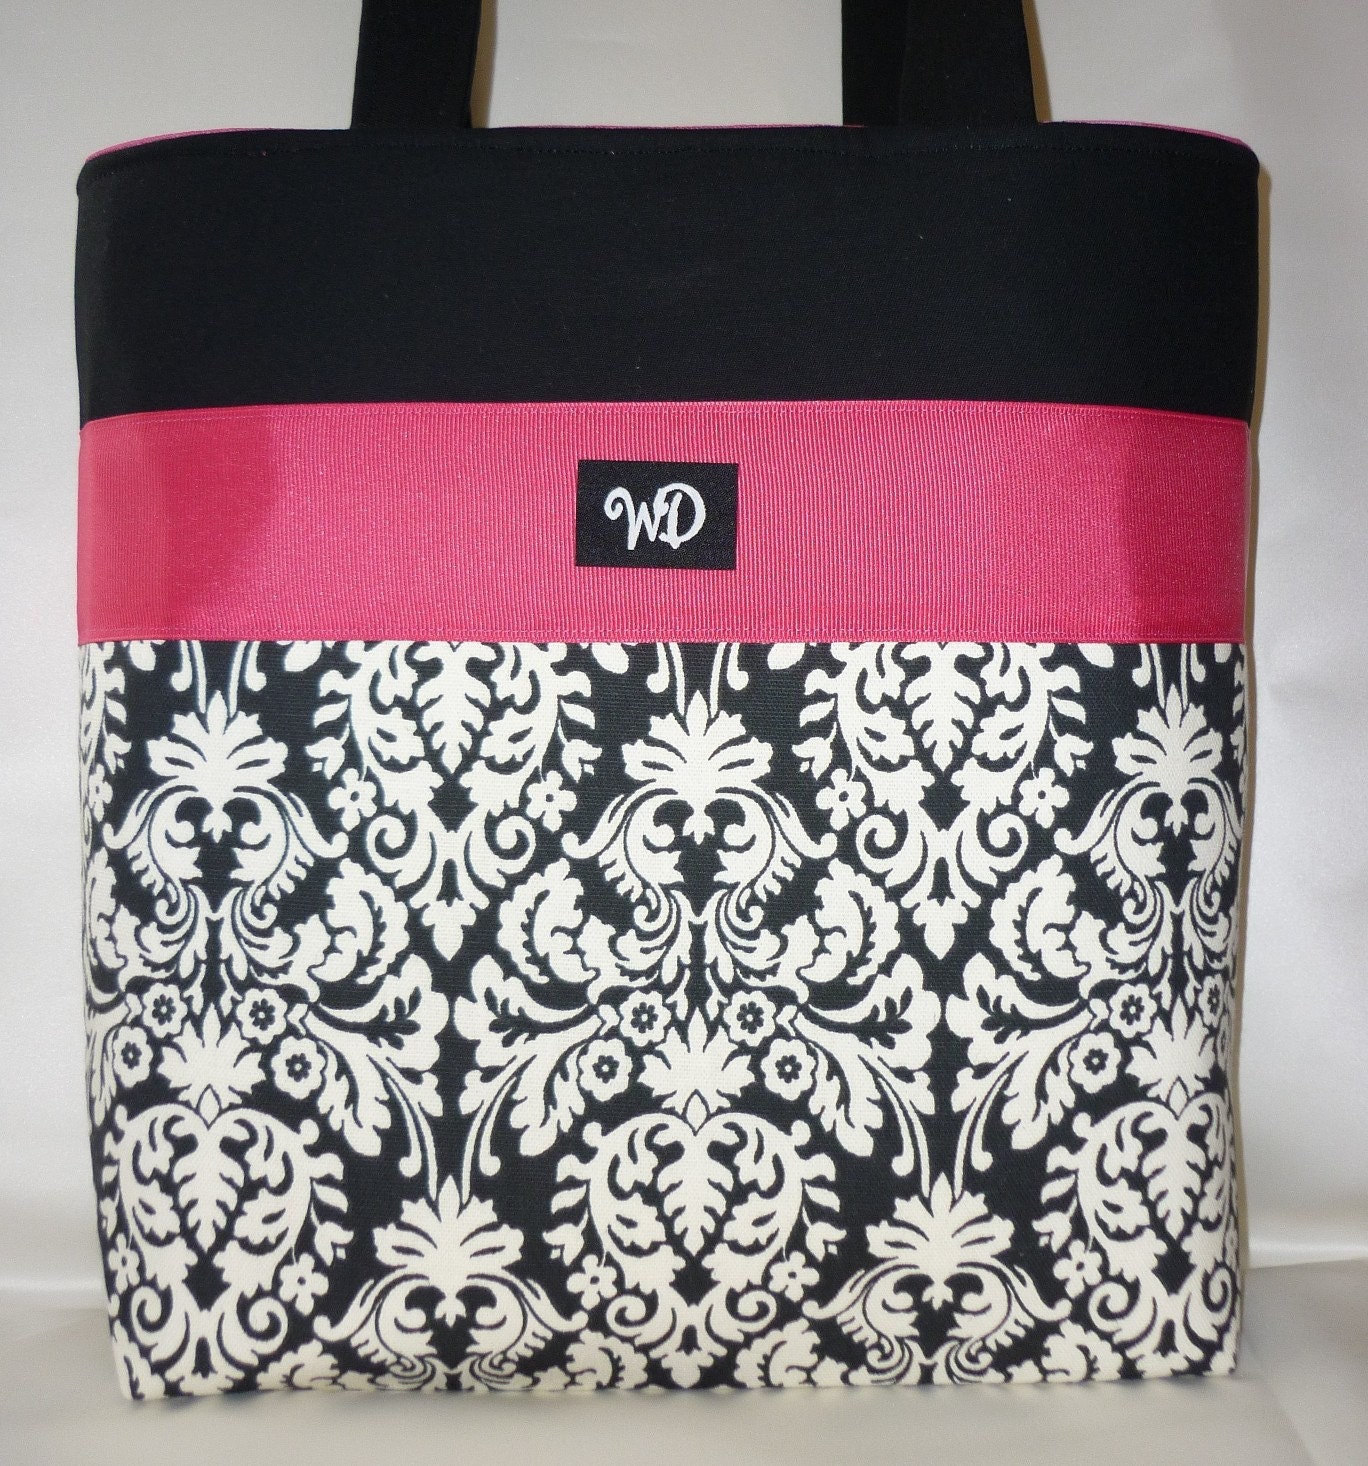
'Pop Their Etsy Cherry' by c1h8r9is

Yes, I know that my title is a little on the vulgar side, but it's also fitting because these are all sellers just waiting, hoping, lusting after that first sale. Since I just did a blog post about using the great tools on etsy to increase shop sales, I wanted to give a helping hand to some newbies. This treasury is posted on our blog www.boutiqueit.blogspot.com as well.

The Element of Wate...

$16.00
Cherries ACEO Frame...

$35.00
Multicolor pendant ...

$30.00
BIRTHDAY GIRL BOW

$7.00
Kerrin Damask

$79.00
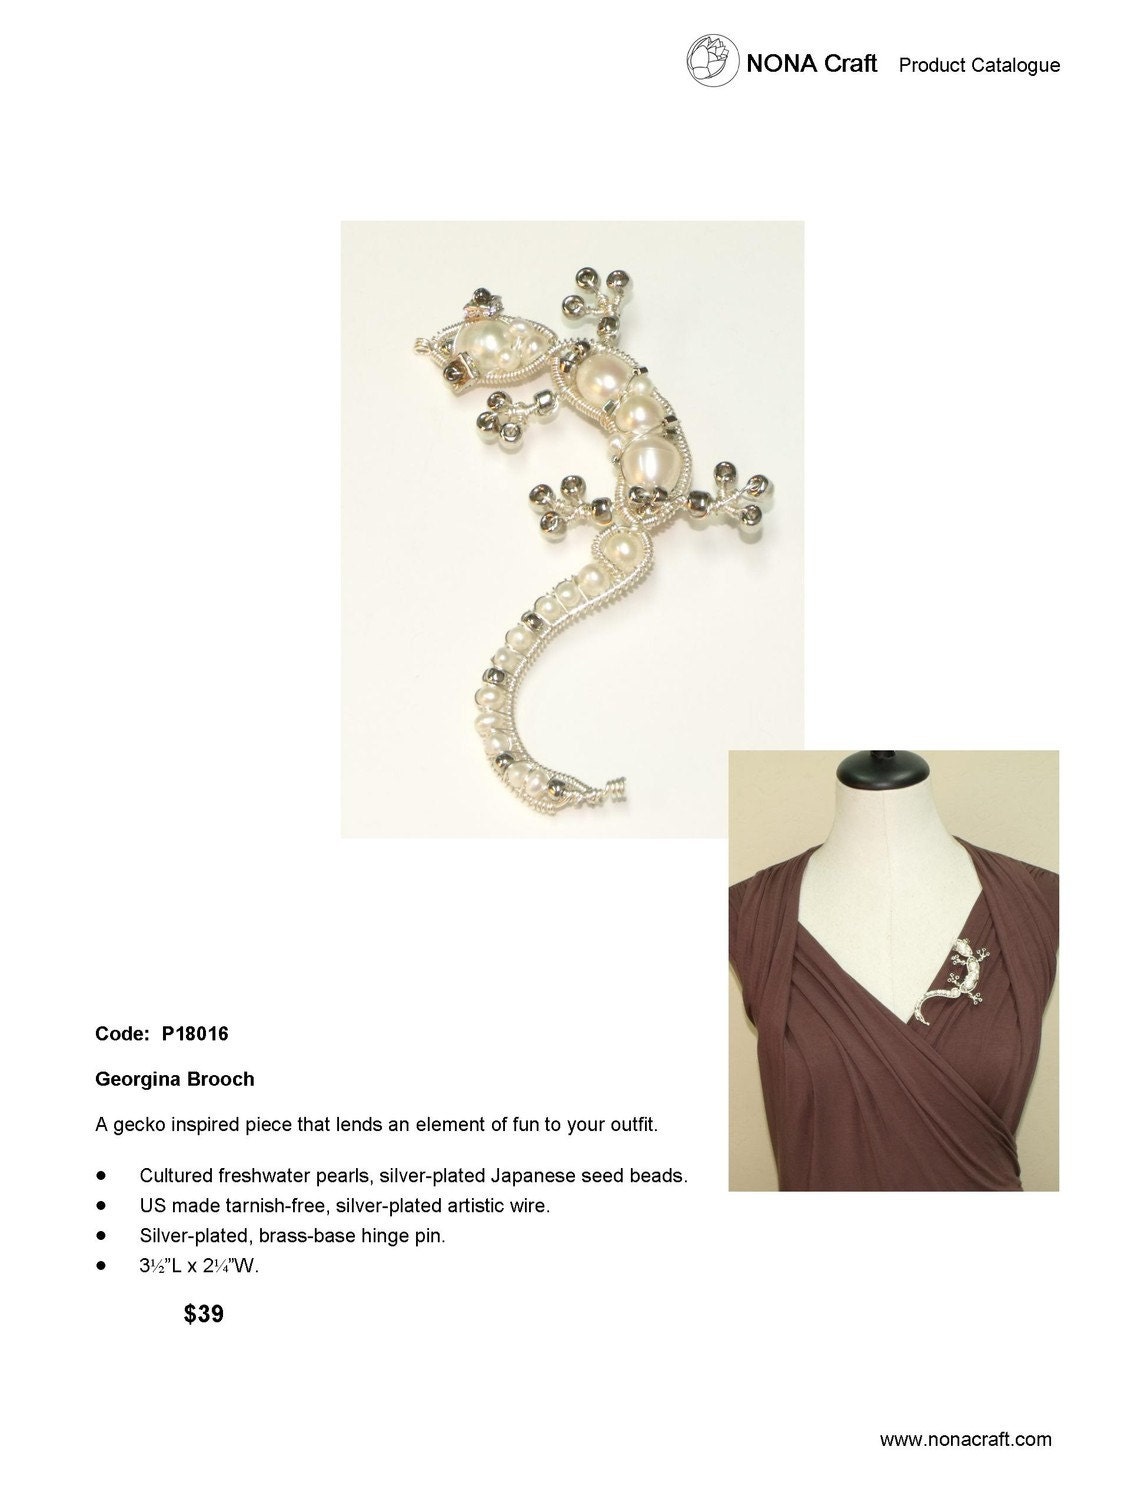
Georgina Brooch

$39.00
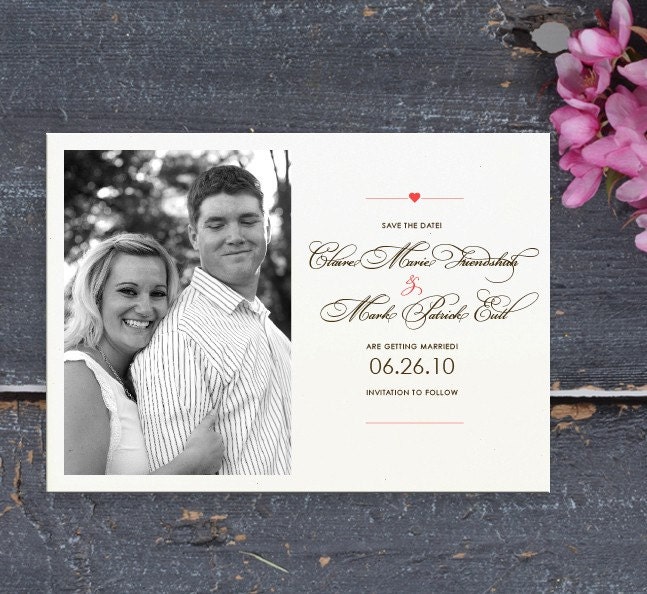
Jean - Save the Dat...

$20.00
Metal Laundry Cloth...

$14.95
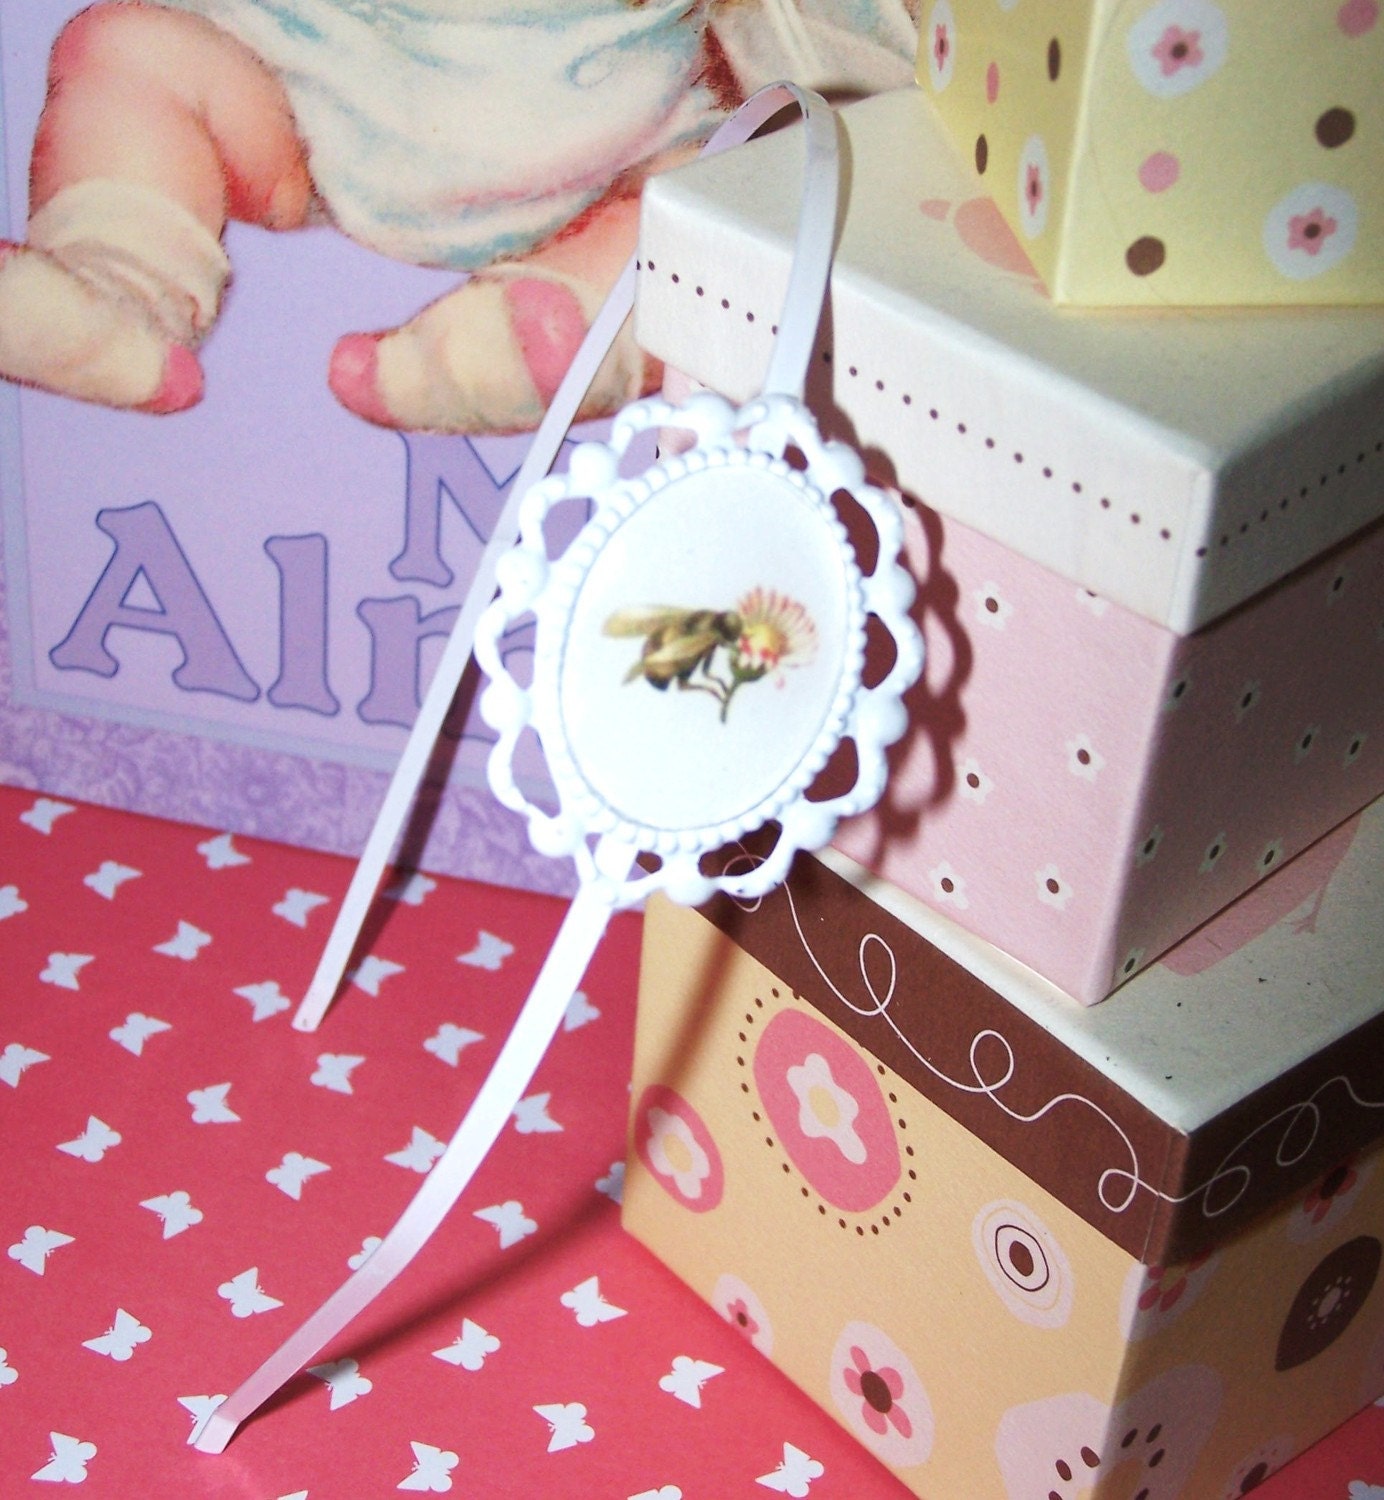
Vintage Inspired Be...

$12.00
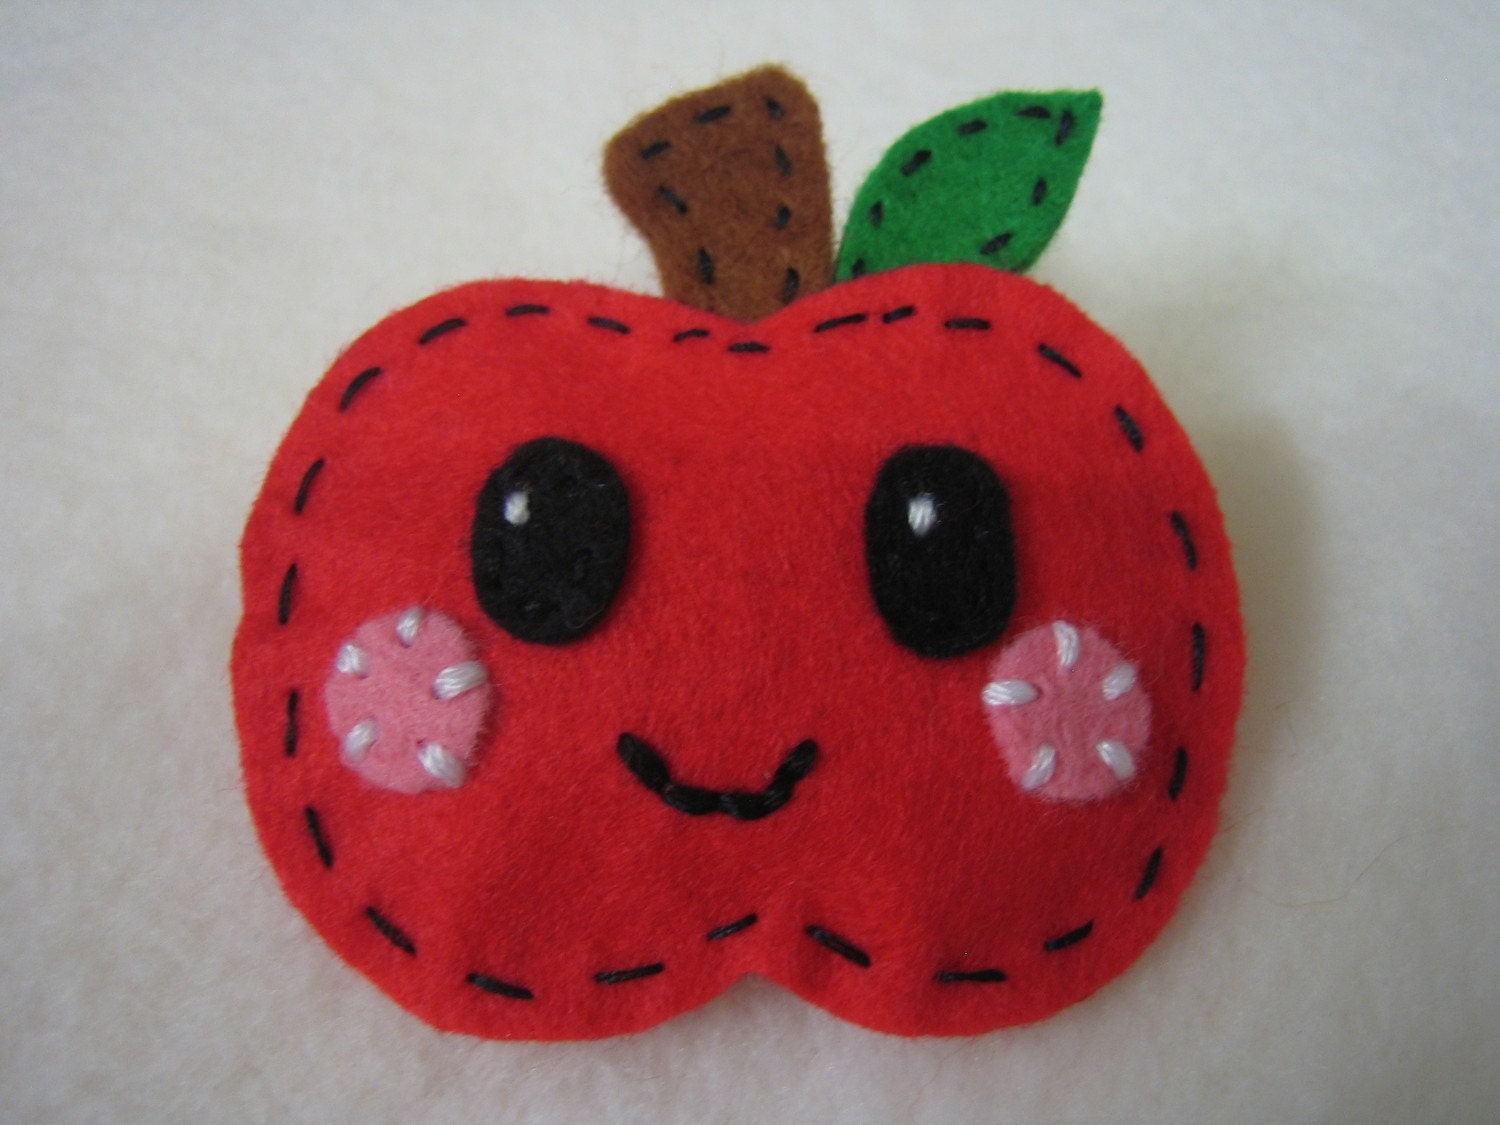
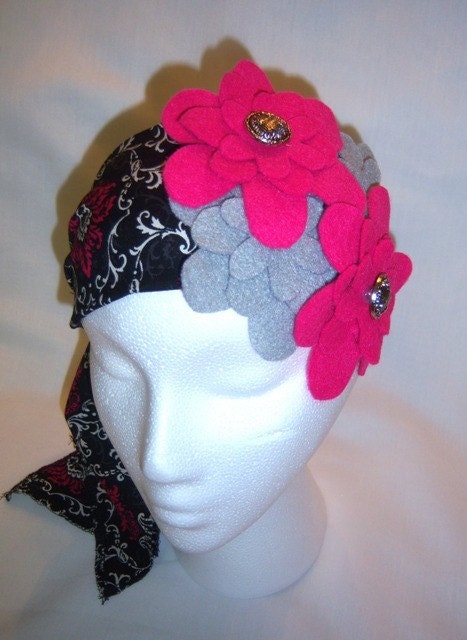
Cute wool felt red ...

$10.00
Pinky Promise

$15.00
10 dollars OFF. Bab...

$25.00
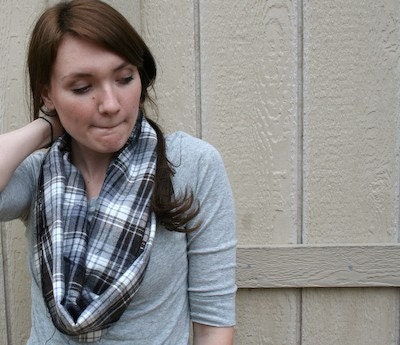
Mad about Plaid

$23.00
90-16 Pewter Baby ...

$10.00
Scandinavian Pewter...

$65.00


$

Monday, October 4, 2010

Crowns for Kids Round Up

I got to thinking today about how much kids love to accessorize as I watched my two year old put her sun glasses on her face with a very pleased look. She always needs a bag, or a back pack or a purse. Always wants a pretty dress or a sparkly pair of shoes. She's not into princesses per say but she loves hats and crowns. So here it is... a roundup of easy crowns and a felt hat that you can make with or for your own special little people!

Maureen and Shanti over at Twig and Toadstool show you how to make this awesome fall crown out of nothing but leaves! So get outside, go for a walk, and collect some beautiful fall leaves!

===================================

Homemade by Jill shows you how to whip up this super cute birthday crown.


She even gives you a free template for the design!

=====================================

One Hour Craft has a great tutorial to show you how to make this beautiful flower crown.
With a change of flower color this could go for any special occasion holiday!

======================================

Crochet?

Check out this tutorial for an absolutely adorable crocheted crown from Oh So Happy Together!

=====================================================

4 Crazy Kings tells us how to make this great green craft. Recycle your paper coffee sleeves into fabulous paper crowns with a little help from some sequins and tissue paper!


What fun and easy way to use what you have on hand.  

==================================================

Bitter Betty has really out done herself with this awesome gold crown!


I love this one! Looks so professional! What a great addition to any Halloween or dress up outfit!

 ====================================================

Nikki over at WhiMSy love has a very clear and fun tutorial on how to make these adorable newspaper crowns with your kiddos!


==========================================

Just my Rambling has a very easy an innovative way for your little one to make a princess crown.

A paper plate, some crayons, and some foam stickers; that's all you'll need!

===================================================

Katydid and Kid has a wonderful fall crown tutorial made from felt.


Aren't the colors so soothing and warm?!

==========================================================


One more felt crown! How sweet!! Little Lizzie gives a tutorial on how to make this sweet crown!


Look at all of that embroidery work!

====================================================

I just plain ol' love this one!! It make me want to fall in love allover again!


No Knows Weddings shows us how to make this most beautiful crown
for the little girl in all of us!

=============================================


Happy Crafting!!


Tuesday, September 28, 2010

DIY Hair Bow Holder Tutorial

After sewing 6 dress up ponchos and making 2 new sewing patterns today, I was totally burned out on sewing.  I decided to look for an apple hair bow to make for Kamille's apple orchard field trip on Friday.  Looking through photos of hair bows inspired me to get moving on a project I have been wanting to do for a while - hair bow holders. 

I have about 5 tutorials/ideas here for making your own holders.  Call me crazy or just plain cheap but I almost had a heart attack when I saw that people were paying $10-$30 for these things.  I get it, the hand painted ones have some work involved (not as much as you think - I just painted an entire play kitchen in 2 hours).  But, seriously, this is a NO SEW - Hot glue project that is ideal for using up scraps you have around the house.  This one is really a freebie if you are a crafter because you probably have all of this stuff.  If not, you could get everything you need: glue gun, felt, appliques, flowers, ribbon, hot glue sticks, beads, etc. from the dollar store. So, even if you have to buy everything, you can make a fancy hair bow holder for less than $10 easily.  I think that these would be great birthday or Christmas gifts.  I might make a fancy one for each girl in preschool for Christmas.  

All of these were made with stuff I have lying around the house.  I also want you to keep in mind that you could make this with a LETTER INITIAL - They sell them already painting at Michael's, JoAnn's and Hobby Lobby - Plus a million other places.  I think I have seen them at Meijer.  So, you could just glue to ribbon onto that and have a personalized hair bow holder.


You could also use the little mini canvases.  I made a couple into photo frames with some scrapbook papers. 

mytatteredangels.com - one of my favorite blogs for mixed media/scrapbooking has this great little canvas just to give you an idea of what I am talking about, but you could just use one of the prepainted canvases - they are everywhere.  I know Target had little prepainted canvases that matched Kamille's comforter and I have seen them with initials and many other things.


But, you could really get into this project and make a beautiful canvas with a family photo and then glue the ribbons down from that. 

Upcycled CD 

For this project I made the standard round hair bow holder.  Instead of painting it, I used felt. 

I traced around a CD and the cut my felt out - 2 layers.

I cut a length of 2 types of ribbons. One is fatter than the other so I can layer them. 

I glued the double layer of ribbon down onto the back piece of felt.  I left a tail at the top about 1" so that I can put a nail in it to stick in on the wall.  Then I glued over the whole backing piece.


 I stuck the CD down onto the backing piece and then I glued to front piece of felt down.  This way I used up a useless old CD and made a stiff and perfectly round circle for my hair bow holder.


Now it's time to decorate.  I didn't feel like putting an initial down so I just ironed on a glitter heart applique I had.  If you wanted an initial, you can buy many different premade varieties or you can just print out the size and style of letter you want to a word processing program and use it as a pattern piece to cut out the monogram out of fabric. 

Then I glued down a big bow.  I am going to tell you how to make corker ribbon now.  It's so easy (but you could just buy a fancy bow at the dollar store)


Take the ribbon you want to use and clip it onto a small dowel.  You can get a 20 pack for a couple of bucks at the craft store in the wood section.  You can use binder clips of clothes pins.  It doesn't matter.  Twist it around in a spiral.  Bake this in the oven on a cookie sheet (I cover mine in fresh foil just in case there is any residue on it) at 200 for 20 minutes.  Once the pieces are cool, unwind it.  The ribbon will stay twisted up.  Secret revealed.
Then I just tie a few short pieces of the corker ribbon onto a bow.  Seal the ends of the ribbon with a lighter to keep them from fraying. 


This isn't the best photo, but I also glued a small bow at the bottom.  It took me about 10 minutes (the bows were already made and sitting around here).

Premade Wooden Bow Holder
 
I also have a bunch of prepainted wooden dodads lying around.  They are like $1.00 already painted at the craft store. 

I basically did the same thing. 
I took the painted wooden bird and glued a bow onto her head.  Then I glued my ribbons onto the back and put a bow on the bottom. 

I added some buttons to make it a little cuter. 

Photo Frame Bow Holder
This is a little 4x6 frame that would work well holding baby bows or little barrettes.  I would use a bigger frame for bigger girls.  I had this one lying around.  I actually saw a really beautiful one that used a really ornate frame and I might make something similar for Kamille dress-up area. 

I started out with a frame and removed the glass and cardboard.  I put it face down on some fleece (because I have it and I am out of batting).  I used 2 layers to give it some fluff. 
Then, I glued the fleece onto the frame base.  See how I cut it a little smaller that the back of the frame.  If you don't it will be too bulky and it won't fit back into the frame. 

Next, I took a piece of fabric (if you are making this for a baby - use one of the receiving blankets you got.  I had sooo many that just went unused.)


 I glued it on to the back gift wrap style. 


Then I cut a few pieces of ribbon (rick rack would have been cuter, but I'm out).  And tacked those down on the back of the frame backing.  This is where you clip the bows so you don't want to glued onto the front, only the back. 


Then I shoved the whole thing back into the frame.  It took a while to get it in there because of the bulk, but I did.  I glued a bow onto the top just to give it a girly touch. 

TUTU HAIR BOW HOLDER
Everyone has seen this one.  It is actually really easy to make and there are so many things that you can do.  It would have been super cute with some flowers added onto it, but it is getting late and my enthusiasm is waning. 
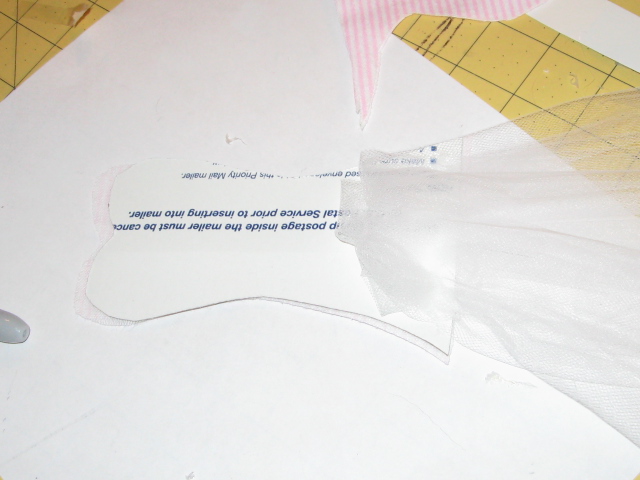
I freehand sketched out the shape of the bodice onto a piece of cardboard (it's a mailing envelope I am recycling because I get about 10 of these a week in the mail from clients.  I hate throwing them out.)

 I cut it and 2 layers of fabric out at the same time.  Then, I glued one of the pieces of fabric down as the backing. 


 I used tulle by the spool (it's a buck) to cut several lengths of tulle for the tutu skirt. 
 I folded the tulle in half lengthwise and then glued it down onto the cardboard.  On top of that I glued a few strips of ribbon for more decoration.

Then, I glued down the front piece of fabric over the whole thing.  I pushed it down to have less bulk where the tulle is.  I glued down some trims to make it more decorative.  You could also use bows, flowers, gems, etc.  I glued a handle onto the back with a little loop of ribbon

 Now the bows can clip onto the ribbons and you have a cute tutu style holder. 


HAPPY CRAFTING!

Working with Cork Fabric

So, I am not an expert in this - based on using it for one project.  However, I did a lot of research before buying it and watched quite a f...