Showing posts with label cookies. Show all posts

Thursday, November 24, 2011

Fall Leaf Cookies


I've been wanting to make these fall leaf cookies since I saw them a while ago.  We got everything out to make the cookies and then low and behold in the over 200 cookie cutters we have there was no leaf to be found.  They've probably been used in the play dough table.  Well, I improvised and used grapes instead. 
 For this simple project, I just used 1 roll of premade sugar cookie dough.  Leave it out for about 20 minutes before starting so you can knead the dough.  I cut it into 4 pieces and put each piece in a ziplock bag with some food coloring.
 Kamille kneaded the coloring into each ball of dough, mess free I might add.
 Once the color was blended into the dough, I put it into the freezer for about 10 mintues just to chill it down again.
Here you can see the four colors we used.
 Next, you tear the dough into little balls and arrange them on a piece of plastic wrap or parchment.  This way you avoid a mess and you don't need to add extra flour into the dough.  Smaller balls with make a more marbled look.
 Once you have all of the dough in place, cover the sheet with more plastic wrap or parchment and roll it to about 1/4" thick.
Then you can cut out your shapes and bake as directed. 

Tuesday, January 18, 2011

Chocolate Dipped Oreos Tutorial for Valentine's Day

I love oreo cookies so I have been waiting for a time to make these chocolate dipped oreos.  This batch is going off to my uncle.  I know he will enjoy them because I have personally caught him hiding in the pantry eating cookies behind my aunt's back. 

My this little project you need oreo or another favorite sandwich cookie of your choice, white chocolate, dark chocolate, and I also used pink candy melts, non-pariels or other sprinkles, and conversation hearts.

Follow the directions on the chocolates to melt.  You want them really warm, but be careful not to burn the chocolate.  You should use a heavy bowl, not a plastic container.  You are more likely to burn the chocolate if you melt it in plastic. 


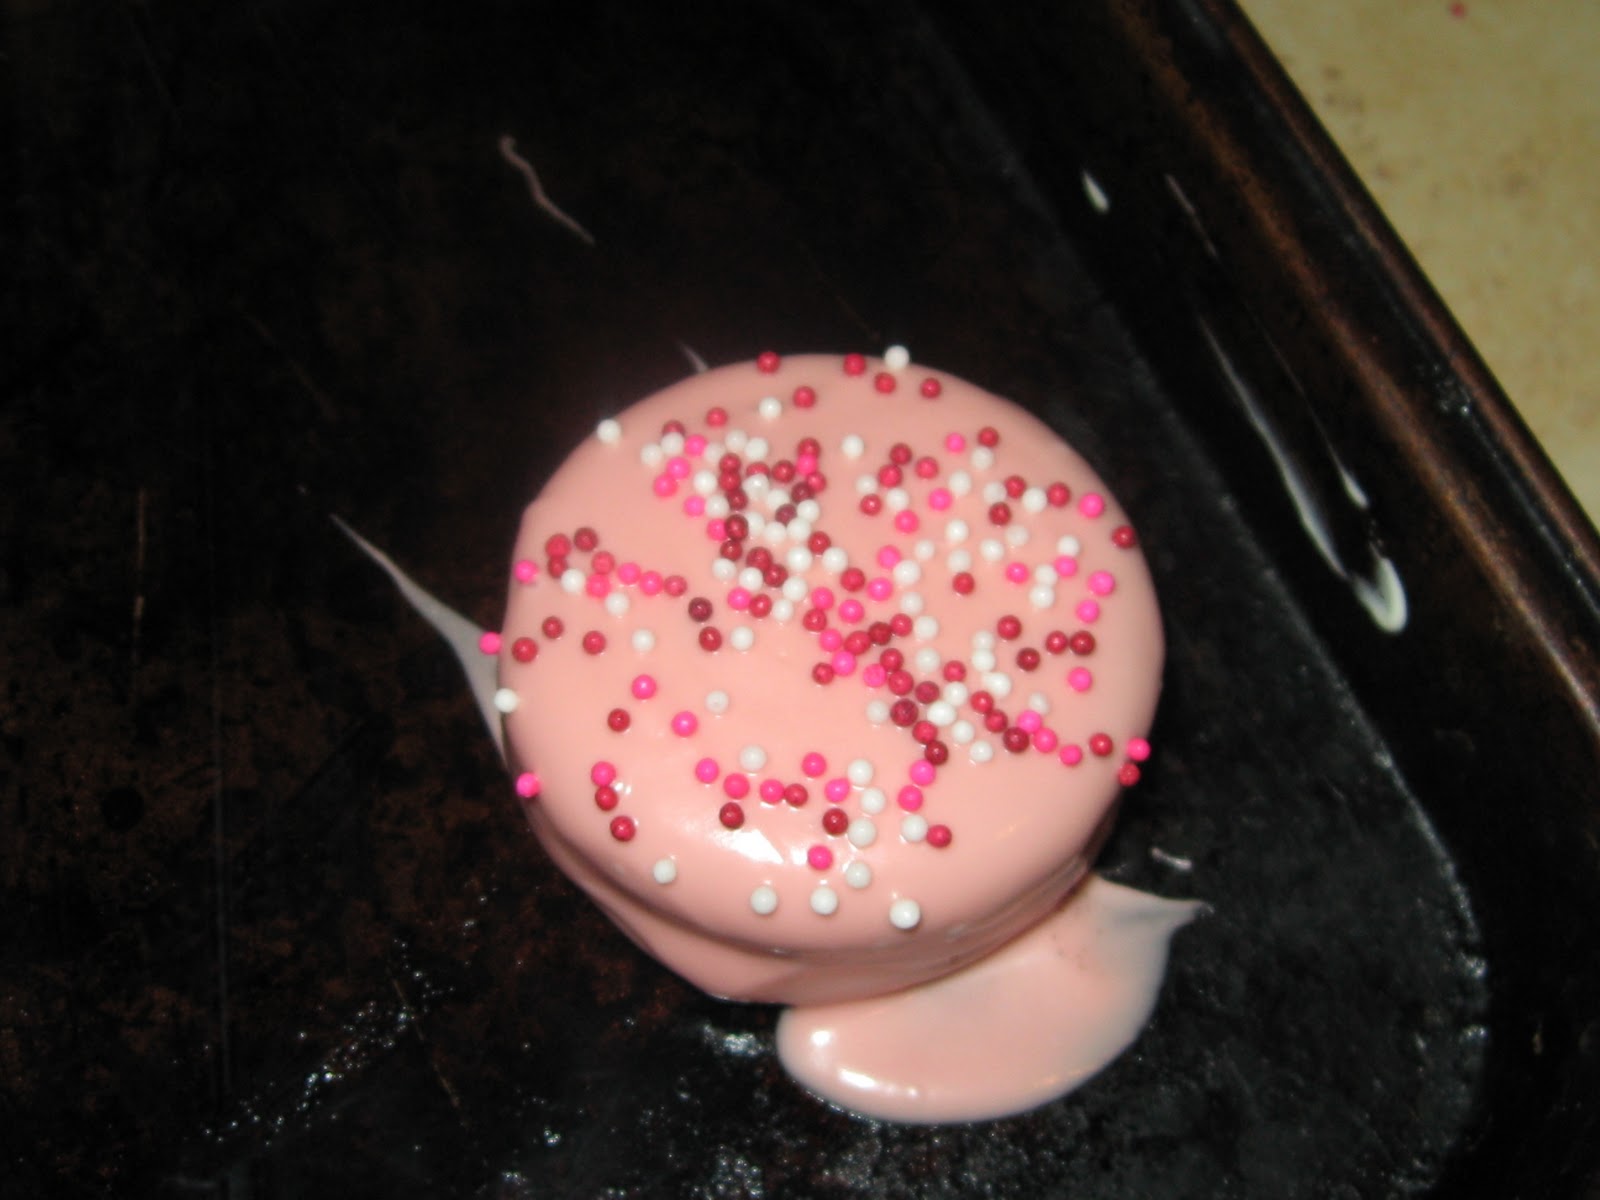
 I use a regular fork to dip my cookies.  There is a tool for dipping that you could buy, but why waste money?  Dip the cookie so that it is totally covered top and bottom.
 Gently tap the fork on the side of the bowl to remove some of the excess chocolate and smooth out the candy.  If you wanted to make lollipops for a school party, you would stick the sucker stick into the middle of the cookie before you dip it and then use the stick to dip the cookie. 
For this batch, I used non-pariels on some of the cookies, sprinkled on immediately after dipping.  I also drizzled melted chocolate in contrasting colors and made some chocolate hearts to put on the top of some of the cookies. 
 Place each cookie on wax paper, parchment, silpat, or a lightly greased (with butter) cookie sheet.  They set up quickly, especially if you put them in the freezer (which will help them pop off if they get stuck).  Notice how I didn't care if the bottoms were not perfect.  Once the cookies are set, you can remove the extra chocolate.  It just snaps off.  If you are really concerned, you can clean them up with a knife. 

Finally, I put them in a cupcake box.  They come in a 3 pack at Michael's for about $3.99.  The little box hold 12 cookies.  I tied it with some curly ribbon.  If I was making lollipops, I would wrap each one in a plastic candy bag and tie it closed with a bow.

Sunday, January 2, 2011

Valentine's Day Handmade Gift Round Up

It's always good to have your ducks in a row when it comes to handmade holiday gifts.
If your like me you'll need the extra month to get some of these super great handmade Valentine's Day gift ideas done in time!

======================================================


This cute little wrapped paper chocolate bar from Stinkin' Cute Stuff would make an excellent Valentine's gift for anyone.  

=======================================================


I love this idea from Alpha Mom! You could could do these up as a surprise for your little ones or have them help and send them off you Grandma. What a fun way to use up all of that scrap paper!

====================================================


These are just too adorable! I think I might wear one;)
The Purl Bee provides a wonderful tutorial on how to make some of these Rose Barrettes!

======================================================


Who wouldn't love this yummy jar of cookies! Found this idea over at Squidoo.

=====================================================


Catching Fire Flies offers a bunch of really affordable and fun ways for the whole family to share on Valentine's Day.

======================================================


Catching Fire Flies also has a very easy tutorial on how to make this sweet recycled firefly! This one is too good to not share;)


I love that these little treat boxes feature special art work! These would make very thoughtful classroom treats to share! Check out inchmark for more great ideas!

======================================================


This is one of the cutest ideas yet!!! Stitch Craft gives an amazing tutorial on how to make these little tissue holders. What a great time of year for a gift like this!


=========================================================


Moda Bake Shop gives full measurements and directions on how to sew one of these Valentine's Penny Pockets! These would be cute holding your silverware for a romantic dinner!

===========================================================


Cake Journal does it again!
My mouth is watering looking a this cute paper cone filled with sugar cookies!

=================================================


This crocheted edging on About.com would make a very sweet trim on the bottom hem of a pair of jeans or a cotton dress!

=====================================================


Sew Mama Sew has a really easy tutorial on how to make one of these sewn valentines for someone special in your life!

=================================================

Happy Crafting!!


Wednesday, October 27, 2010

DIY Break & Bake Cookie Dough Tutorial

I love making cookies with Kamille, but I always seem to be throwing away most of a batch of uneaten cookies.  So, I decided to try making my own break and bake style cookies so that I could have the convenience of refrigerated cookie dough, but have all natural ingredients.

I started with my favorite cookie recipe.  I usually just use the recipe off of the nestle morsels (then I substitute whole wheat flour and flax seed meal for the white flour).  Plus, I like to make without eggs, so I substitute milk for the eggs.  It makes a chewy, delicious cookie.

Once I finished making my batter, I refrigerated it for 2 hours, until the dough was really stiff.


Next, I lined a small pan - I think that it is about 5"x5" with wax paper. 


Then I filled the pan about 1" deep with cookie dough.  I pressed it flat. 


Next, I cut it into sections, cutting about 1/2 way through the dough.


Finally, I wrapped the wax paper around the cookie dough, lifted the whole package out of the pan, and sealed it into an airtight gallon Ziploc freezer bag. 


You can keep cookies in the freezer for up to 3 months (the store bought kind last longer in the freezer and fridge because they are full of preservatives).  The dough will keep in the fridge for 3-5 days.

To use, you take them out of the freezer and let them defrost before baking. 


Monday, October 11, 2010

Pumpkin Pop Tarts ~ Free Tutorial

A big thanks to my good friend, Autumn Rae, who sent me a link to these adorably delicious Pumpkin Pop tarts over at The Family Kitchen!!


You see Autumn is one of my most talented pals who is most famous for her Maple Bacon Cupcakes. And let me tell you her fame is well deserved. Those cupcakes are sinfully delicious. If your in the Ann Arbor area you should give them a try;)
But in the meantime, you can make my awesome version of these cute little pumpkin pop tarts. Thanks for the inspiration Autumn!!
=======================================


So after recovering from laying on the couch all weekend sick, I was ready to make something seasonal and warm to make up for our missed cider mill trip. You've got to admit, having the flu stinks! And the first thing that came to mind was these pop tarts. I didn't have any pumpkin on hand so I decided to wing it.  And here's what I came up with:


I put them together while my two year old was taking her nap. They were super easy and best of all, I used what I had on hand and it worked!!

You will need:
one egg white
small amount of flour
refrigerated pie crusts (you could make your own too!)
assorted fillings (I used caramel ice cream topping, lemon curd,  and preserves)
Orange sugar
cookie sheet
pumpkin cookie cutters
rolling pin
pastry brush


Preheat you oven to 400 degrees.

Unroll pie crust onto a floured surface. Cut out your pumpkin shapes.

*These would be cute for a birthday breakfast too. Try cutting them into cupcake shapes.*

 Next cut out the face.
I used an exacto knife that I use for cutting fondant. A parring knife would do the trick. I also tried out some of my small gum paste cutters. I like the way the teardrop cutter gave the pumpkin personality!

Each pop tart will need an uncut bottom and a cut face top. I got 6 pop tarts out of one pie crust, the box made 12!


Then I filled each pumpkin with a small amount of filling spread from the center out.


Next, I topped the filled bottom layer with a face topper. With a fork I pressed along each edge of the pumpkin to seal the tart closed.


Finally, using my pastry brush, I brushed the top of each pumpkin with egg white and then sprinkled the top with orange sugar. You could skip this step if you like.

Don't have any orange sugar? Don't fear! Just place some granulated sugar in a zip lock baggy with a couple of drops of orange (or yellow and red:) food coloring and mix until colored!
Easy Peasy!


Bake for 8-10 minutes on an ungreased cookie sheet. Cool on a rack and enjoy!


Happy Baking!!

Tuesday, October 5, 2010

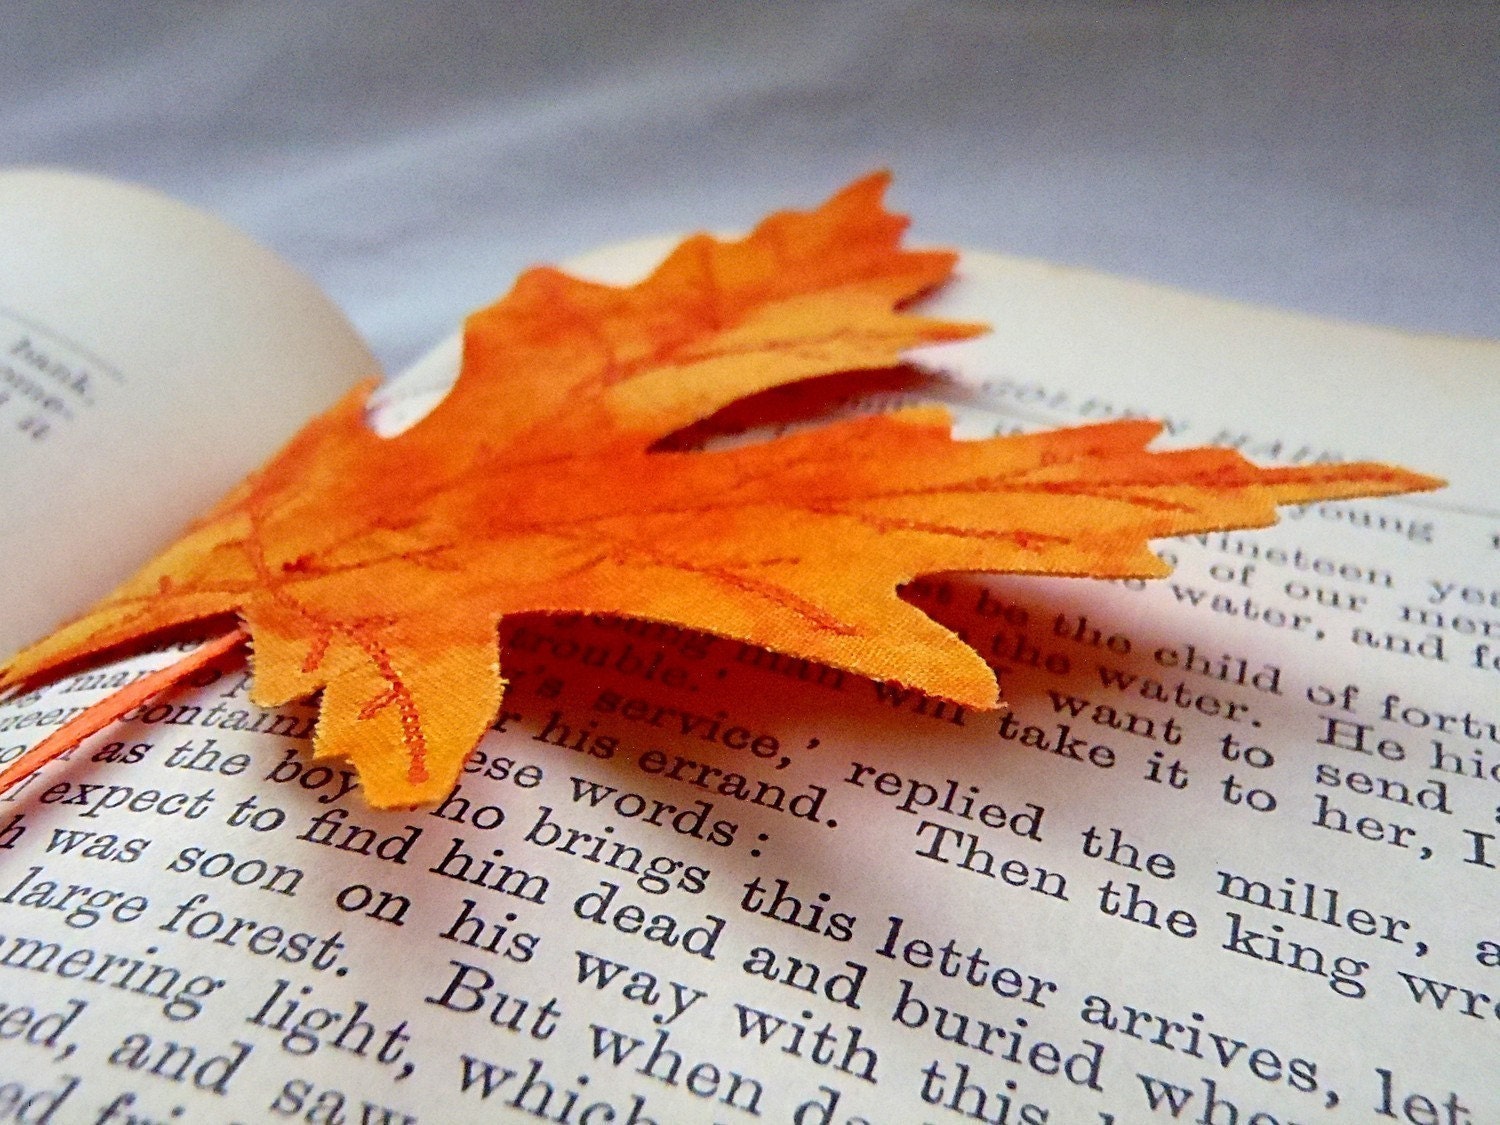
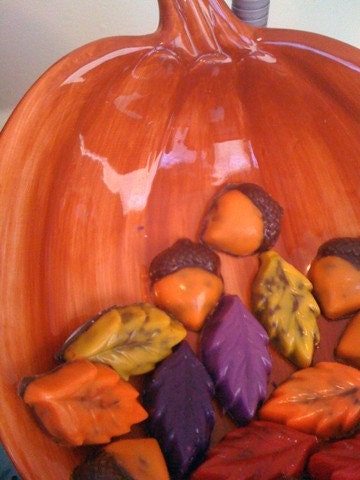
Inspired by an Autumn Day

'Autumn Warmth' by c1h8r9is

Celebrate the warm colors of fall.


=============================================================================================
Turn on the oven and bake a batch of these awesome fall cookies. They also give directions for these adorable felted pumpkins.


Check out the free tutorial for fall leaf cookies on Country Living.

===============================================

That's it! I'm getting these kids bundled up and going out for a fall leaf hunt as soon as I'm done here!!!!
This free tutorial for how to make roses from maple leaves is amazing and totally free! Life doesn't get much richer than this!


Thanks haha.nu!

==================================================

Here's a really easy and fun fall pumpkin free tutorial from Make and Takes.

This is a great site full of tons of useful ideas! Head on over and check it out!!

=====================================================

Here's another way to honor the beautiful colors of fall.


How fun!

===============================================================


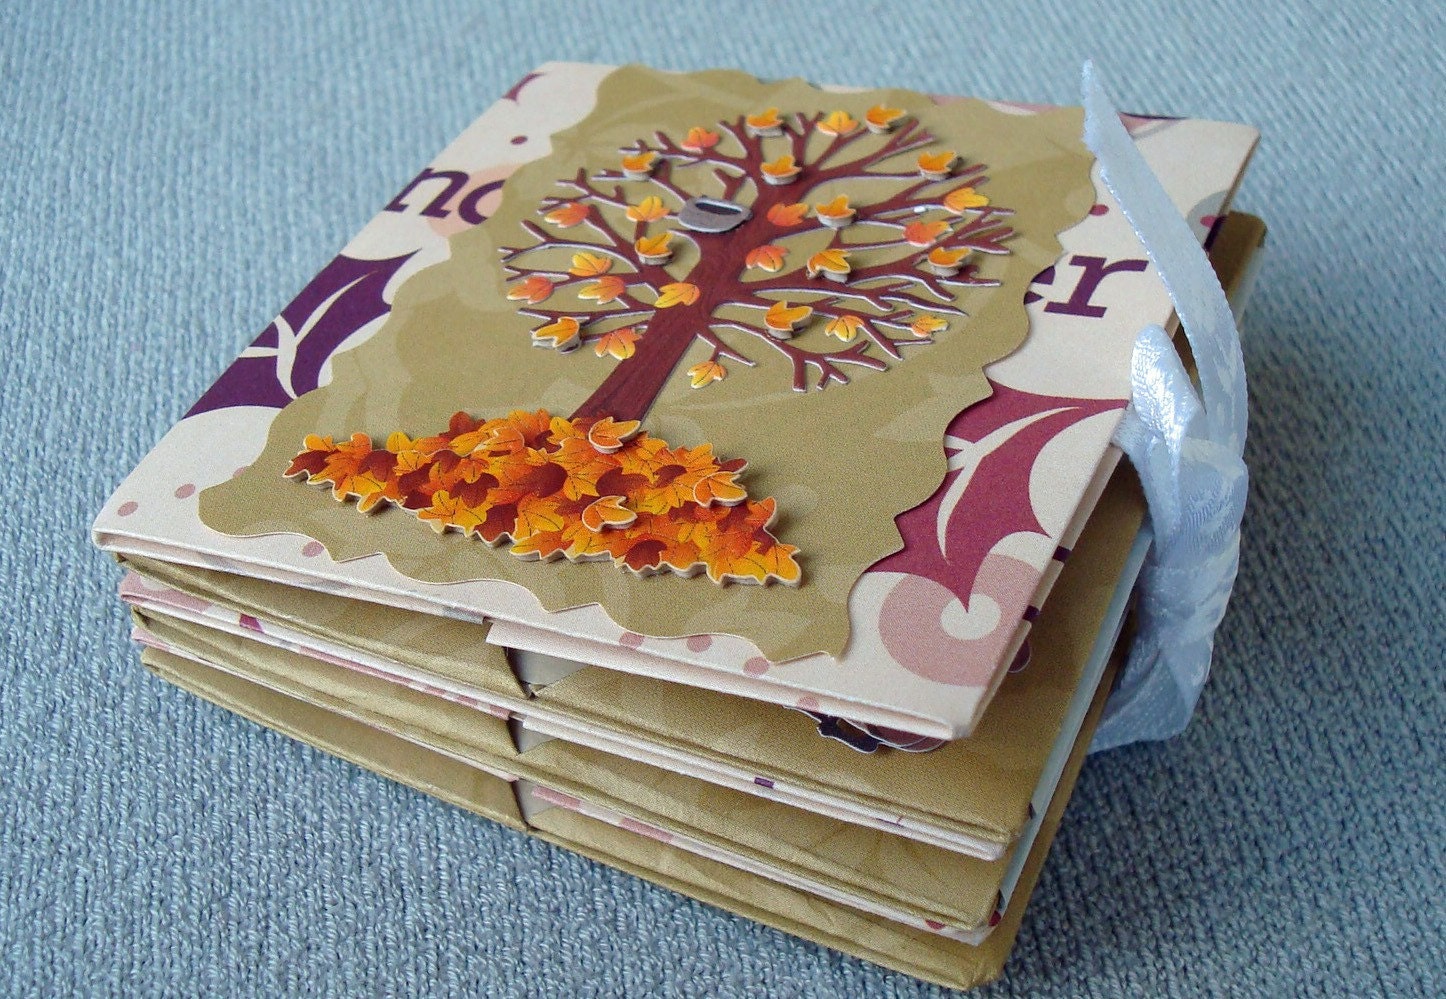
What a fun way to house all of those new/old memories of autumn!


=====================================================

Happy Crafting!!

Working with Cork Fabric

So, I am not an expert in this - based on using it for one project.  However, I did a lot of research before buying it and watched quite a f...