This pattern is a great all around pattern. Made from cotton they are nice relaxed fit pants. Make them from flannel for PJ bottoms. Boys love to choose out their own fabrics jsut as much as girls do.
The pattern is unisex so it works for girls and boys. Click here for the pattern.
Showing posts with label boy. Show all posts
Friday, November 18, 2011
Friday, November 5, 2010
Christmas Gift Tutorial Roundup - Elementary Aged Children
Nintendo DS Cases
There probably isn't a hotter gift item for kids in this age group than the DS. It is a must have. So, whether you are crafting for a boy or a girl, a DS case would make a great gift.
This drawstring case from Mariska is one of the simplest ideas for a case I have seen. It makes me want to make a few for my upcoming craft shows.
Notice the little pocket in back for the games. Check out the DS case tutorial here.
This is another great Nintendo DS case tutorial from Kender Crafts. Plus, her blog is awesome. I didn't see an idea on there I didn't like.
I Spy Bags
This is also from Kender Crafts, but you can find the tutorials everywhere.I Spy stuff is huge with this age group as well. One word to the wise, Lisa & I tried these and I just could not a get a product that I wanted to sell, but for gift giving, they were fine. The plastic pellets can be pricey, so bring a coupon. Kamille plays with her monster I Spy bag every time she comes across it in her toys. Find the I Spy Bag Tutorial here.
Tool Belt
This is a great tutorial because you could make it into so many things, a garden apron, art smock, etc.
Fabric House Tutorial
The reason I didn't call this a doll house is that with some fabric selection it can go boy or girl. Try a safari/jungle look for zhu zhu pets or to keep all of those annoying little pop up pets in.
This great Tutorial is from UK Lass in US.
Lunch Bags
This is a cute pattern for a fun and fast lunch sack. You can also check out my tutorial on the Busy Beaver Lunch Sack.
Tissue Holder
This is another cute little idea. I doubt you need a tutorial to make it. Add a loop to hand from the backpack. Back Pack Doo Dads
Now the Sesame Street kind might be too babyish for elementary, but this tutorial was TOO cute to pass by without sharing.Check out the tutorial over at Craft Passion.
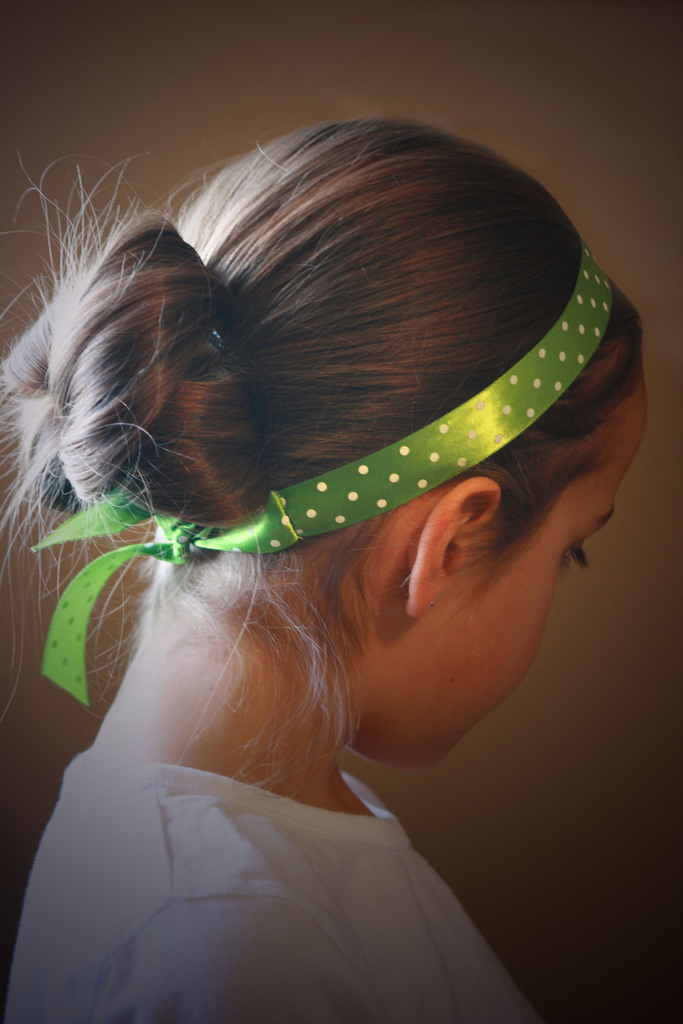
Headband Tutorial
Tutorial from Chocolate on my Cranium.
Thursday, November 4, 2010
Monkey Business - Featured in Another Great Treasury
'Monkey business' by angelariddellstamps
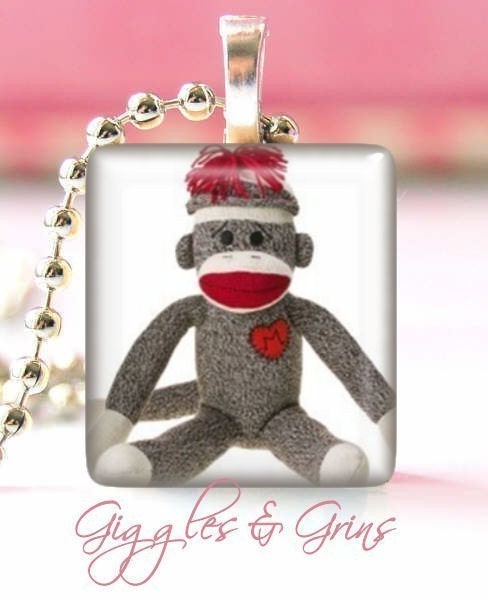
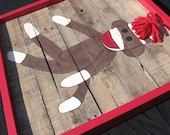
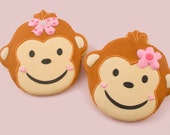
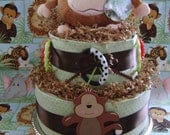
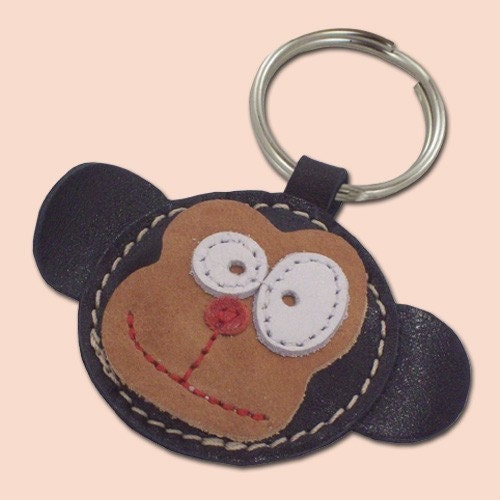
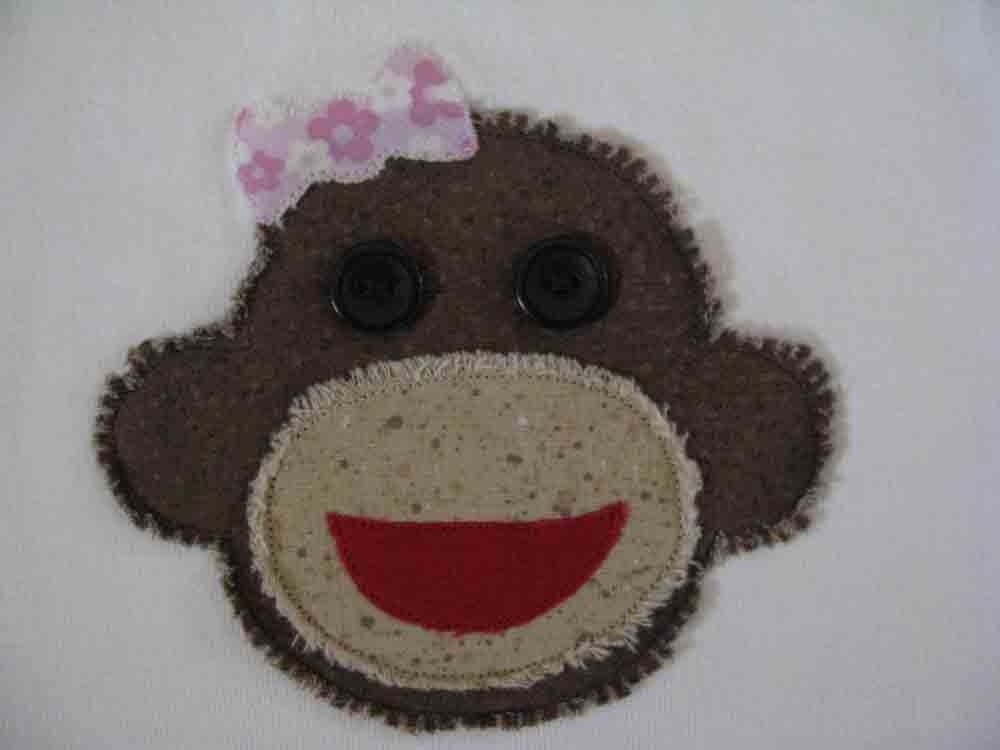
Slip-not headband, ... $10.00 | Fondant Cupcake or ... $10.95 | Sock Monkey Hat $26.99 | Glass Tile Pendant ... $6.95 |
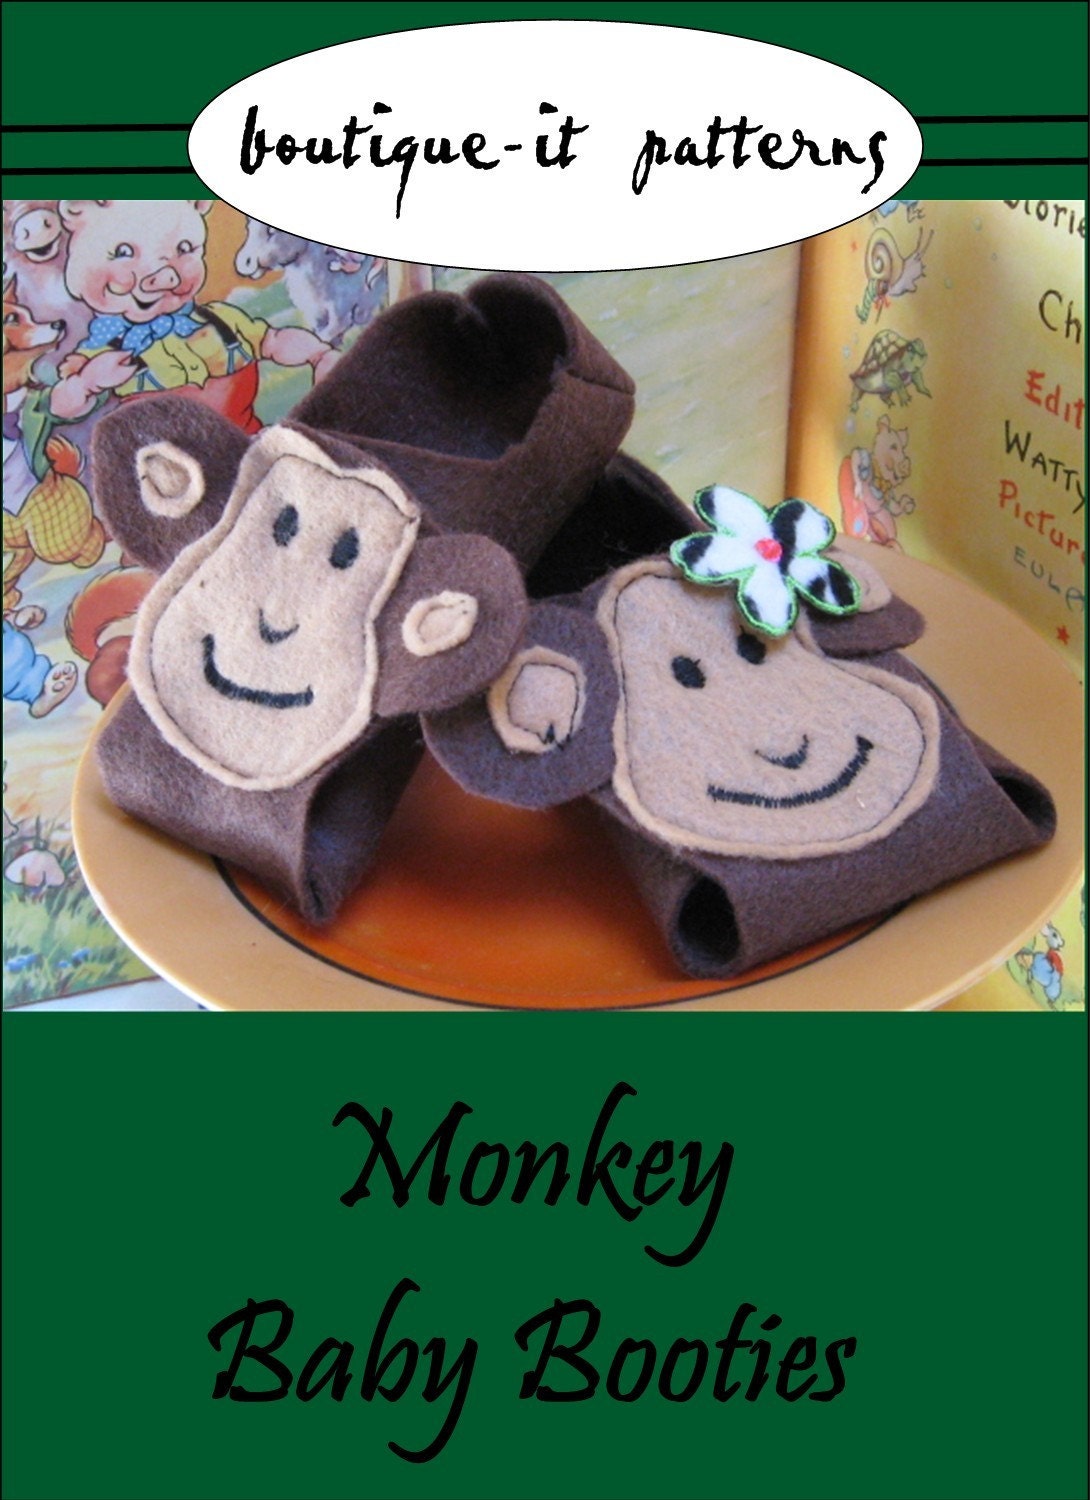
Silly Monkey Boy an... $2.00 | Funky Munky Minky R... $40.00 | Easiest Baby Bootie... $4.95 | Sock Monkey Paintin... $75.00 |
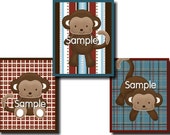
Girlie Monkey Cooki... $36.00 | My First Monkey Dia... $60.00 | Set of 3 Cute Littl... $15.00 | Cute little monkey ... $14.00 |
Funky Magnets - Cra... $5.00 | Custom Clothing Div... $10.00 | Little Monkey Baby ... $16.00 | Hand Painted Monkey... $58.00 |
Generated using Treasury HTML code generator by Whale Shark Websites.
Saturday, September 18, 2010
Saving Art
My 3-year-old daughter has repeated her personal affirmation so many times lately. Truthfully, I don't know where she comes up with this stuff. But, I love her motto.
"I am going to be an artist. If I can't be a good one, I'll be a bad one."
Happy Crafting!
Sarah
"I am going to be an artist. If I can't be a good one, I'll be a bad one."
Up until about a week ago, all of her art looked pretty much like this. She would present me with a drawing and proclaim, it a rocket ship, or a princess, or a garden.
Last week she brought me this drawing and said it was an ocean full of animals.
They actually look like something. I guess she had a breakthrough.
Her latest art project from her first day of preschool:
It actually inspired me to start scanning her artwork into the computer to make a photo book for her. I am going to keep all of the projects, photographing the 3-d versions and mix in some photos from this year. At the end of 2010 I am going spend a few hours and make a digital scrapbook on snapfish for this year.
Happy Crafting!
Sarah
Thursday, September 16, 2010
Free Fabric Flower Tutorial, Tips, and Tricks
I just thought that I would share this super easy craft Lisa and I make for our shows. If you do shows, you need to have some smaller, lower priced item that people can pick up as little gifts or stocking stuffers. You could make these patriotic, Halloween, Christmas, Easter, etc. This would also make a really great birthday party favor.
I read online that you could cut felt with the cricut if you fused down stabilizer to the back. Maybe you can with the Expression, but I only have the little Cricut Personal. It was really a disaster. It didn't work and I wasted $30.00 on the deep blade housing.
Plus, I had a couple of yards of felt with fusible stabilizer on the back. So, instead of giving up hope, I decided to try by die cutter. Guess what? It works like a charm. I used the Sizzix "Flower Layers 3" Die found here (I actually buy them in Michael's or Joanns with a coupon).
I also used the original "Flower Layers" shown below. I was just on the Sizzix website and they have about 50 different flower dies to choose from. There are a couple that look like poinsettias which would be so pretty for Christmas.
I don't actually have the Sizzix machine. I have the small Cricut Die Cutter. The Sizzix dies work in it.
I just cut the felt down into 4"x6" pieces.
Then I placed 2 layers of felt over the die and cranked it through the machine.
You do not need to put stabilizer. You can use regular or stiffened felt.
Then, I layered up the flowers in random order. For the centers, I used a pompom. You can get a bag of these at most Dollar Stores. I stitched right through the pompom, wrapped the thread around the pony tail holder (also from the Dollar Store) and then come out the top of the pompom. Then I tied the thread and left it sticking out.
I used that string thread that you use for fillet crochet and a big upholstery needle.
These little flowers are about $.05-$.10 a piece to make.
You could also attach these flowers to pins, hats, headbands, alligator clips, etc.
Idea 2
Another great project Lisa and I did with felt and die cuts is to make felt dress up dolls for a felt board. If you have never seen a felt board, the name basically implies what it is. It is some felt glued onto a board. The easiest way to make one if to take a piece of foam core board and spray glue down a large piece of felt to cover the board or the glue a piece of felt onto one of those little cork boards you get at the dollar store.
Anyway little kids love these boards because the pieces of felt stick together and they can make pictures and tell stories.
In addition to cutting out the basic shapes with my shapes dies, we also used the "Dress Ups" line to cute out people. The body actually makes a boy or a girl depending on what hair you cut out. They also have clothing dies. This ended up being a very fun project and it only took a few minutes. With my daughter in preschool, I will probably be using this project idea to make b-day gifts in a very affordable way.
The Sizzix dies also come in animals, letter, and pretty much anything else you can imagine.
Friday, September 3, 2010
Free Tutorial Fridays - MONEY
Check in with us every Friday to get your free tutorial/patterns. I thought that Friday was a perfect day to find a great weekend project. You can sew the money double as I did for added durability or make it a single layer if you don't sew. You could also craft fuse the layers together or hot glue (high temp).
This week's project is a little thing I worked up a few months ago, felt play money. Also, I realize that this isn't a step-by-step photo tutorial, but on this project, I figured that cutting rectangles and circles should not involve photos for every step.
I hate that paper money you get at the store. It ends up ripped, wet, and in the garbage in a couple of days. This is a really cheap and easy project. You can make as many pieces as you want and it is a fun way to teach young children about counting and money. This is also a fun addition to a play kitchen or store. This would also make a nice donation to your child's preschool classroom if you have a little extra time over the weekend.
I started with felt-by-the-yard. I use polyester felt due to my severe allergy to wool (which is not uncommon). Felt squares will work too, but they usually are not as nice as the yardage.
Step 1
I cut out 6 bills (doubled) that were 4.5"x3". Like I said, you can make more if you want more money denominations or more money to play with.
Step 2
Then, I cut out many circles in dime, nickle, penny, and quarter sizes. This is pretty simple, just trace around a few circular objects in your house to make circle shapes. I would make the shapes larger than standard money or they will just get lost.
Word to the wise, sizzix makes an awesome circle die cutter for your cuttle bug or sizzix and you can cut felt with it.
Step 3
Then I sewed everything together. This is the point where you have some options:
a) just use a single layer - this will not be as durable but it will still make your child happy
b) use fabric glue to glue two layers together - you can probably even use Elmer's white glue because you are not going to wash these
c) use high temperature hot glue - high temperature hot glue will hold fabric together practically forever - be careful not to burn yourself - this stuff gets very hot and will blister your finger - I speak from experience
d) finally, you can use craft fuse - you can by it by the yard - you want doubled sized - lightweight or medium weight is fine. - you can also by it in a convenient roll package that is at Walmart, Michaels, JoAnn, & Hobby Lobby in the craft area - its normally in with the sewing notions
Step 5
Once you have the pieces together, you want to print the money template on t-shirt transfer. I actually use the transfer for white t-shirts on the dark felt. The dark transfer will leave a white background. The light transfer shows the felt color through. Make sure to mirror image the print so that the writing doesn't go on backwards. You can also design your own money with your child's face, name, etc. That would be so much fun for them and might be a huge motivation.
Get the full size image on flickr Step 6
Follow the directions on the transfer to iron down. Make sure you use a sheet of paper over the transfer. Felt will melt onto your iron if it gets too hot. That's why you need to use plain white paper as a pressing cloth.
Have fun!
Thursday, September 2, 2010
Mini Twinkle Toes for The American Girl Doll
Proof positive that I have a sickness when it comes to crafts is my newest project for the day. I just spent almost two hours making this tiny pair of "twinkle toes" for my daughter's American Girl Doll. What a pain, but they did turn out pretty cute if I don't say so myself. They were a much needed break from patterns for the day.
Wednesday, September 1, 2010
A Labor Of Love - My Newest Deluxe Felt Toy Patterns
These three patterns and tutorials took me forever to create. Each one is inspired by my daughter and 2 nieces. They turned out so cute. I saw that everyone was making felt food patterns, so I wanted to make something a little different. I went with a toy pattern. There is a camp out, pirate adventure, and the doctor kit. Next, I am going to work on my Cinderella Cleaning Kit. I made one for a friend's daughter, but it needs some fine tuning. Can't wait to figure out how to make a broom from felt and fleece. That ought to take a while.
Monday, August 30, 2010
Felt Food Patterns - Yum
In my never ending quest to create new patterns everyday, my sister and I just durmmed up three delicious new entrees for our daughters' kitchens. I love felt. I almost love it as much as I love fleece. You can pretty much make anything you imagine.
Sunday, August 29, 2010
My Newest Pattern: Animal Inspired Chemo Caps for Newborns
I made some of these little hats for a friend's baby. I thought that these would be a great place to kick off my newest project, pattern-making. I finally decided that pattern making combines everything that I love, making crafts, coming up with new ideas, challenging myself, and exploring my creativity without the tedious mass production involved in actually making and selling items. Eventually, I hope to phase out selling items other than my samples and to completely move into patterns.
Subscribe to:
Posts (Atom)
Working with Cork Fabric
So, I am not an expert in this - based on using it for one project. However, I did a lot of research before buying it and watched quite a f...
-
I've made quite a few baby doll slings in the past and I also have a really great pattern in my craftsy shop for a cotton baby doll sli...
-
I actually got hooked on masks in Iceland. If you have never been, I totally recommend a trip there. However, if you are a neurotic sl...
-
Sewing Hack I love to use serger thread for many of my projects. Let's face it, serger thread is cheap. The giant spool is $2.00. ...