Thursday, February 3, 2011

Valentine's Day Paper Bag Album Layouts

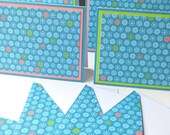
Lisa and I had a blast getting together last week and making about a dozen of these love and Valentine's Day themed mini albums for our MadAboutScraps shop.  I am personally going to use one for preschool Valentines Day Party photos.  Kamille might also give one to her preschool teacher as a Valentine's Day Gift. 


 I made a pocket by cutting the mats in half on a diagonal.  I used gems to make it look like it is attached with brads.
 I layered up some prima flowers for dimension and used a large brad for the center.


 I love to embellish my tags with some simple stickers. 
Instead of using ribbons for the pull-out pocket pages, I used stickers to create a tab.

Wednesday, February 2, 2011

Ground Hog Day Cupcakes

I thought that it would be fun to make some little groundhog cupcakes in honor of Ground Hog's Day.  Plus, I am thankful that he didn't see his shadow this year.  I'm not sure if I believe spring is just around the corner and neither is my back after shoveling all of the show we got last night out of the driveway. 

So, I started with a basic chocolate cupcake. 

 Then, I laid down a base coat of chocolate frosting.  This is just store bought frosting to make life easy. 
 Then, I made the teeth.  The teeth are created by cutting a little white chocolate wafer down. 
 Then, I used 2 dark chocolate (milk chocolate will work too) wafers for the ears.  I just jammed them into the frosting. 
 Then, I stuck the tooth into the frosting.
 Next, I placed on 2 more wafers for the cheeks.
 I used a pink conversation heart for the nose.  See how I placed it upside down with the writing face down.
 Finally, I used some white frosting that I put into a ziplock bag and piped on the eyes and the whiskers.  For the centers of the eyes, you can use more of your chocolate frosting (I dabbed it on with a tooth pick) or you can use chocolate chips. 

I think that they turned our pretty cute for a super fast cupcake decorating project.  Kamille certainly enjoyed them.  This would be a very fun preschool snack.  You could use a muffin instead of the cupcake and use chocolate cream cheese instead of the sugar frosting. 

Tuesday, February 1, 2011

Snow Day Treasury

'Snow Day - Keeping Warm & Busy' by c1h8r9is

Check out this treasury, free tutorials, and more on our blog www.boutiqueit.blogspot.com.

Snow Day - 8 X10 ma...

$45.00
Edge of the Cup Coo...

$5.00
Fringe Throw Blanke...

$195.00
New- Snow Day- Read...

$6.99
Chocolate Marshmall...

$8.95
snow day - child ...

$20.00
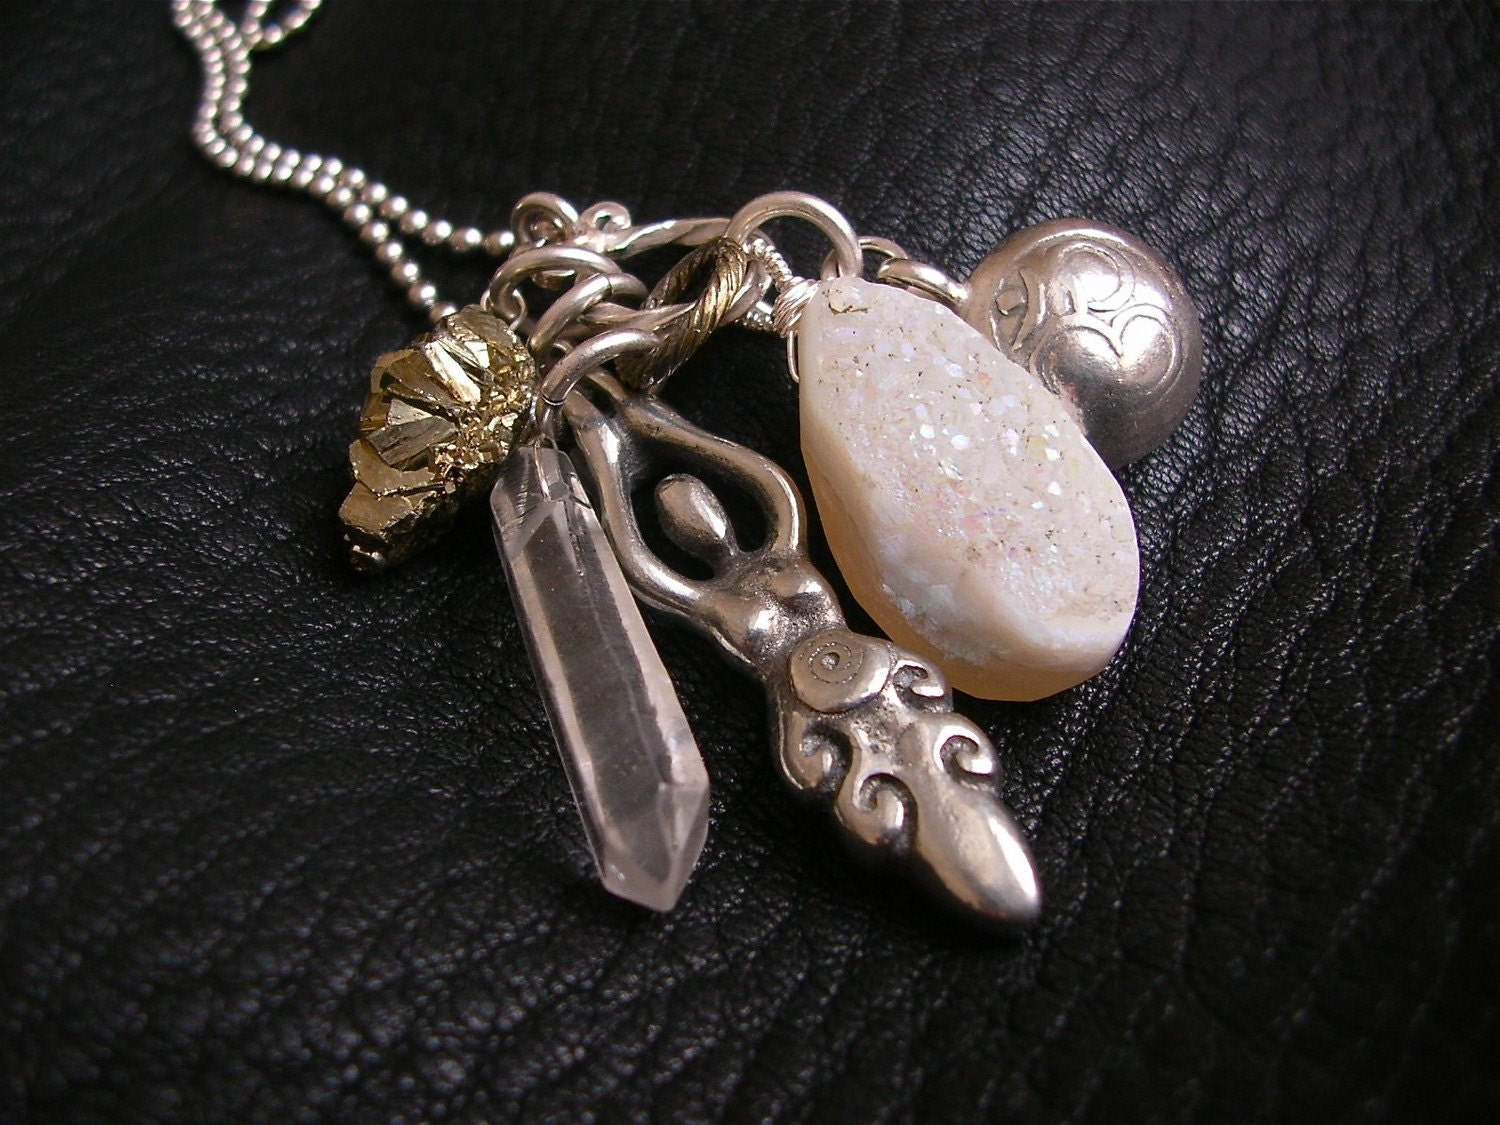
The Snow Goddess W...

$72.00
Snow Picture - Hug ...

$5.00
Ladies Rose Garden ...

$4.99
Mittens, hot chocol...

$38.00
Snow Day - Set of 4...

$6.00
WHITE white WHITE ...

$20.00
Killians Owl Hat PD...

$5.50
Boutique Style Baby...

$14.99
Long Fingerless Glo...

$34.00
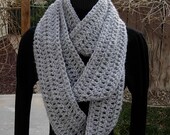
INFINITY SCARF..Sof...

$22.00
Treasury tool is sponsored by Lazzia.com.

Valentines Wall Hanging

A while back I had ordered a charm pack of Moda Valentine's day fabrics and had intended to make place mats out of it. However, I was in the mood for something new and Valentine's related to add some color to our living room. And this is what I ended up with after just and hour or so.

I took some left over yardage of light blue felt from some Christmas ornaments that I had made and cut into two 24" x 24" squares. Then i made three different sized heart shaped templates out of scrap paper and proceeded to cut the largest and smallest hearts out of assorted pink and red felt. The middle heart is where the charm squares came into play. I actually cut the heart first making the biggest heart that I could out of 9 charm squares (mine where 5" squares). Then I made the template for the small and large square to my desired size.

Next, I simply stitched the charm square heart to the largest felt heart. And then the smallest felt heart on top of those two. Lastly, I stitched down the whole applique on the blue background with a satin stitch. I just eye balled everything as far as spacing went alternating pink and red appliques. 

When I had all of my hearts appliqued down on the back ground, I added three lengths of ribbon (folded in half to make tabs) evenly spaced at the top of the project and pointed inwards toward the bottom of the project.  Next, I placed the backing fabric (the other 24"x24" piece of felt) on top of the appliqued piece (right sides together). I stitched around all sides with a 1/4" seam allowance leaving a 3" opening for turning. Then I just simply turned the wall handing right side out and top stitched making sure to catch the 3" opening.

Voila!


A simple, easy, and inexpensive wall hanging was created. This would be a great way to use up all of your fabric scraps!

Happy Sewing!!

Monday, January 31, 2011

Random Advice Journal

This is a great project from one of my favorite books - Yes, It's a Scrapbook.  This isn't really a scrapbook, but I still loved the concept.  I just picked up a little journal from the dollar section at Michael's.  I used the Cricut the cut out the letters and then added some other embellishements.  I also added tabs to the sections to divide the journal into multiple parts.  Each part is a section for different advice: Life, Love, Friendship, Career. 

Once the project was done, I added some ribbons onto the spine.  This is a great little baby shower gift.  I am going to make 2 of them for a friend's twins baby shower.

Working with Cork Fabric

So, I am not an expert in this - based on using it for one project.  However, I did a lot of research before buying it and watched quite a f...