This craft was my mom's idea. She saw a woman at the store with a key chain with photos of her grand kids. We decided the make some themed charms chains for the Twilight fans out there.
You need wooden tags which you can buy a package of at Joann's in the section where all of the little wooden pieces are kept. Then you cover the tags with decorative papers. I used ink the distress the edges and the papers for a more romantic feel. Then I printed up the photos and stuck them on with double stick tape. Next, I started on the jewelry part of the project. I took some chain, jump rings, and different charms and hooked everything together. These are pretty long, but you could make them much shorter. I finally fixed the three lengths of chain together with a claw hook so that it would snap onto your key chain, zipper, etc.

I had a ton of old cigar box purses laying around in the closet just waiting for me to finish them. Once I got hooked on Twilight, I knew that this was going to be the best thing to do with the boxes. I added tons are matted photos, book quotes, hearts, flowers, and lots of dazzling sparkles to the purse. I have actually made several of these up including one totally devoted to Edward.

- Twilight Altered Cigar Box Purse
Then, I covered the entire front of the purse in embossing powder and baked it to give it that super shiny "dazzling" finish and infuse it with glitter. Since, I was giving it as a gift, I also made up a matching gift bag.
So, I saw someone making altered magnets and I thought that it was one of the dumbest things ever until I realized that they were making them for school lockers. So, I decided to try my hat at making a locker organizer. Here, I added magnets to the back of an altered cookie sheet. This turned out super cute. I added a mirror, matted photo of Edward & Bella, decorative papers, prima flowers, and chipboard magnets, and ribbons to hold in different papers. I think that this turned out much more useful than the plain altered magnets. You could even put this on your fridge and use it as a kitchen message center.

- A Twilight Locker Organizer
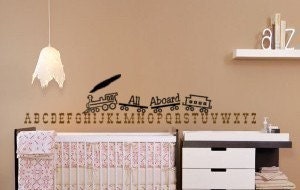 Vinyl wall art deca...
 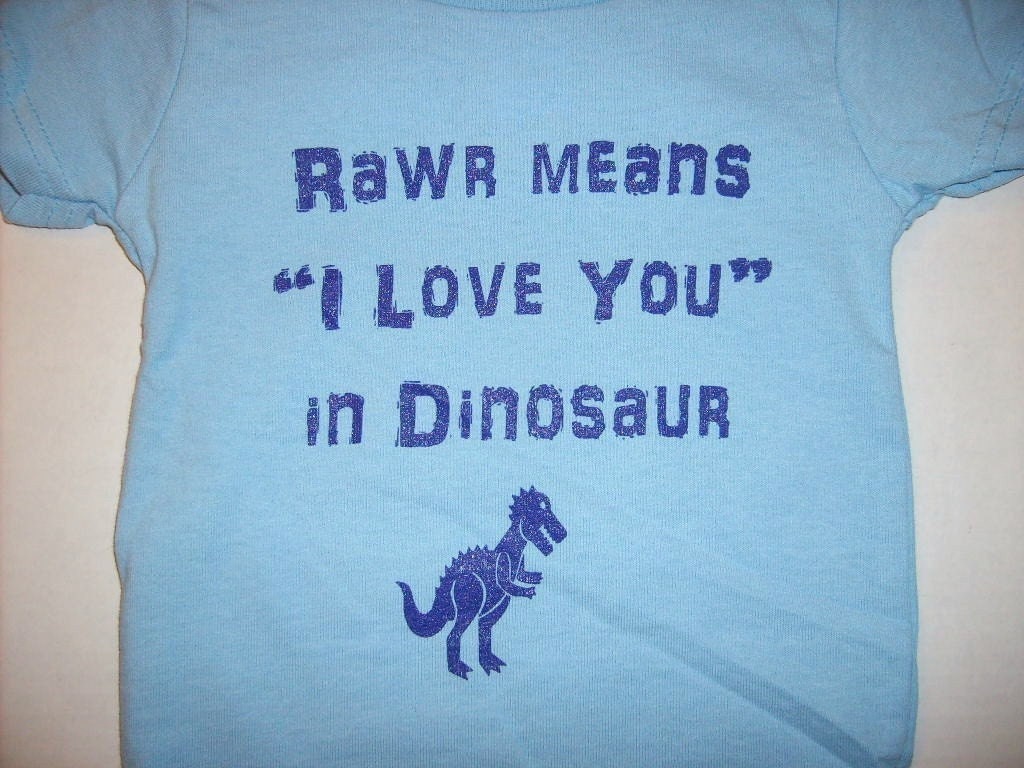 NEW Rawr Means I lo...
 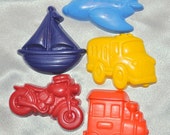 Recycled Crayons Tr...
 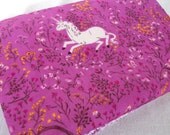 Heather Ross Unicor...
 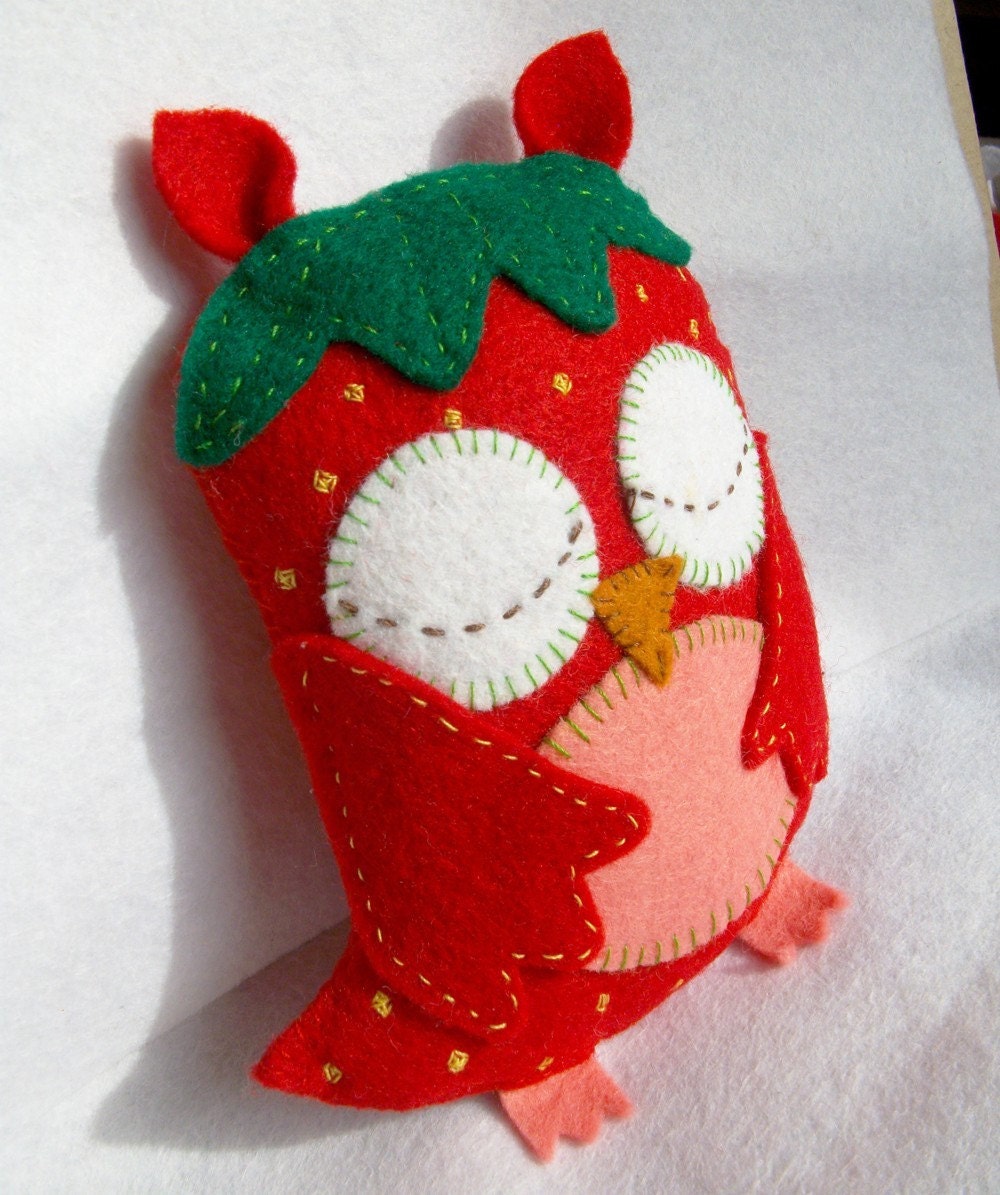 Sleepy Strawberry O...
 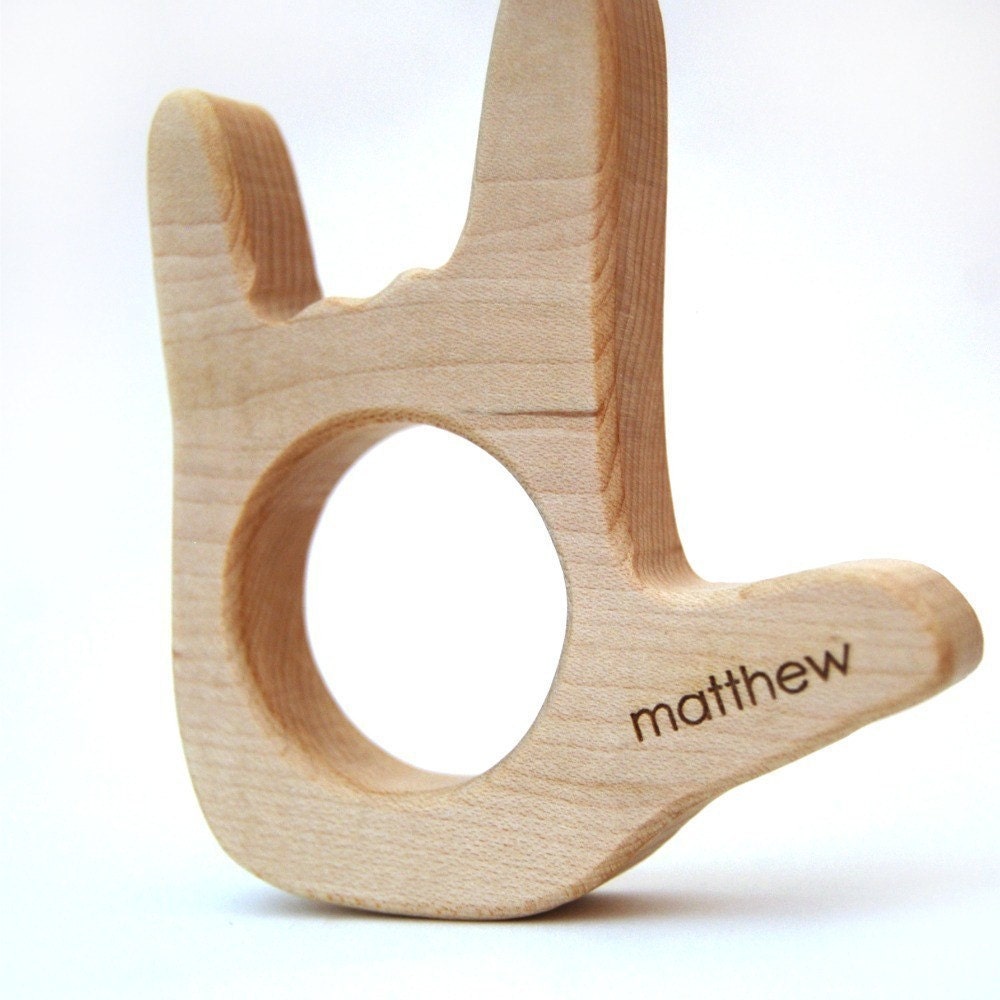 PERSONALIZED I love...
 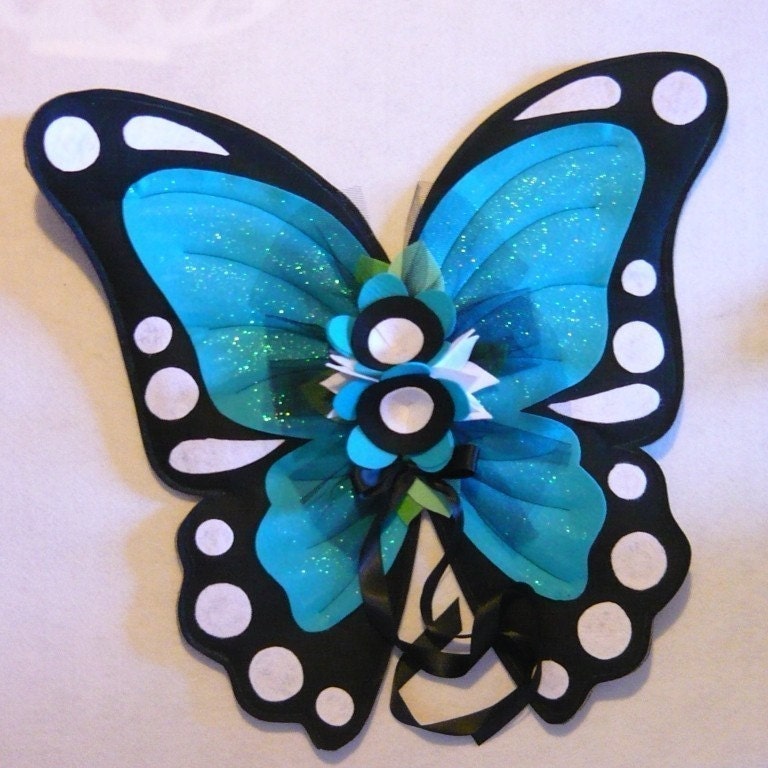 Wireless Plush Glit...
 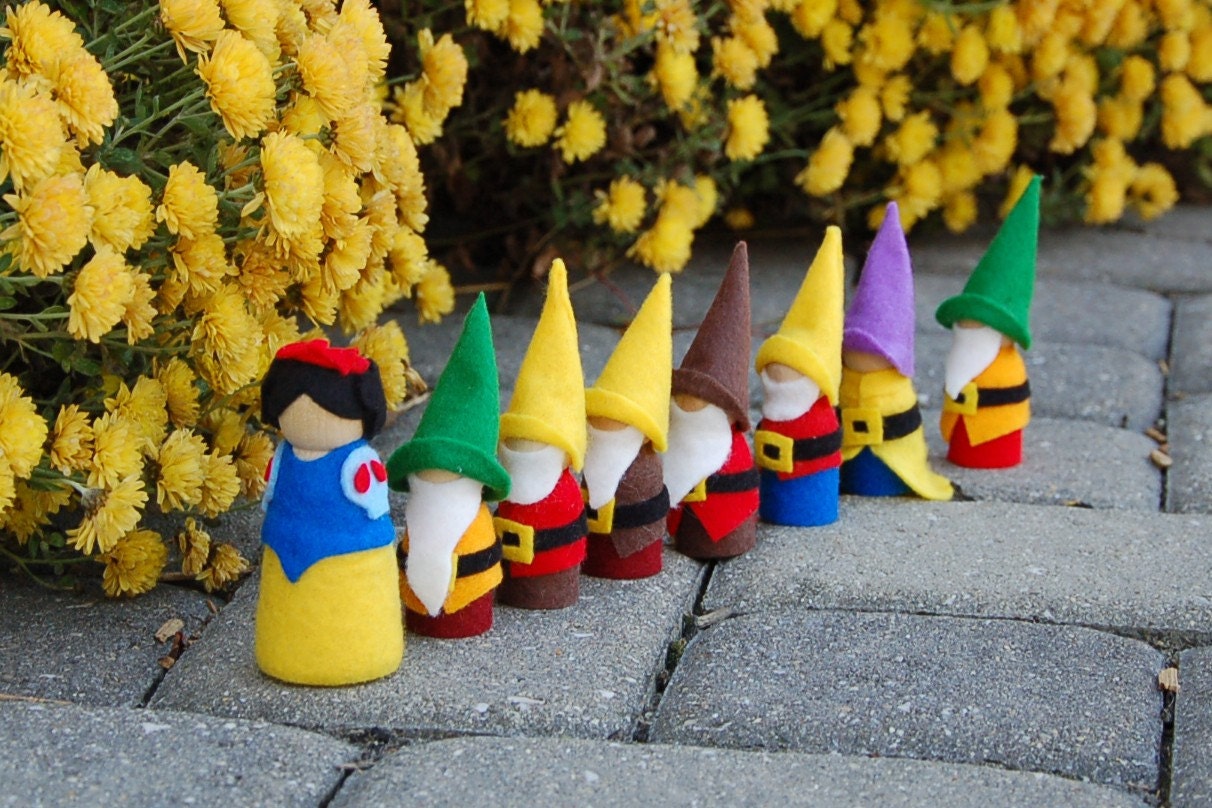 Snow White and the ...
 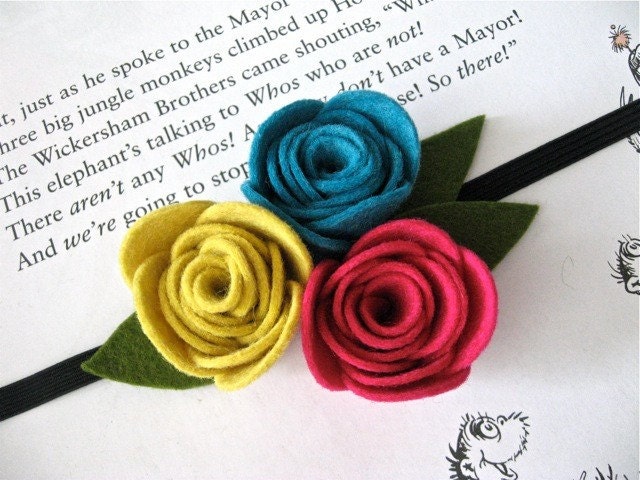 Lanie - wool felt r...
 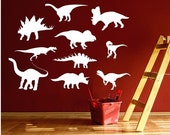 Dinosaurs Wall Viny...
  Construction Trucks...
  Believe in Fairies ...
 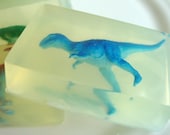 Dinosaur Soap
  Green Dinosaur / Dr...
 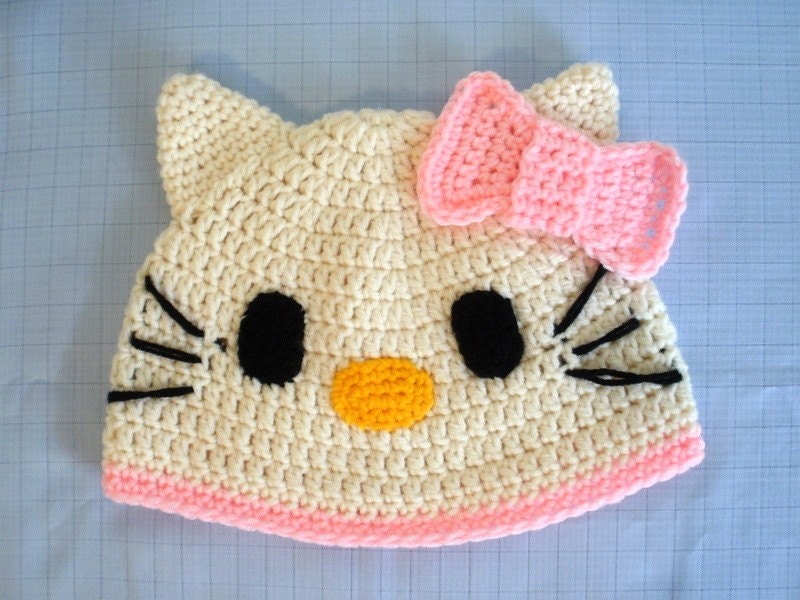 HELLO KITTY HAT.ANY...
 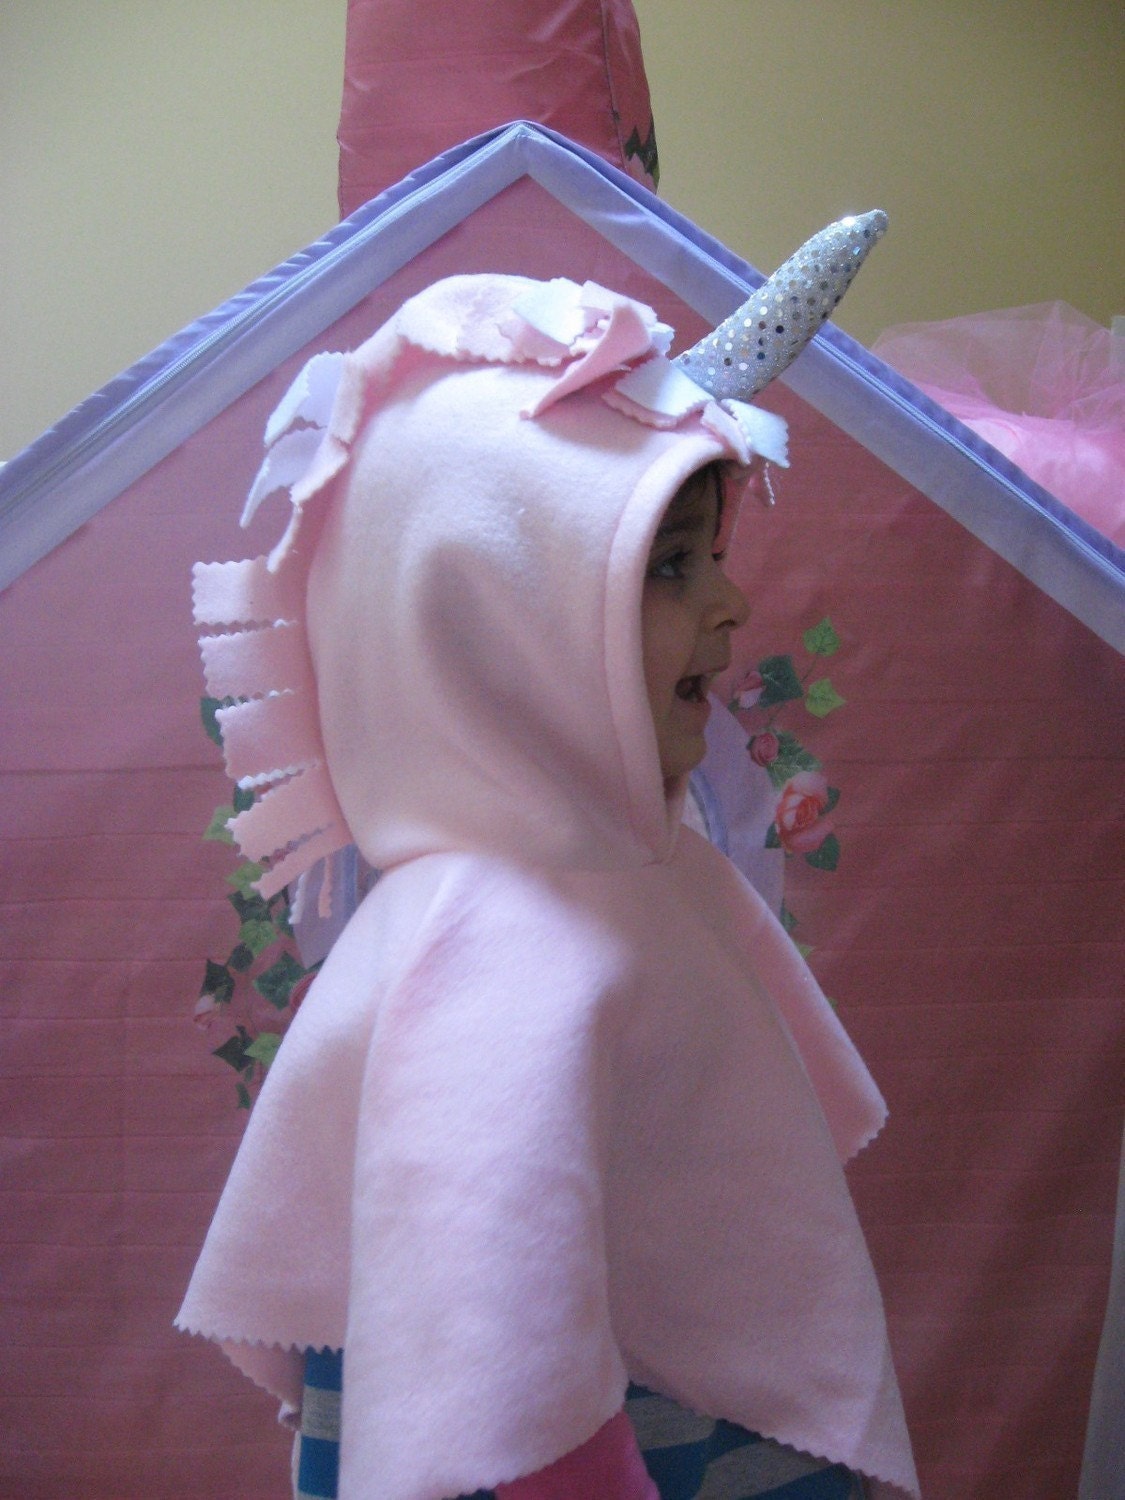 ON SALE Unicorn Dre...


