Cutting out scale maille and armor pieces is so easy with the cricut. I'm actually using my cricut cake because I loaned my personal cricut to my sis, but the machines work the same. A couple of things to note: Deep cut housing and blade. This machine was originally made to cut paper, so to cut thicker stuff like eva foam sheet, I bought the deep cut house blade. This lets you put thicker items through the cricut like foam, felt, cork, etc.

I use a program called Sure Cuts a Lot (SCAL) because both of my machines are older and they don't work with the design space. Anyway, it's also so much easy to use. I really recommend it. You can get version 2, which I use, for $8.00 on etsy. I think you need the newest version for the newer machine, or just use design space.

Next, I design the cut files in inkspace. If you are just cutting something from clip art, you can actually import the jpeg right into SCAL. I'll make another post on this. These files are available on craftsy. For the etched and cut armor, I use 2 separate files. First I open the SVG for the diamond cut and I cut the scale maille (blade depth 6, pressure max, speed max). This cuts the design. The scale maille is still held together by a little bit, but they peel apart.

Next, I import the etching pattern and line it up with the cutting pattern. I change the blade depth to 4 so that the etching pattern doesn't cut all the way through.

Finally, I have this. The scales are all etched and cut. Normally I paint these while they are still in a sheet because I like spray paint and this keeps them from flying all over.

Then, I peel them apart. Here you can see a shingle style scale maille. This style has no etching. I cut about 50 scales in 5 minutes. Plus, you can walk away from the machine while it cuts.


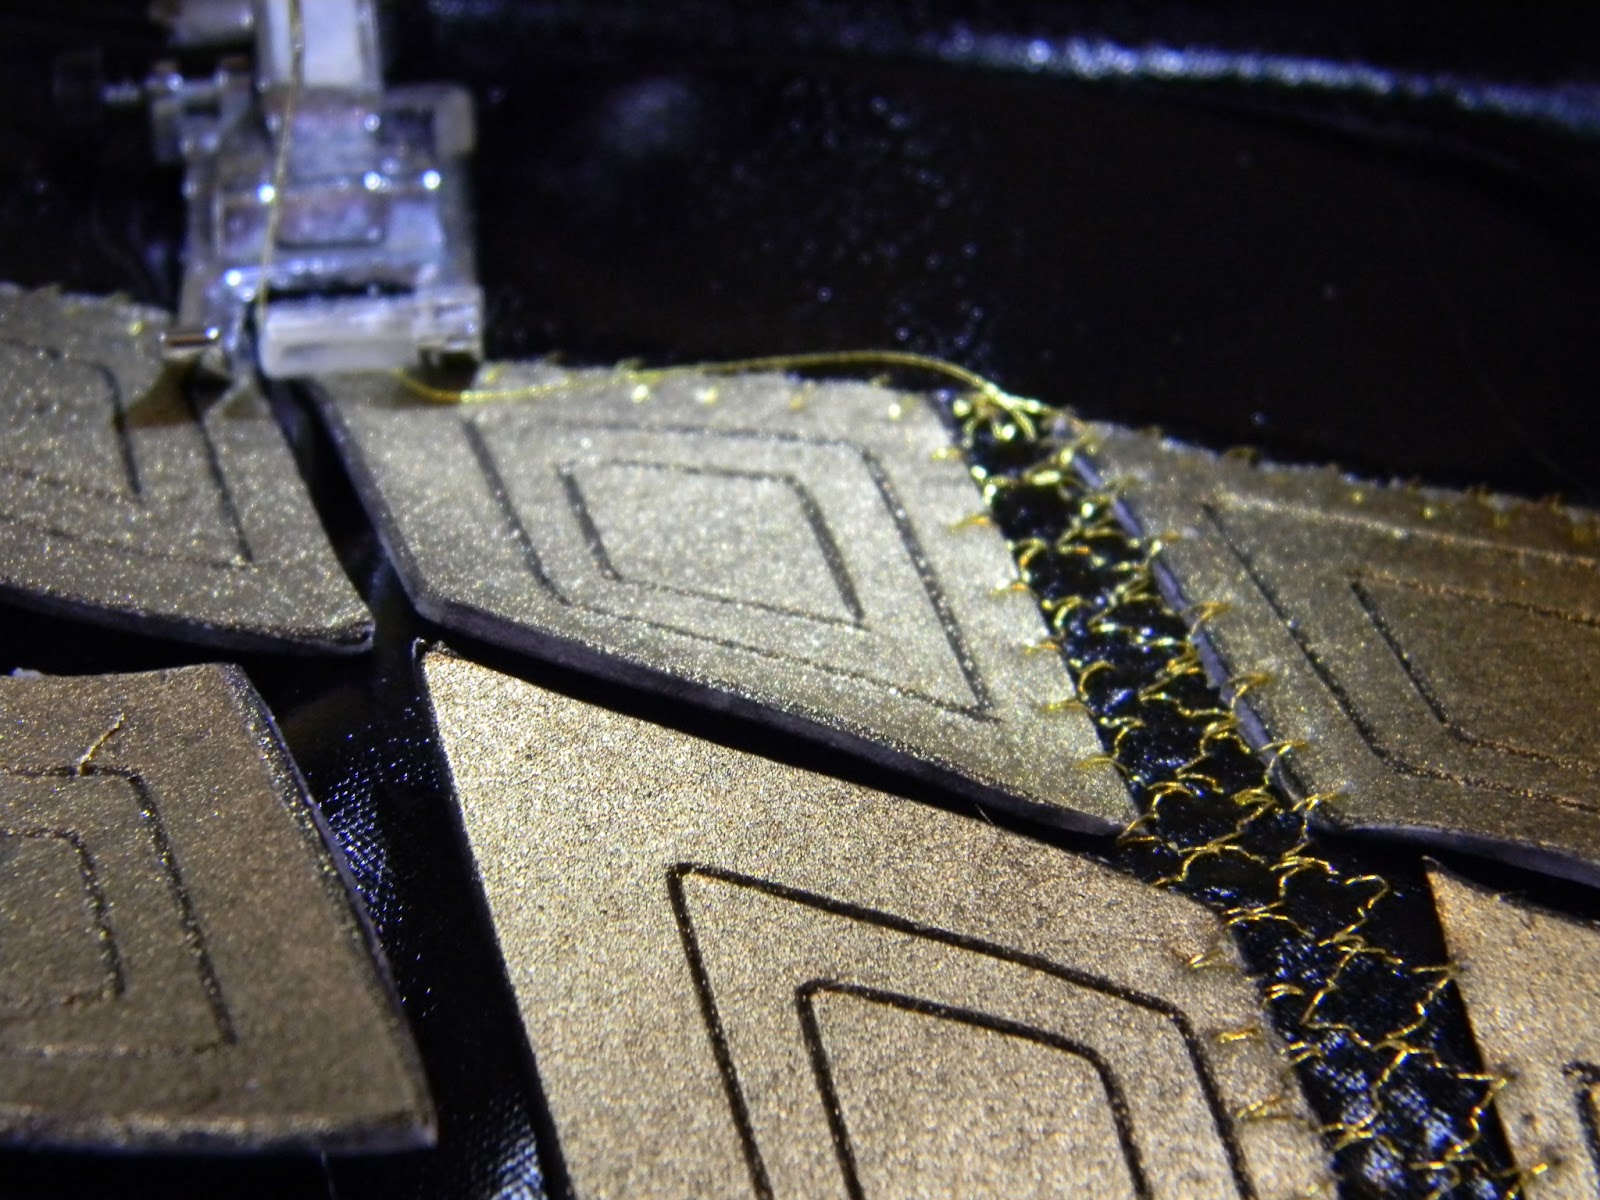
I tack the scales down onto my stretch knit pants fabric with a tiny dot of hot glue. I don't want to use much glue because I'm going to stitch this down. I want movement. Glue can make things stiff. It's just to keep them in place.


Here you can see that I've completed one row and moved on to the next. The stitches look like gold mesh.


No comments:
Post a Comment