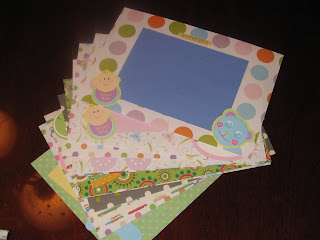
My niece loves her easy bake oven, but she uses up the mixes like lightening. The refills are pricey. Usually you get 1 yellow cake and 1 chocolate cake plus 2 frosting mixes for about $6.00.
There is a really easy way to make the cakes without costing a fortune. It's very simple. The mixes are basically 2 tablespoons of cake mix, any cake mix. For birthdays and stocking stuffers, I packaged up a bunch of the mixes in plastic ramekins (available a Gordon's Food Service). Then, I slipped them into a tulle bag. To make the tulle bags, you just use the tulle by the spool (it's like a $1 for 100 yards or something like that). You fold it in 1/2 and make an overcast zigzag (see tutorial on this blog) to fasten the sides. You could also straight stitch the sides and then turn the bag RIGHT sides out.
Then I add a little custom label with the directions on it. You can see those above. Oil makes a cookie and milk makes a cake.
The great thing about this is that you can either make your own cake mix (minus the wet ingredients) or you can just use your favorite premade mix (which is what I did here). If you don't want to get ramekins, you can use sandwich bags and make a fold over label that you staple on. I did that the first time. All of the mixes were names after my niece - Belle's Famous Sprinkle Cookie, etc. If they are just for your own kid to use at home, just buy a jar and keep the mix and a tablespoon in the jar and let them scoop and mix their own mix.
Tuesday, February 15, 2011
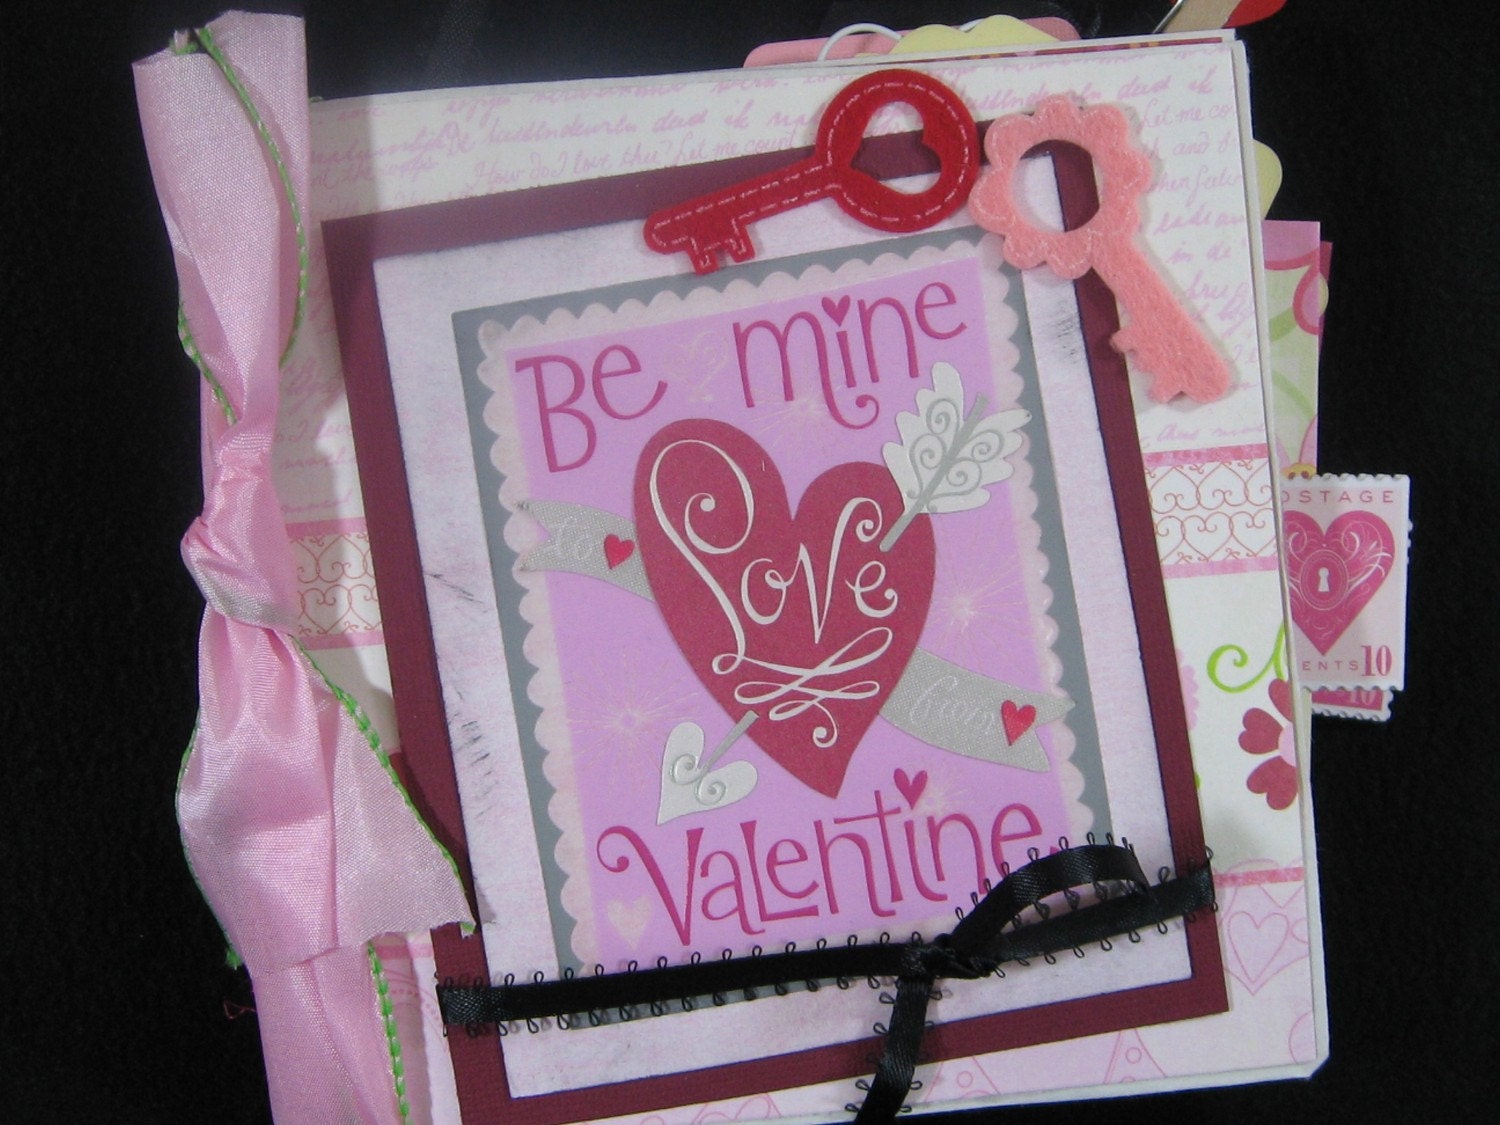
Check out this great treasury featuring one of our paper bag albums
'Valentine Crafty Scrappy' by narcojlolepticdesign
I love crafting with found items, and I love items that other people make out of little bits of this and that.... here is what I mean
 Valentine's Day... Valentine's Day... $29.95 |  TEXTURED HEART 3 Or... TEXTURED HEART 3 Or... $30.00 |  mini Valentine PAPE... mini Valentine PAPE... $3.75 |  Love sentiments sca... Love sentiments sca... $3.50 |
 Victorian Girl Car... Victorian Girl Car... $6.00 |  Honor of Love Postc... Honor of Love Postc... $3.00 | 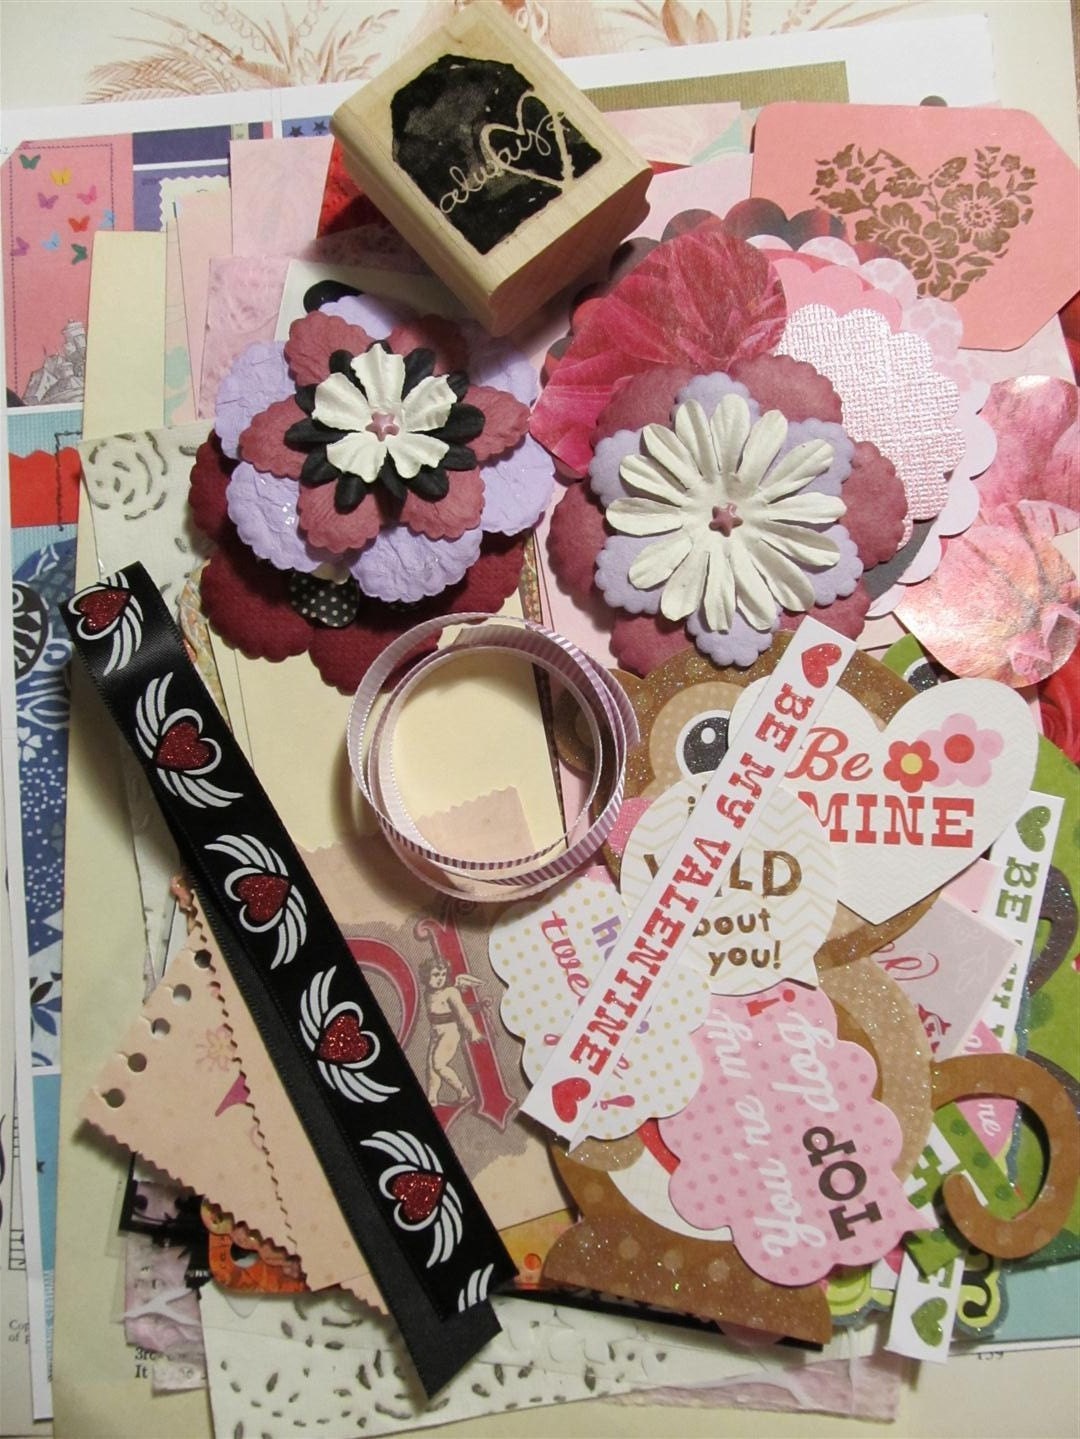 Large Valentine Ins... Large Valentine Ins... $5.00 | 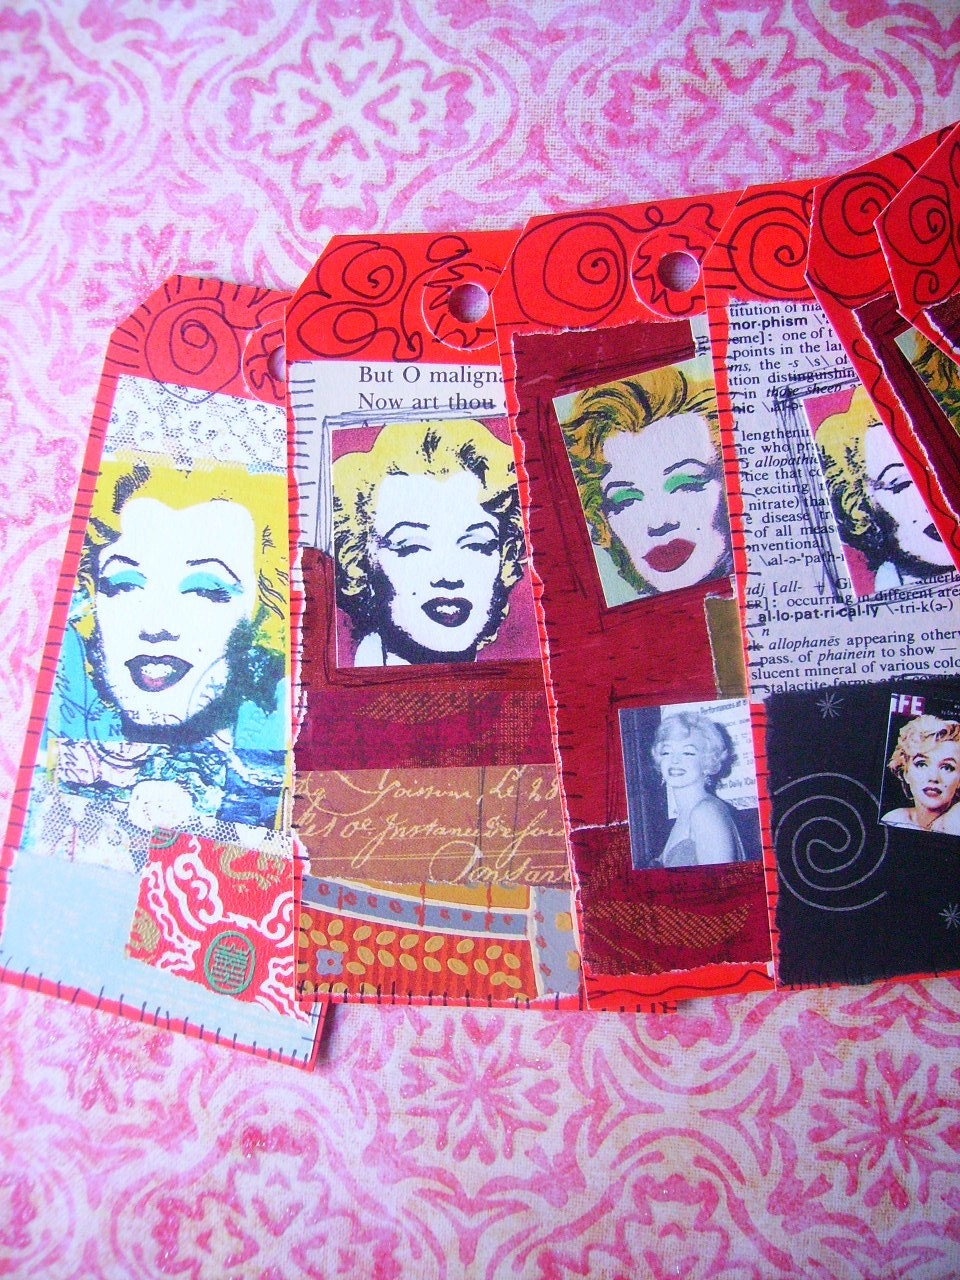 Marilyn Monroe Vale... Marilyn Monroe Vale... $5.00 |
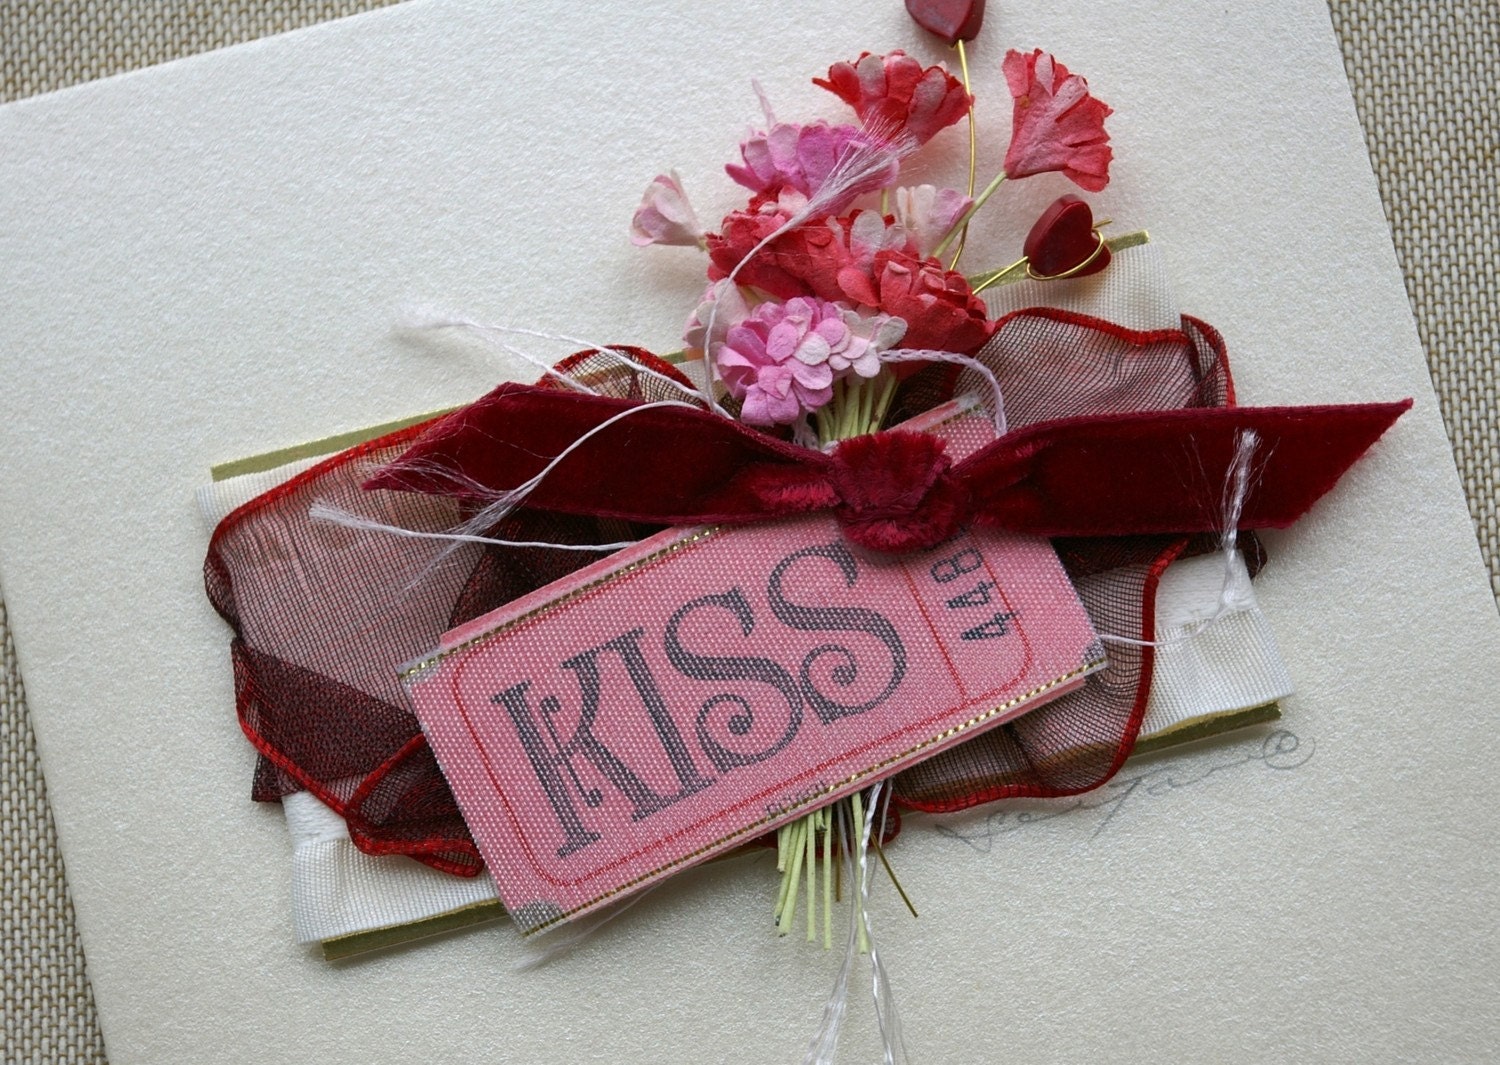 Handmade Art Greeti... Handmade Art Greeti... $12.00 | 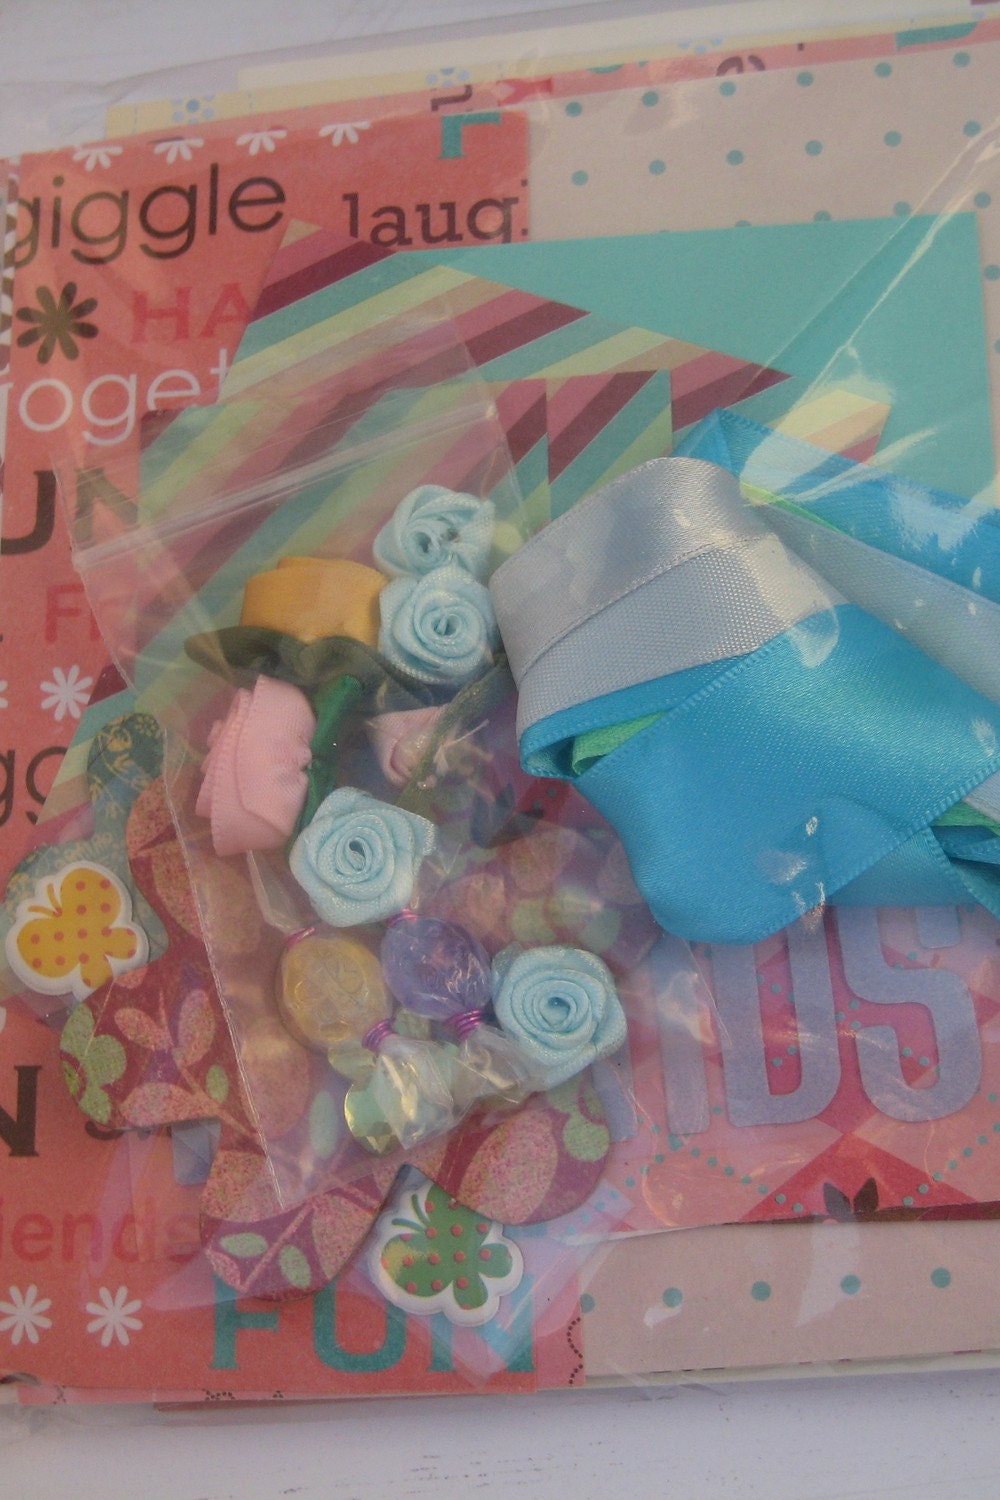 DIY Vintage Note Ca... DIY Vintage Note Ca... $12.00 |  Smitten Valentine a... Smitten Valentine a... $7.99 |  Purple Flower Love ... Purple Flower Love ... $12.00 |
 Valentine Postcard ... Valentine Postcard ... $8.00 |  Vintage inspired Bu... Vintage inspired Bu... $3.50 |  How Much I Love You... How Much I Love You... $19.95 | 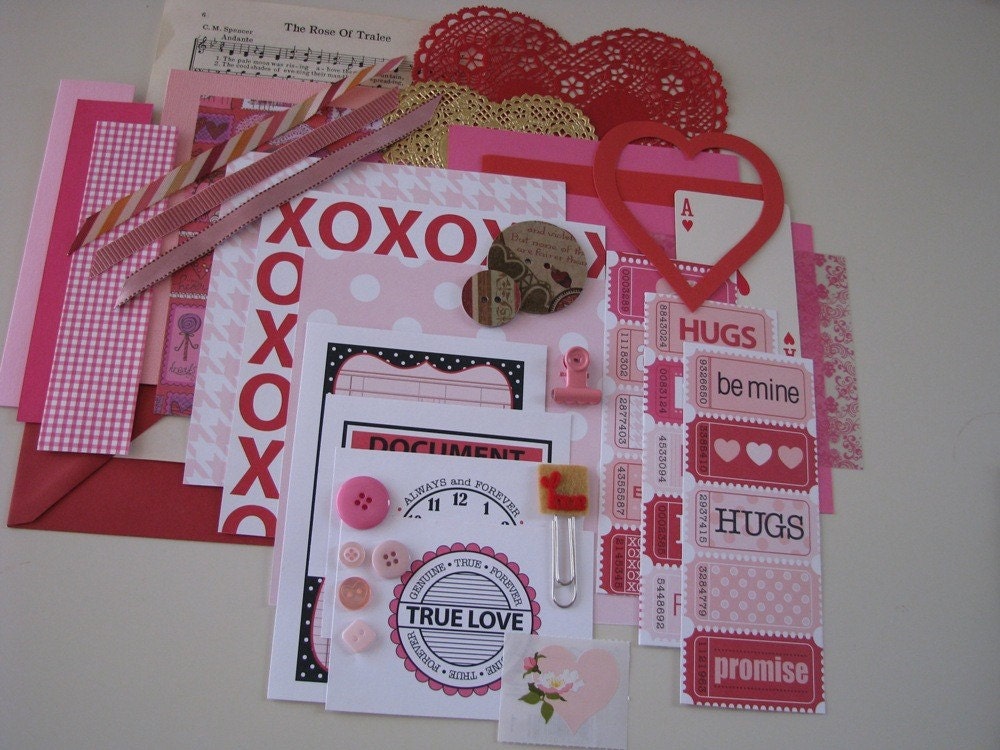 Valentine's Day... Valentine's Day... $7.00 |
Treasury tool is sponsored by Lazzia.com A/B image testing.
Monday, February 14, 2011
Valentine's Day Tarts
I was actually inspired by a post you probably saw on our blog, Lisa's jack-o-lantern pop tarts to create this Valentine's Day version.
Finally, I put them onto a sheet of parchment on a baking sheet and baked them for 10-12 minutes at 425.
I started with some strawberry jam and premade pie dough.
Then, I used a big heart shaped cookie cutter to cut out an even amount of hearts. You may need to roll the scraps out to get another heart out of one pie crust.
Next, I piled a big scoop of jam into the middle of 1/2 of the hearts.
Then, I layered another heart on top and crimped the sides with a fork.
Finally, I put them onto a sheet of parchment on a baking sheet and baked them for 10-12 minutes at 425.
They are sooo good. I'm eating one with some coffee right now =).
Crafting For Charity Party
Thank you to everyone who attended or donated. We had a blast. Thanks to your participation we were able to make about 30 safe birthing kits for Konbit Sante and the women of Haiti. We also put together about 100 name plaques for the NICU at University of Michigan Hospital. They are going in the mail today.
Thank you once again and we hope to see everyone in April when we will be making bedside craft kits for the children's hospital.
Thank you once again and we hope to see everyone in April when we will be making bedside craft kits for the children's hospital.
Wednesday, February 9, 2011
Konbit Sante Receiving Blankets
Lisa and I finally finished up the 30 tote bags and 30 receiving blankets for Sunday's party to benefit Craft Hope Project 11, Konbit Sante.
Now I just need to make 30 tiny stuffed animals and we should be all set for Sunday.
By the way, if you missed it, the free tutorial for making receiving blankets in posted on our blog. They make a really great baby shower gift.
Now I just need to make 30 tiny stuffed animals and we should be all set for Sunday.
By the way, if you missed it, the free tutorial for making receiving blankets in posted on our blog. They make a really great baby shower gift.
Monday, February 7, 2011
Meet Molly
Molly, Molly... so sweet and lovely, t'was bittersweet to see you go. Stitched up out of love and a little vintage fabric... some modern trims, she really got my heart.
I stitched up this pattern: Black Apple Doll
to make this doll for my sister-in-law to give to her niece (thanks Kate for supporting handmade!).
I think she probably made a little girl very happy!
An Emily Martin original, the Black Apple Doll.
Thanks Emily, I've used this pattern to spread joy several times now.
I hope you do too!
Sunday, February 6, 2011
Valentine's Day Candy Buttons
I was looking through my new Taste of Home and I saw a sheet of candy buttons on one of the pages. I used to love those things as a kid. With Valentine's Day coming up, I decided to make up some sheets of my own candy buttons.
Candy dots are so great for kids. They are fun to make and inexpensive. You start with a batch of royal icing. I use the meringue powder recipe for royal icing. I would make a 1/2 batch because a full recipe will make more royal icing than you could eat in a lifetime.
First, I removed 1/3 of the icing and put it into a sandwich bag. I left it white.
If you want a more traditional look, you can cut strips of parchment and pipe rows of buttons.
I put them on a cookie sheet and dry them out on the counter or in the oven (off) for several hours to dry.
This is a great fine motor skills projects for kids. My three-year-old made some candy worms.
Candy dots are so great for kids. They are fun to make and inexpensive. You start with a batch of royal icing. I use the meringue powder recipe for royal icing. I would make a 1/2 batch because a full recipe will make more royal icing than you could eat in a lifetime.
Royal Icing Using Meringue Powder:
4 cups (440 grams) confectioners' (powdered or icing) sugar
3 tablespoons (30 grams) meringue powder
1/2 teaspoon extract (vanilla, lemon, almond)
1/2 - 3/4 cup (120 - 180 ml) warm water
Note: Food Coloring (I use Gel Pastes that can be found at cake decorating and party stores or else on-line)
You can also make royal icing with egg whites.
First, I removed 1/3 of the icing and put it into a sandwich bag. I left it white.
Next, I tinted the remaining icing light pink and removed 1/2 of what was left and put it into a plastic sandwich bag or piping bag.
Finally, I mixed more red food coloring into the rest of the batch and made a dark pink icing. I added that into a plastic sandwich bag.
You can also use piping bag fitted with a small writing tip. I used heavy duty sandwich ziplock bags. That way you can close the bag and the kids don't get it all over the place.
Cut the tips off of the bag.
To make the heart shapes I traced around a cookie cutter on a piece of paper. Then, I cut pieces of PARCHMENT paper and place 1 piece of parchment over the outline.
Pipe the dots on over the outline and then fill the inside of the heart in. After you let the dots set up for a couple of minutes, you can poke down the spikes.If you want a more traditional look, you can cut strips of parchment and pipe rows of buttons.
I put them on a cookie sheet and dry them out on the counter or in the oven (off) for several hours to dry.
This is a great fine motor skills projects for kids. My three-year-old made some candy worms.
Another idea for working on the fine motor skills is to print out shapes, letter, or numbers and layer the parchment over the top.
Subscribe to:
Posts (Atom)
Working with Cork Fabric
So, I am not an expert in this - based on using it for one project. However, I did a lot of research before buying it and watched quite a f...

-
I've made quite a few baby doll slings in the past and I also have a really great pattern in my craftsy shop for a cotton baby doll sli...
-
Proof positive that I have a sickness when it comes to crafts is my newest project for the day. I just spent almost two hours making this t...
-
I finally got around to making a few bathing suits for the girls. I have been wanting to make bathing suits for a long time, but I was real...


