Well, I have been woefully neglecting the blog due to a big push to get all of our spring patterns sewn, drafted, photographed, and listed and also due to my daughter's 4th birthday. So, here is a collection of links and ideas for your own circus birthday. I was so busy playing carnival games with the kids that I didn't get photos of everything. I am going to ask one of the other moms if she has some photos of the party room.
The birthday girl's outfit is our Amelia Pillow Case Top and Ruffle Pants Pattern. I embellished it with an elephant applique from the craft store and stitched on 4 balloon buttons.
We set up a photo booth for the kids to get pictures taken on the pony. I glued together a little outfit for the pony.
The cake was my first attempt at making a figurine with rice crispy treats and marshmallow fondant. Basically, you make the treats without butter and with extra marshmallow. Then you shape them into your figure. Once they dry to be rock hard, you cover the whole set up with icing and then fondant. I piped on some decorations with butter cream and then glued on some candy gems and gold balls.
We had straight carnival food: hot dogs, elephant ears, corn on the cab, nachos, mini corn dogs, the works.
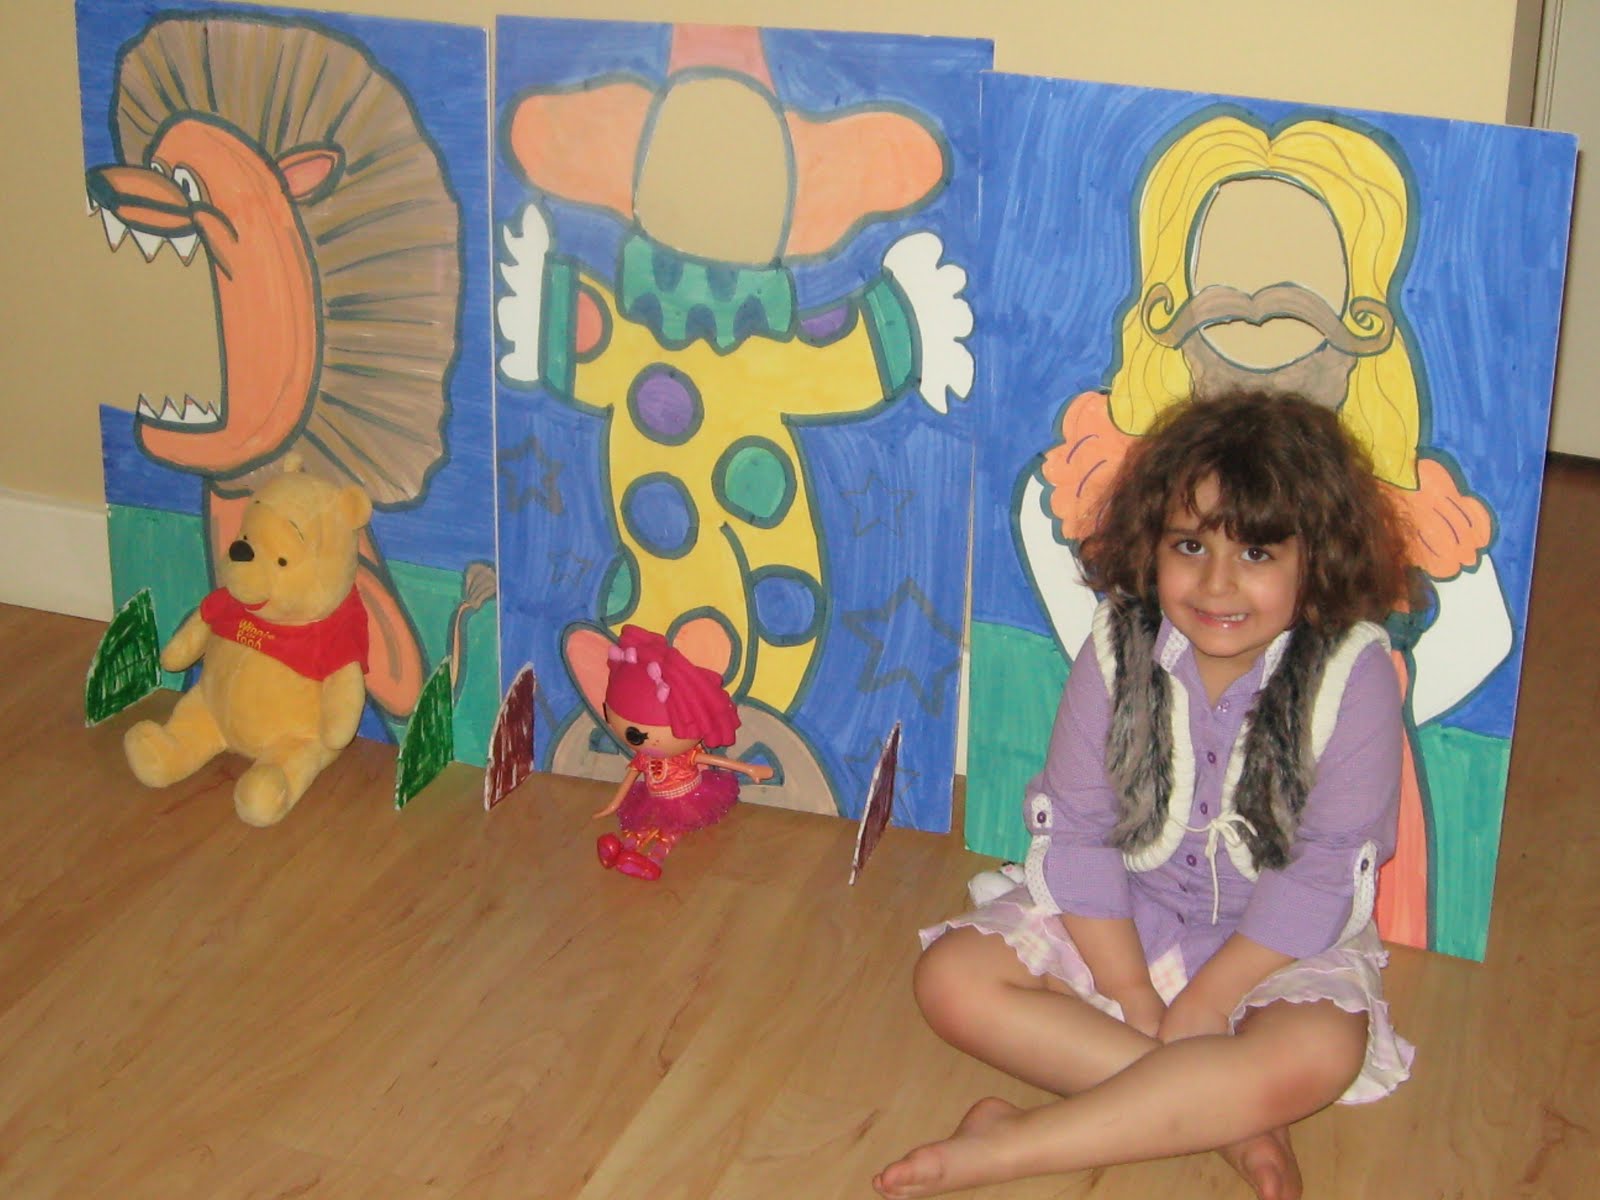
I used some foam core board and fat poster markers to make up some of these little photo props.
I just looked for coloring book pages and then copied the image onto the post board. Clearly, I am no artist, but for about $1.00 each, the kids loved them.


I also made up 4 of these balloon columns. Each column uses about 1 25 pack of balloons and 1 Mylar balloon. So, basically, for $2.00 a piece you get some huge decorations. It only takes about 15 minutes to put one of the together. They are all still blown up 4 days later, so you could easily make these the night before. Here is a youtube video of a balloon column being made:
http://www.youtube.com/watch?v=nRITkB-J1y0 Basically, you start by tieing 2 balloons together and then you tie 2 sets of 2 into a "quad". Then you stack the quads up and twist the ribbon from the mylar around the sets of quads to keep the whole stack together. I didn't even use a stick or stand in the middle. I just roped them together with the string from the Mylar. The mylar balloon was the only helium filled balloon. I blew the rest of them up with air. Anyone and I mean anyone can put one of these pillars together.

I was inspired by another blog post I saw to put together some of these little table decorations. I think that the centerpieces ran about $2-$3 each. You get 2 of the plastic popcorn containers for $1.00. Then I twisted chenille stems around a pen to make the fillers. I glued the prepainted wooden cut outs from Michael's or JoAnn's onto to little dowels. The photo frames are in the cake section. Finally, I printed out the big 4's. It's all just glued into the popcorn bucket.
The loot:
I just used some clearance kraft paper bags for the loot sacks. They were empty so that the kids could collect the carnival prizes. I attached a foam nose for each kid onto the front. The labels are just printed from my computer. I actually went to fontspace.com and downloaded a circus font for my computer. It's free. Then, I tied strips of tickets onto the front of each bag.
I also gave each kid a clown bow tie. These were so easy to make. I will post a tutorial later on. Plus, they were really cheap. Felt is so inexpensive and the pompoms are from the $1.00 store. The little bow ties were probably like $.25 each to make. It only took about 1 hour to make 20 of them.
We also embellished some of the premade party hats. Here's why: it is less expensive and much easier to buy a package of premade hats and then add to them then to start from scratch. 8 hats are $1.00. If you buy poster board, glue, tape, and decorative paper, the hats are going to cost much more. I glued a pompom onto the top of the hat and then I glued a feather boa onto the rim. I think that 1 boa makes about 4-5 hats. Then, I glued a prepainted wooden cut out onto each hat. There are many different animals.


No comments:
Post a Comment